Hey everyone. I’m going to be unexpectedly out this week. I’ve asked some of my bloggy friends to fill in for me with some fabulous projects while I’m out. Please give them some LOVE and I’ll be back next Monday!
 Thank you Erin for inviting me to guest post today. I’m anxious to meet your readers and show them how to create their own rustic wine crate for less. First, I think introductions are in order.
Hi, everyone, my name is Brittany (aka Pretty Handy Girl).
 Yup that’s me, and that’s my drill which might as well be a prosthetic arm because I always have it with me. I write a blog filled with DIY tutorials for building things (like my son’s closet turned into a reading nook,)
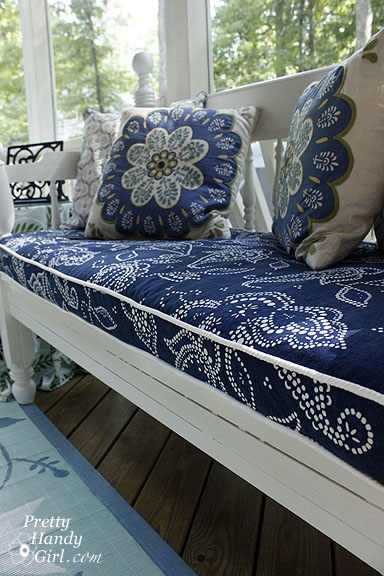
 or sewing things (like a piped bench cushion using a shower curtain,)
 or fixing things (like replacing an old almond colored outlet,)
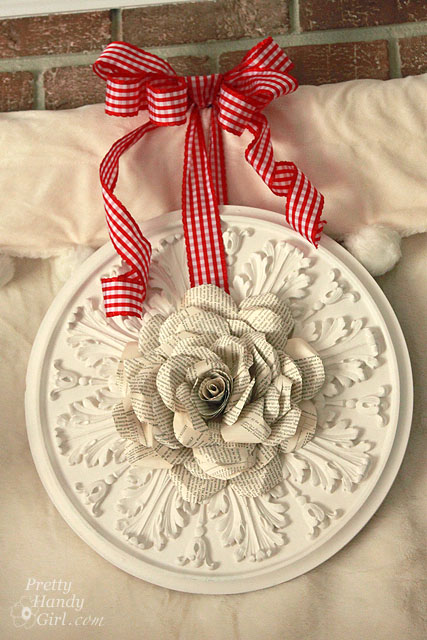
 or crafting things like a book page medallion wreath.
 Anything I improve, fix, design or create I’ll show you how I did it. I believe that we are all handy people, but sometimes we need a little step-by-step tutorial to give us the confidence to complete our own DIY project. Without further adieu, this is the instructions for creating a rustic wine crate.
Have you ever been browsing the wine section of your supermarket and noticed an empty wine crate? Every once in a while I’ll find one too. I was actually at Costco when a perfectly good wine crate found itself on the fast track to the dumpster. I gathered my strength and nearly tackled the stockroom boy as he picked it up and carried it to the back.
I’m sure in that split second the stockroom boy thought to himself: (Crazy lady with two crazy boys. Frantic crazed look in her eyes. Will she start crying if I don’t give this to her? What the heck.)
And with that I walked out proudly with my empty wine crate and $100 worth of unnecessary books, clothing and bulk foods that could help us survive the plague.
Materials:

- Wine crate or wooden box
- Dark brown stain (Minwax Early American)
- Paint Brush
- Paper towels
- Damp rag
- Rubber gloves
- Medium Grit (100 grit) sandpaper
- Sisal Rope
- Scissors
- Drill w/ bit larger than your rope
Instructions:
1. Start by cleaning off your crate with a damp rag. Then brush the stain on and let it sit for a minute.

2. Wipe the stain off with paper towels.

Add a second coat if you want your box to be darker. Allow it to dry thoroughly. It might take several hours or overnight.

3. Sand any words and printing on your crate until you start to see some of the wood coming through. Be careful not to sand too deep and expose the bare wood.

4. Wipe off the crate. Mark the location you want your handle to be on the ends of the crate. Be sure to measure the same distances from the top and edges on both sides.

5. Choose a drill bit slightly larger than your rope. Drill holes at your marks.

6. Insert one side of the rope through the hole.

7. Tie a double knot inside the crate to keep the rope from slipping back through.

8. Determine how long a rope handle you want and tie a single knot in the middle of the handle.

9. Feed the other end of your rope through the other hole and tie another double knot on the inside of the crate.

10. Fray the edges of your rope by untwisting them.

11. Fill your crate with magazines, blankets, or décor goodies and display it!

Finally, you can leave your magazines out and keep them looking neat and organized.

Easy tutorial right? How many of you are running to your local wine shop and begging for wine crates now?
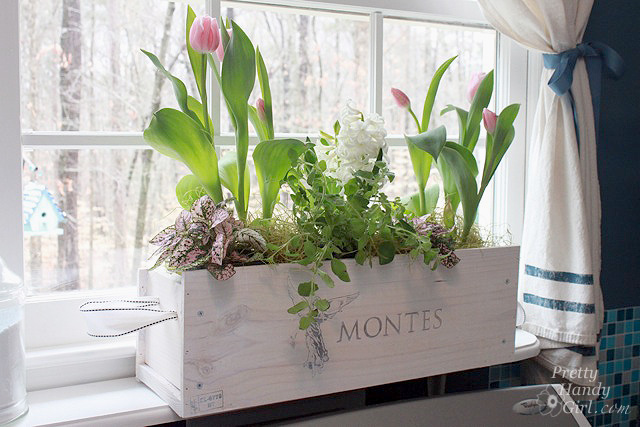
I hope you’ll swing by PrettyHandyGirl.com, I have another tutorial using an empty wine crate to build a white-washed flower box.
Thanks again Erin and the How to Nest for Less readers for letting me share my tutorial with you today.


Amy @ The Happy Tulip says
Whoa. Easy peasy, but definitely a beautiful project. I think one of these would be great to corral the copious amounts of magazines around my house instead of some of my baskets. I think I have too many baskets. . . Can one have too many baskets?