I actually made some progress in my craft room over the weekend. Let’s just say I was dreading painting the stripes (which is why you haven’t seen any updates in this room since I made my no-sew curtains).
But now the room is painted and I’m oh-so-happy that it was MUCH easier to paint stripes than I thought it would be.
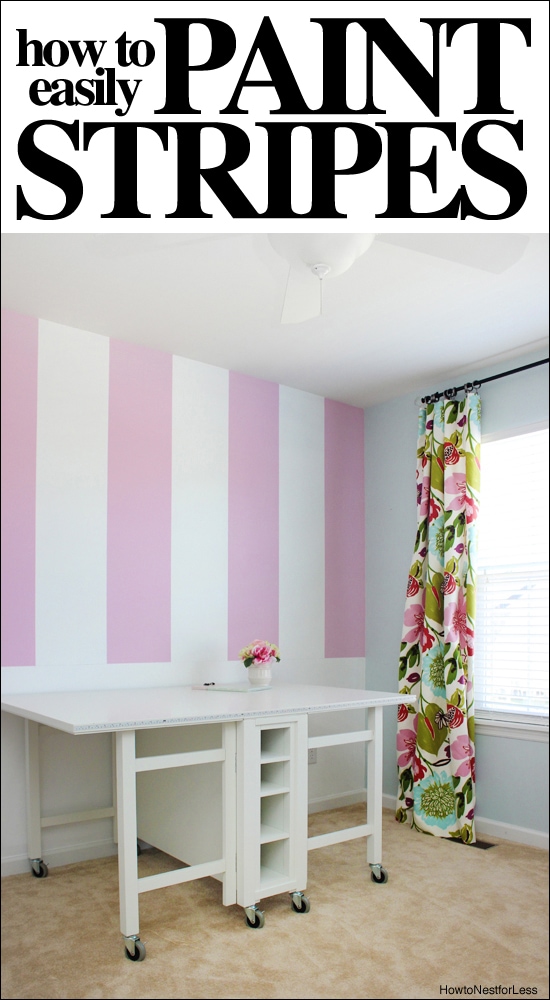
 I decided to only do two colors: bright white and a rosy pink. And I’m only putting stripes 2/3 of the way down the walls since I’m going to add a chair rail and picture frame moldings below.
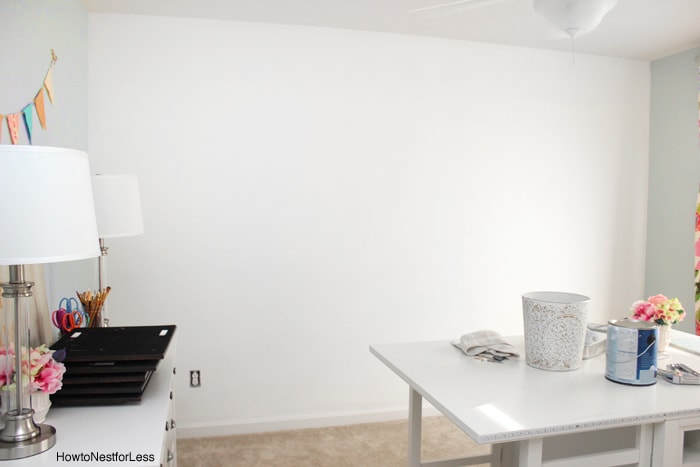
So the first step was to paint the entire wall my lighter of the two stripe colors, Ultra White by Valspar (pardon the crazy mess).
 Next I figured out my stripe measurements while the paint dried. The wall width is 148 inches and I knew I needed an odd number of stripes. Odd number means you’ll have the darker color on the left and right corner so everything looks even to the eye.
I didn’t care exactly how many stripes I was going to have, somewhere in the 11 or 13 or 15 arena. BUT I knew that I didn’t want weird measurements. Example: if I was doing 13 stripes, it would have measured out to 11.38 inches per stripe. Kinda hard to measure that. 11 stripes on the wall equaled 13.45 inches wide per stripe. Basically 13.5 inches. DONE DEAL in my book. The last stripe was a smidgen bigger. Yeah, I don’t need perfection.
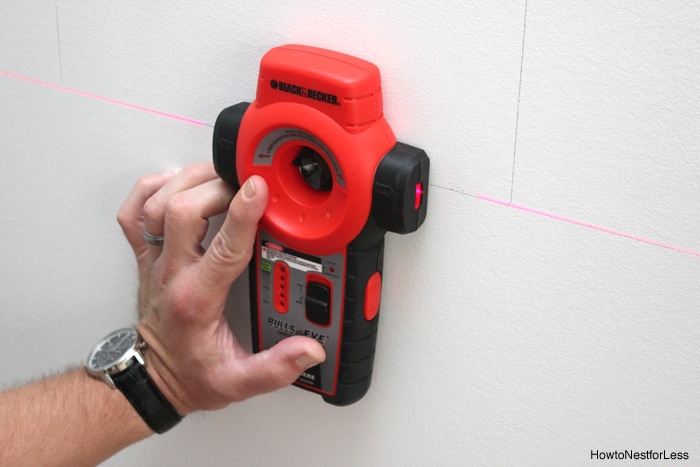
 Since I’m doing the chair rail, I marked 32 inches off the floor across the length of the wall (that means I only had to paint my vertical stripe lines 2/3 of the way down the wall, nice).
Next I went along the length of wall and gave a little pencil mark every 13.5 inches.
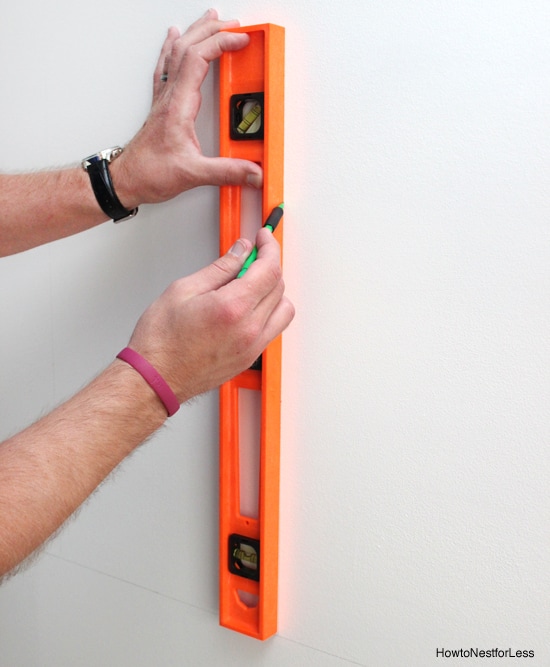
 I used those little marks and my large level to draw the vertical stripes. Your level is EVERYTHING. Trust it, not your eye. You can double check your work with a tape measurer or ruler when you’re done, but since we trusted the level completely everything turned out perfect. Thank goodness.
 Next it was time to tape up the stripes. Since we already had the lighter stripe color on the walls, we only needed to tape for the darker color. That’s why my tape job looks uneven, like every other stripe is too thin. We are only taping to paint the darker color. So tape on the OUTSIDE of those lines.
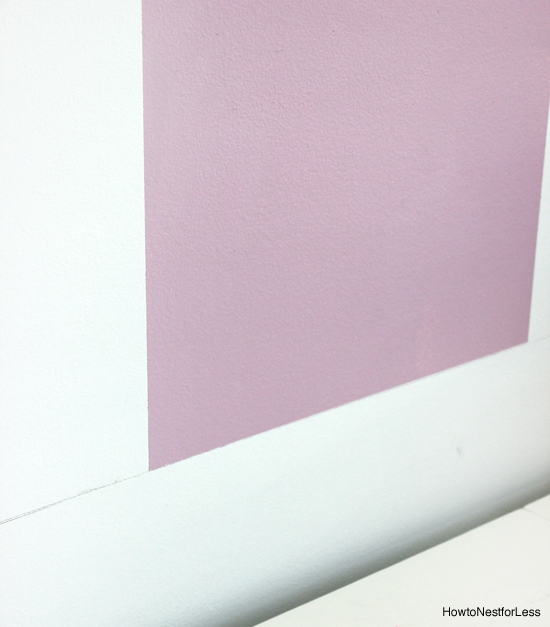
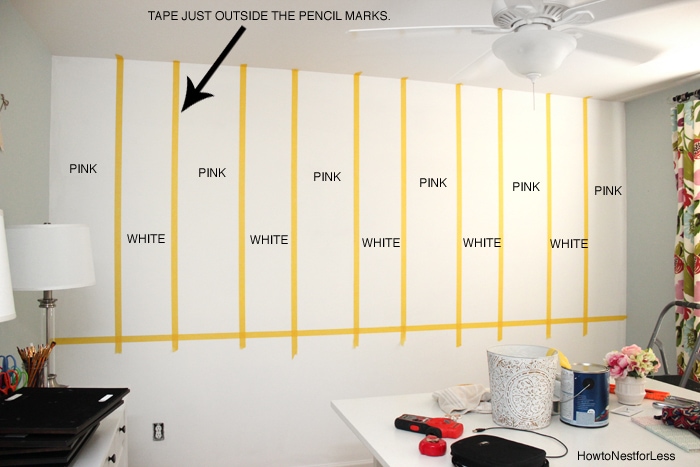 Another tip: make sure you don’t tape directly on the pencil line. You want your new color to paint right over those lines. Beats erasing them when you’re done!
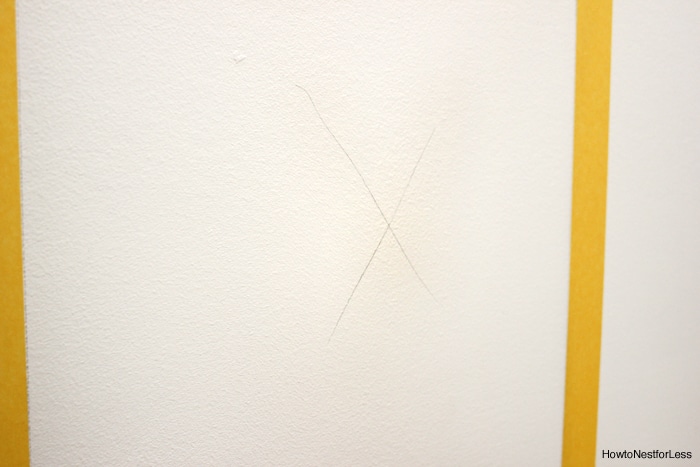
I also marked a light “X” on the stripes that were supposed to be pink so I knew to paint those. Didn’t want to accidentally start painting a white area. That could’ve been bad.
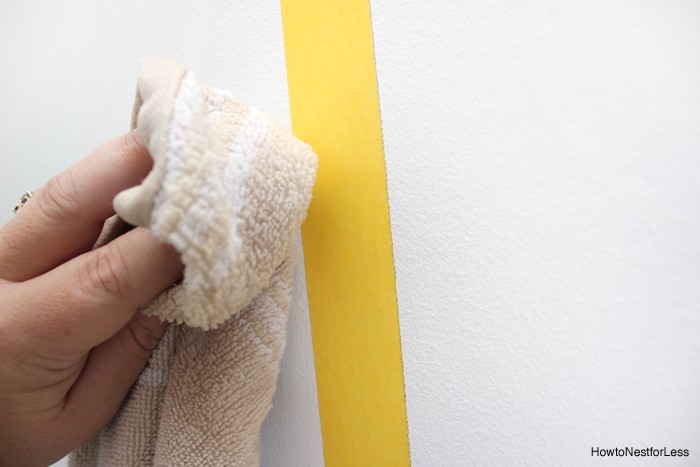
 And here’s my best little secret… use Frog Tape (they are not paying me to say this either). So the main reason I was scared to use painter’s tape for stripes is because I know how paint can bleed underneath. But I knew that Frog Tape had some type of gel technology built-in so for this project I wiped down the tape with a damp rag to make the gel expand a bit. I don’t think this is how you’re supposed to actually use the tape but trust me, it worked. It was like adding a clear sealer on the edges but without the extra hassle.
 Once the tape was ready I started painting. I used a brush to cut in near the ceiling and the corners but used a roller for the rest (ignore the first stripe, I got carried away with the paint brush). Painting the pink was definitely the fastest and easiest part of my project! Maybe 30 minutes to paint the stripes.
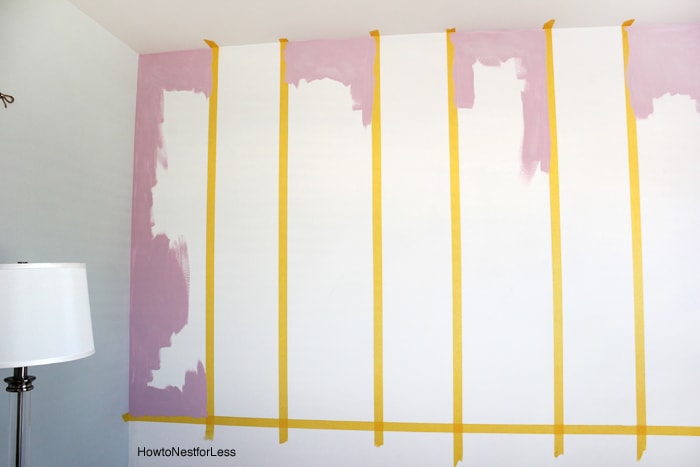 Then about 2 hours later I removed the tape… to crisp, clean, perfect lines!
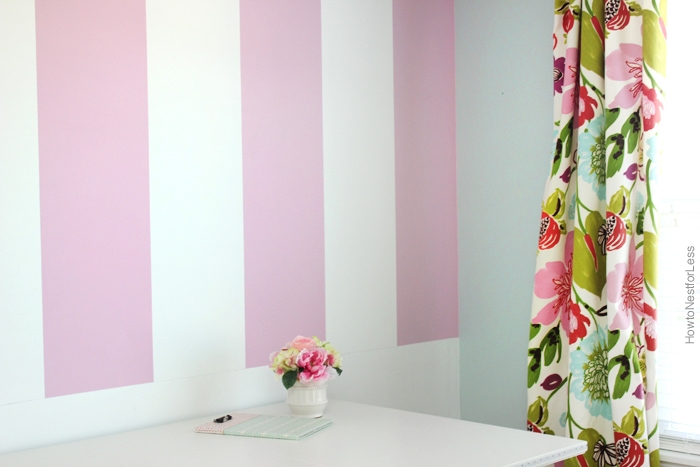
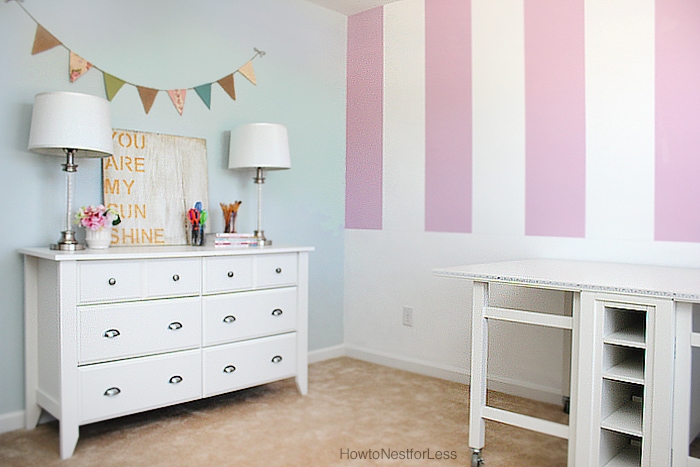
 And here’s where I’m at now with the space!
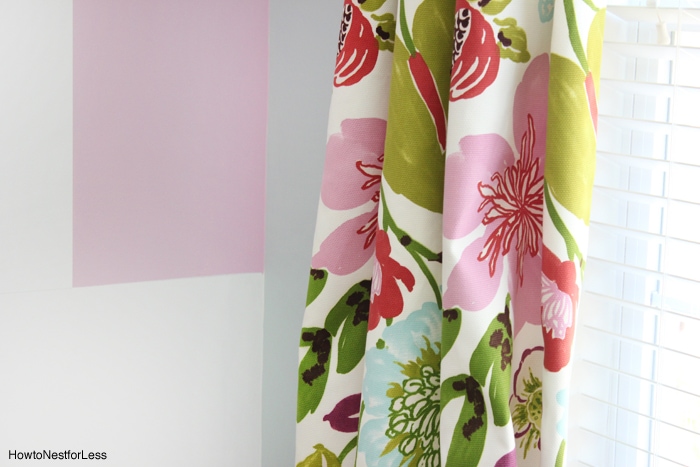
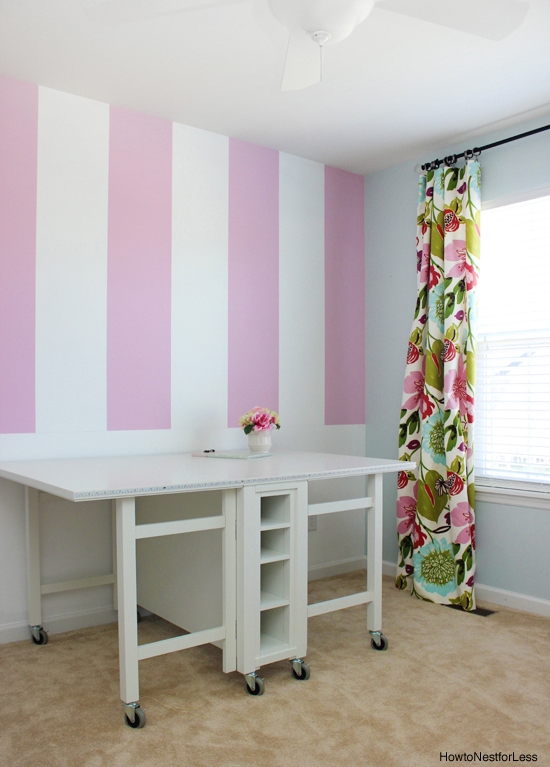 I’m loving this Ooh La La rosy pink color from Valspar with my new no-sew curtains. The color pretty much matches perfectly (although for some reason I can’t get the greenish blue color to photograph well).
I’m getting oh-so-close to getting this room complete.
Next on my list?
• Chair rail & picture frame moldings
• Hang framed pegboards from old craft room
• Fing a rug
• Paint and reupholster some old bar stools for craft table
 Alright, I’m off to work on some moldings.
Wish me luck!

Wendie Waldman says
Oh, wow! Beautiful. I love the stripes with your gorgeous curtains. That print is great.
howtonestforless says
Thank you! And yes, I’m in LOVE with that fabric!
Jenny says
That looks great!!
howtonestforless says
Thanks Jenny!
andrea says
I am sooooo not a pink person, but looks lovely in your room. compliments the curtains perfectly!
howtonestforless says
DITTO on that one! But pleasantly surprised!
Lisa says
Love your walls. Also, love the craft table. Could you tell me where you got the craft table? I love it!!!
howtonestforless says
You can find it from The Home Depot:
http://www.homedepot.com/p/Martha-Stewart-Living-Picket-Fence-Collapsible-Craft-Table-0795000400/203201461?cm_mmc=Shopping|THD|google|&mid=s0nGhP9es|dc_mtid_8903rn225192_pcrid_171990442072_pkw__pmt__product_203201461_slid_&gclid=EAIaIQobChMI6IT1w_LN1QIVUVcNCh1Fag0eEAkYAyABEgJmq_D_BwE
I would keep checking the price. It should go down even further than that!
Natalie says
Thanks bunches for your killer blog with super helpful tips. We just did my daughter’s nursery and it looks professionally done and so lux. ???