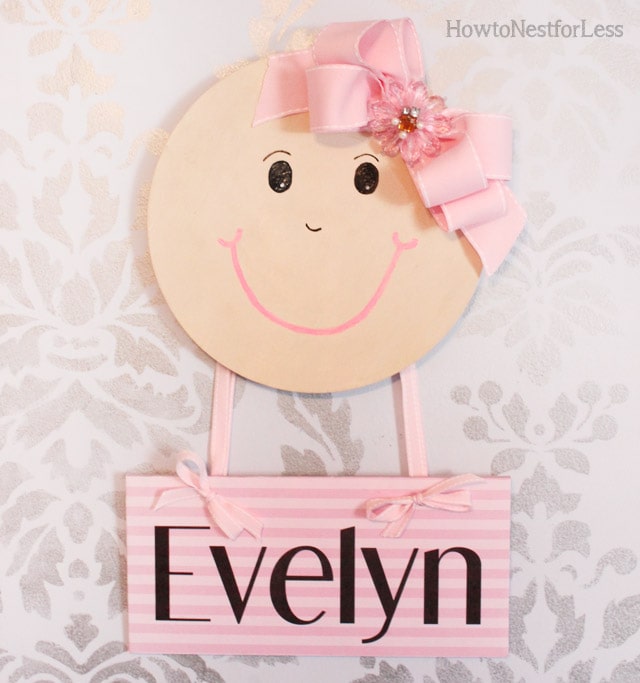
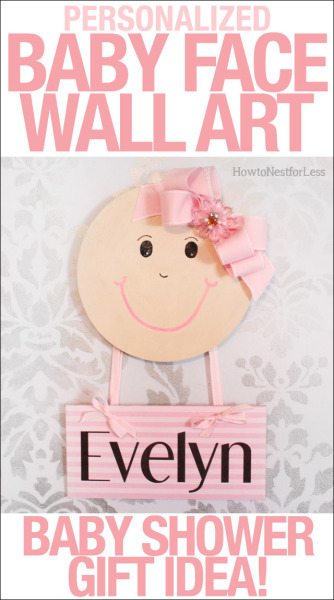
Yesterday I showed you a cute little glider I revamped for my new niece, a little girl named Evelyn. Well, I wanted to make something special for her bedroom as a Welcome Home gift, and found a cute little door hanger from Crafty Couture but unfortunately it’s is no longer available on her Etsy site. So I decided to make one on my own instead!
 I gathered my supplies:
- 8 inch wood circle
- 10 x 4 inch wood rectangle
- Acrylic paint for the skin color
- Pink 3 inch ribbon
- Pink 1/2 inch ribbon
- Pink accent jewel
- Scrapbook paper
- Black, white and pink paint markers
- Hot glue gun
- Drill
- Picture hanging hardware
It sounds like a lot of supplies but I promise you it’s really not! Most of these things I had stashed in my craft room. Ok, let’s get to work!
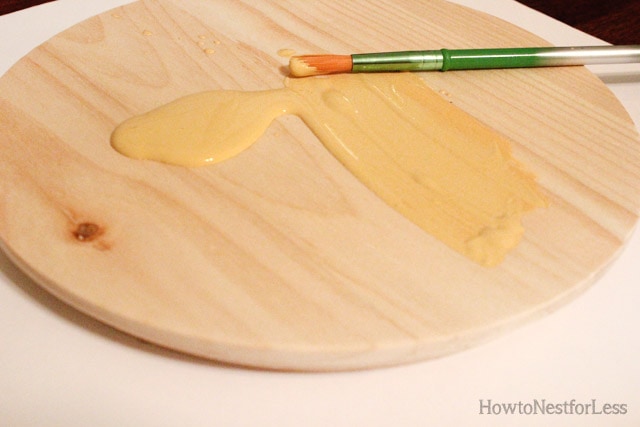 1. I painted the wood circle a light tan for the baby’s face (the piece of wood I used was beveled on one side so I just painted the back for a smooth, round surface). Once the paint dried, I added the facial features using my paint markers.
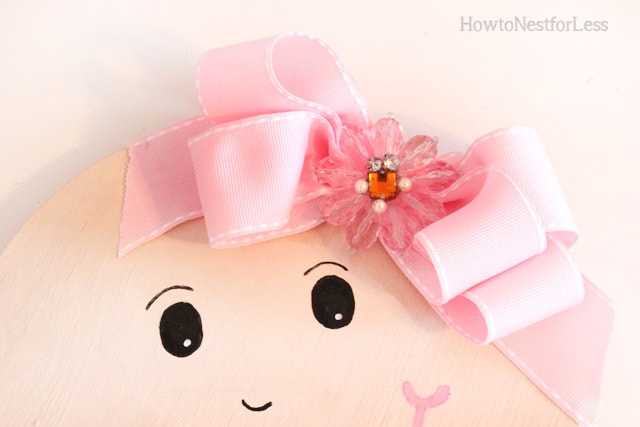
2. Next I created a bow for the baby’s hair using the 3 inch pink ribbon used my hot glue to adhere it to the top right corner of the wood circle. To add a little pizzazz I found a little pink jewel accessory on clearance at Michael’s glued it to the middle of the bow.
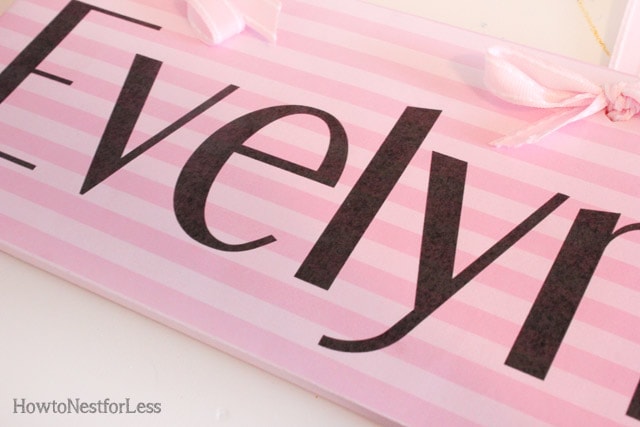
 3. Now it’s time to start working on the little name plate that hangs off the baby face. I found that the best way to apply the name and a fun pattern was to feed normal scrapbooking paper trimmed down to 8.5×11 inches into my computer printer and just print off the baby’s name that I laid out in Microsoft Word. Just make sure you measure beforehand to make sure everything fits!
 4. Before adhering the paper to the wood plaque, drill two holes into the wood so you can hang it down from the wood circle.
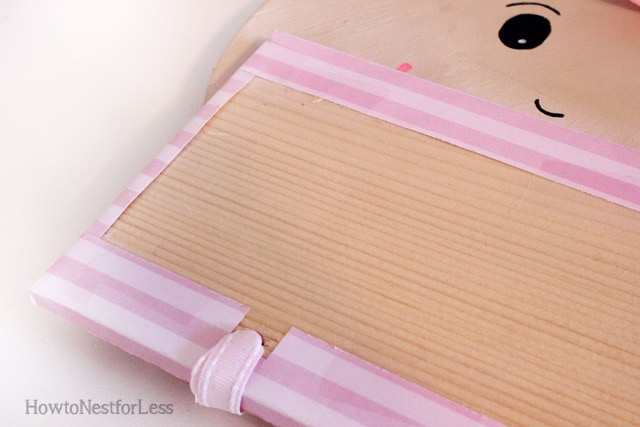 5. To secure the paper to the wood plaque I just scored and folded it over the edges and taped it in place. No one will ever see the back, right? And softly press a pencil or other tool through the paper and through your drilled holes of the wood.
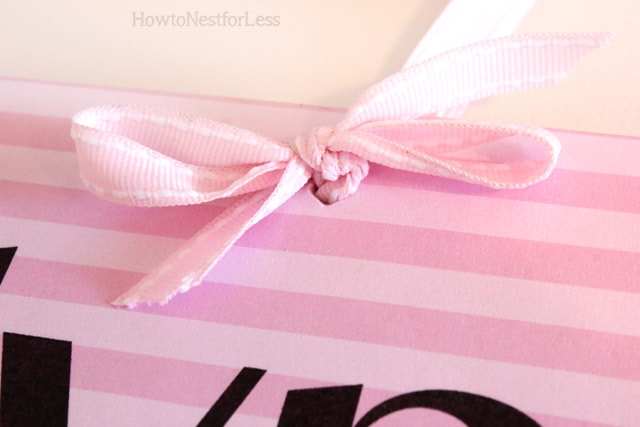 6. Now it’s time to connect your wood baby face with the name plaque with the holes in it. I used the small 1/2 inch pink ribbon. Cut (2) 18 inch pieces of ribbon, one for each side. String both ends of one piece of ribbon through the back of one wood plaque hole and tie together in a neat bow. Do the same to the other side of the plaque with the other piece of ribbon.
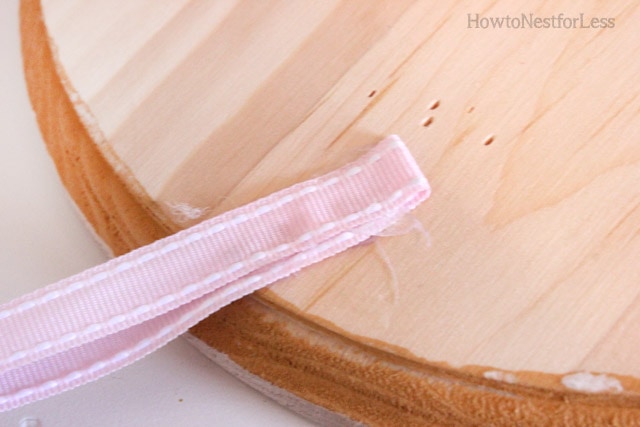 7. The other side of your ribbons will be in a continuous loop. I just hot glued these to the back of the wood baby face (the bottom part is so light that hot glue is just fine to keep in place!).
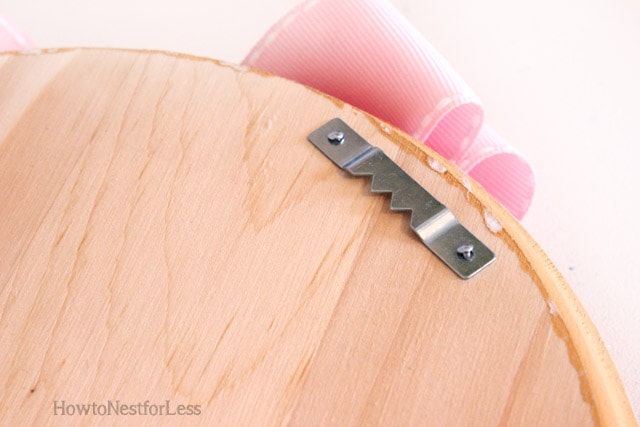 8. The final touch is to add some hanging hardware to the back of the baby face. And now it’s ready for hanging!
Pretty cute, right?
Trust me, the directions made it seem like it took a long time,
but it’s really a quick project if you have all of your supplies ready to rock!
{ BREAKDOWN }
Just paint the face, add a bow, print out a name, tape to a piece of wood,
tie the wood pieces together with ribbon and you’re good to go!

Eva Marie Scott says
Awww that’s just adorable!!!! Really clever and personal!!
howtonestforless says
Thanks so much!
[email protected] says
Very cute!
howtonestforless says
Thanks Lindsey!
Peggy Hale says
That is just adorable! I know she loved it.
howtonestforless says
She did Peggy 😉
Leslie says
Wish I knew someone who was expecting a girl, I would so make this.
howtonestforless says
Haha! I’m sure someday you’ll know someone having a baby girl! Just remember this 😉
Crystal says
Adorable! So cute!!
howtonestforless says
Thanks Crystal!
Stefany says
Really cute project! I have a couple of pregnant friends that this would be adorable for, I’m gonna give it a try! Heck, I’m sure it would look adorable in my 5 yr olds room also!
the Painted Apron says
Very Cute! I love to make these kind of things for baby gifts and showers. I’m pinning for future inspiration, thanks so much!
Jenna
howtonestforless says
Awesome, thanks Jenna!
aprilfae says
Gosh, this is so cute! I am saving this idea for the next family baby shower!