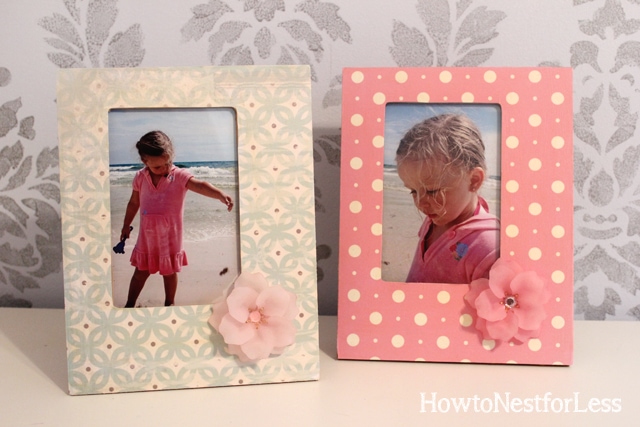
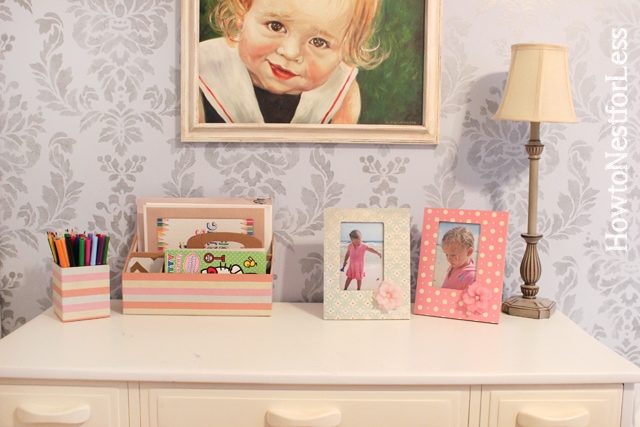
While walking through the aisles of a home décor big box store the other day, I saw some adorable picture frames that I desperately wanted for my daughter’s bedroom… except they were $25 each. Yeah, not gonna happen. So instead I decided to make my own and I’m super happy with the results!
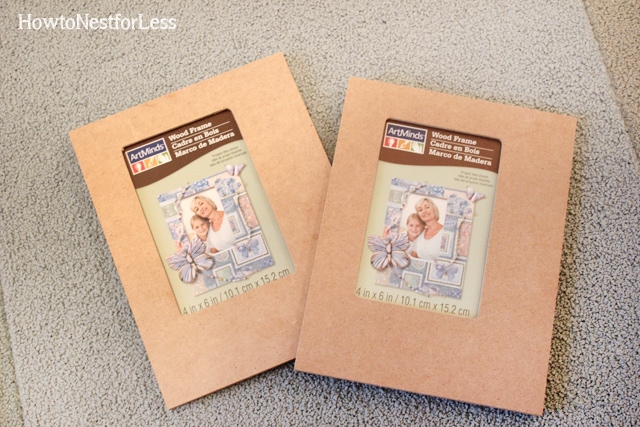
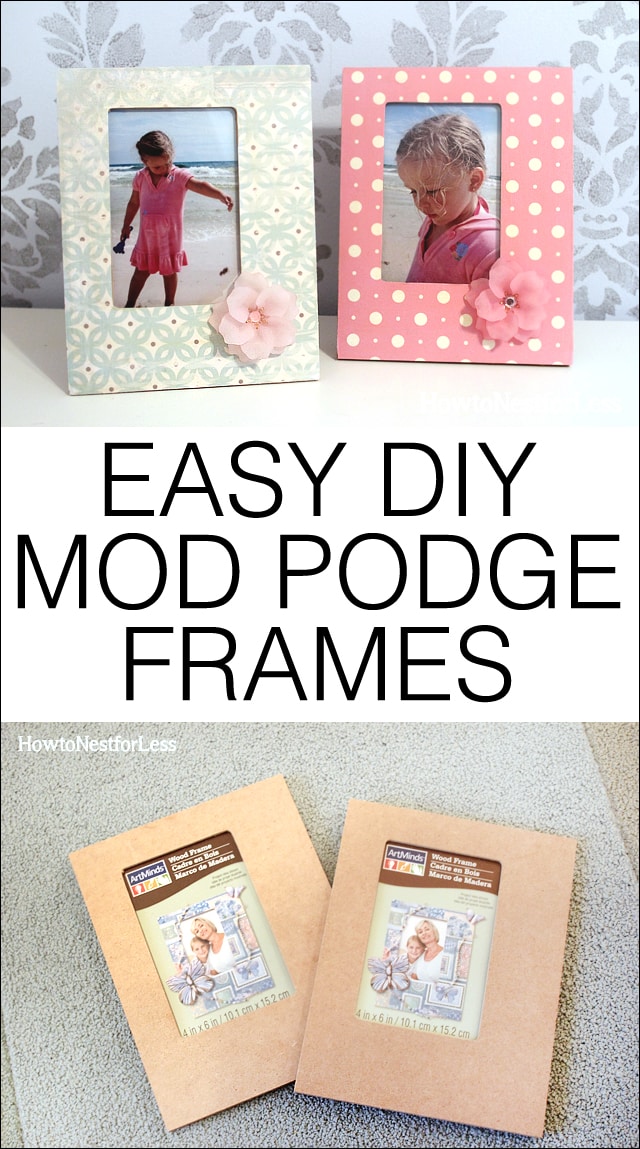
 I snagged these wooden photo frames from Michael’s for $3 each. They also had $1 versions, but I liked the thickness and durability of these.
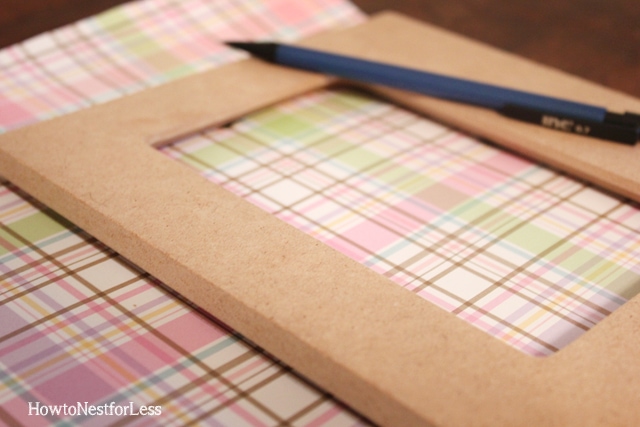
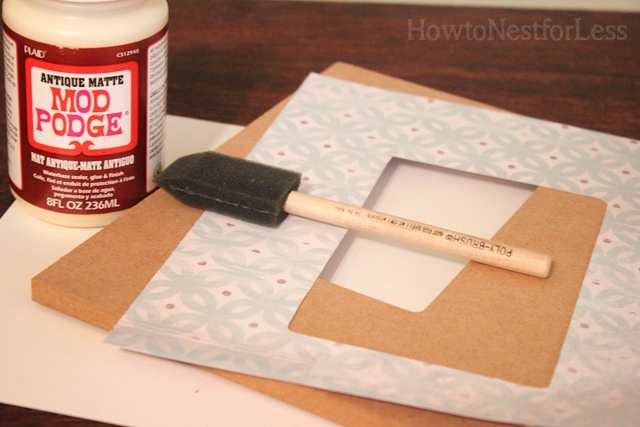
 I chose some pretty scrapbook paper to match my daughter’s bedroom décor and traced it out around the frame.
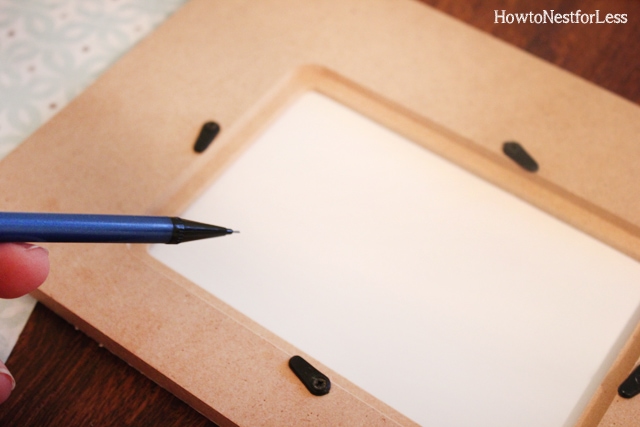
 I also removed the backing and glass to trace and trim out the inner part of the frame as well (I just used a pair of scissors and an exacto knife to t
 Next I adhered the scrapbook paper to the frame using Antique Matte Mod Podge
Oh my, how I LOVE this stuff! It has a bit of a yellowish-brownish tint to it so it gives the antiqued look and feel. Just a quick coat before I placed the paper on the frame and two coats on top of the paper to seal it in.
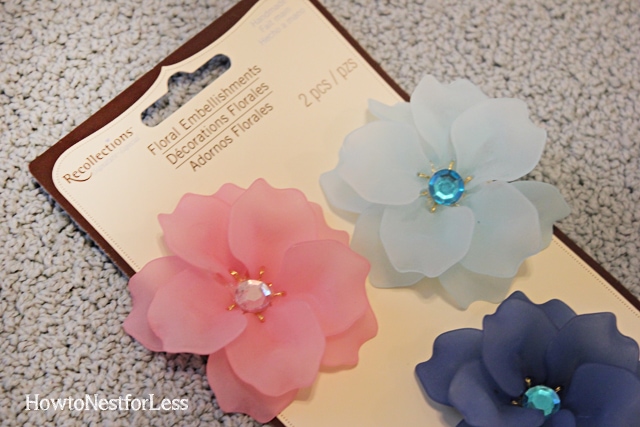
 Once that was dried I added some beautiful floral embellishments that I picked up on clearance from Michaels {major score here}.
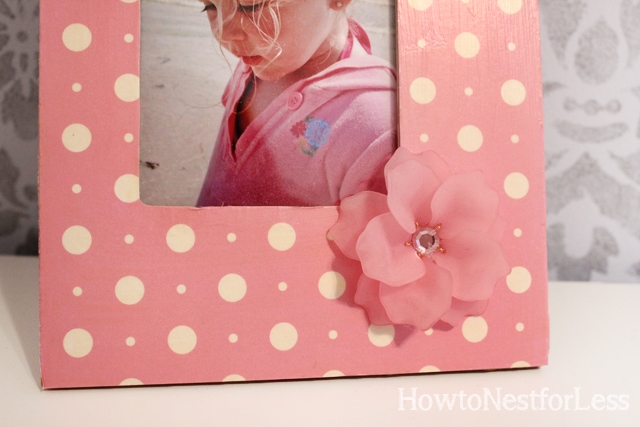
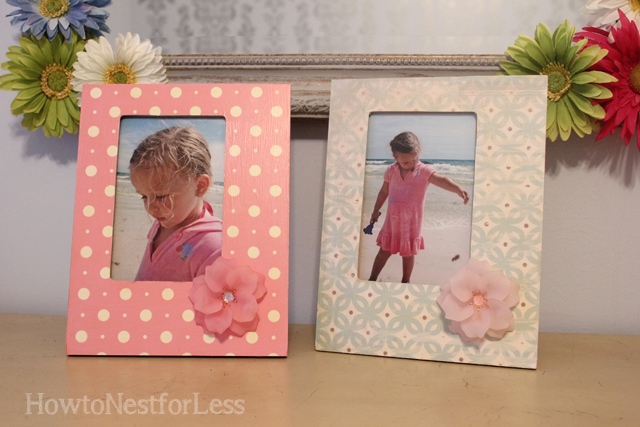
 And that’s it. Seriously a 10 minute project for some super cute frames that only cost me 20% of the retail price I saw in the store. Gotta love that.

 Total price breakdown:
- Frames: $3 each
- Scrapbook paper: less than $1
- Floral embellishments: $2 on clearance
- Antique Matte Mod Podge: $8 (but I had it in my craft stash)
Sheri says
So did you wrap the edges or are they just wood?
howtonestforless says
I left the edges plain wood, but I might go back and paint them with some stripes! You could also leave a little around the edges before trimming to wrap them.
Kristin says
The flowers did you hot glue or mod podge
carmen says
Hot glue
Katie says
These are great DIY frames!
howtonestforless says
Thanks so much Katie!
Meghan says
LOVE these!
howtonestforless says
Thanks Meghan!
Crystal says
They turned out so cute!! I love that you didn’t have to pay top dollars.
howtonestforless says
Thanks Crystal! Always love saving a buck 😉
Angela says
Really cute. Love the flowers! I just got done putting some scrapbook paper on my teens horrible lime green cheetah Print frame. It looks so much better.
howtonestforless says
Awesome Angela!
Amanda says
Great job! These are so adorable. Isn’t it a satisfying feeling to recreate something you saw at a store for a fraction of the cost?? 🙂
Found you at the Serenity Now link party!
howtonestforless says
LOVE saving a couple of bucks!!
Donna says
Wouldn’t these be great to give as baby gifts if you knew the theme of the nursery, or better yet, had some wallpaper from the room? LOVE this idea!! We have so many baby showers at church that some months it’s really hard to spend $20-$25 times two or three showers times three or four months in a row!!! YIKES! I always have a stash of clearance outfits but when we have this many showers in a row, I get wiped out!!!
Thanks for the awesome tutorial!!
Oh, I’m a brand new follower~~AND I LOVE your site!!
Donna
Jane says
How do you keep bubbles from forming under the paper? I tried this and it turned out BAD. 🙁
howtonestforless says
You must work quickly and smooth out everything using your fingers. It will get messy and sticky though! Also, you will have some creases in the paper when you’re finished from smoothing some bubbles out but you won’t be able to notice from a short distance. Mine still look great!