Do you ever see something in a store and think to yourself:
I could totally make that… for a lot less than it costs.
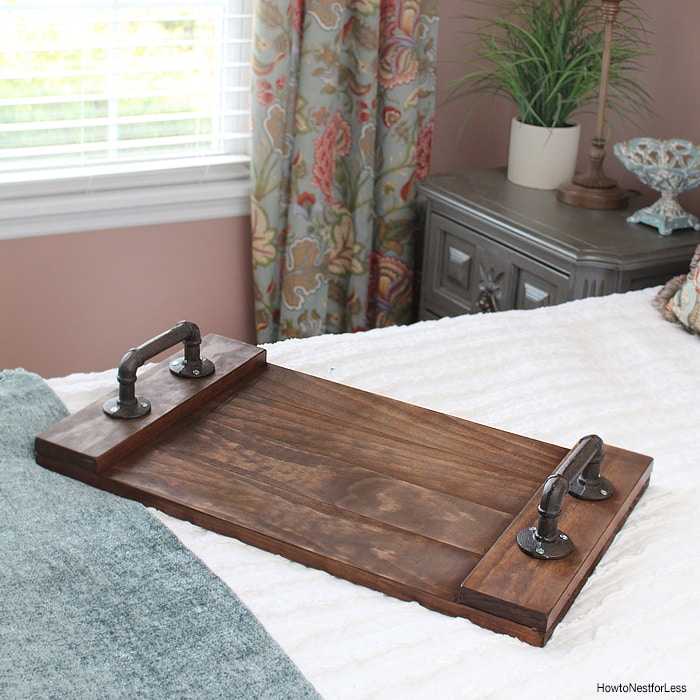
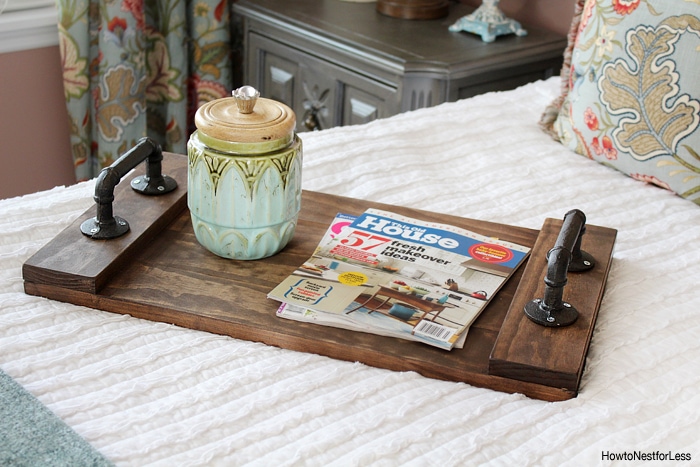
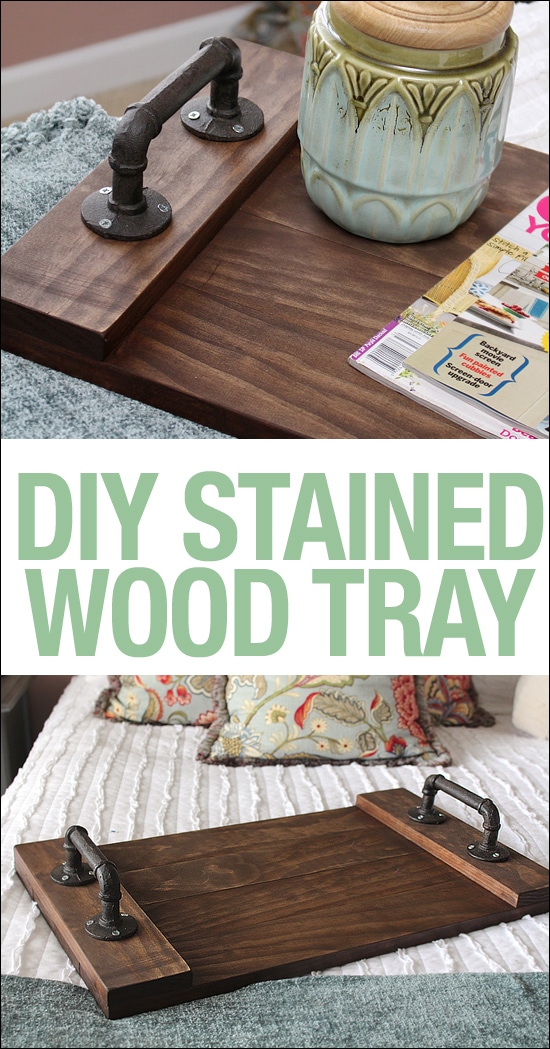
Well that was me a couple weeks ago. I saw this simple wooden tray and instead of shilling out the $50 for it, I decided to make it on my own. And I have to say, I’m in love with the outcome… and it was a super fast project. Yep, even better.
 SUPPLIES:
- (4) 2ft 1×4 boards
- (2) 14″ 1×4 boards
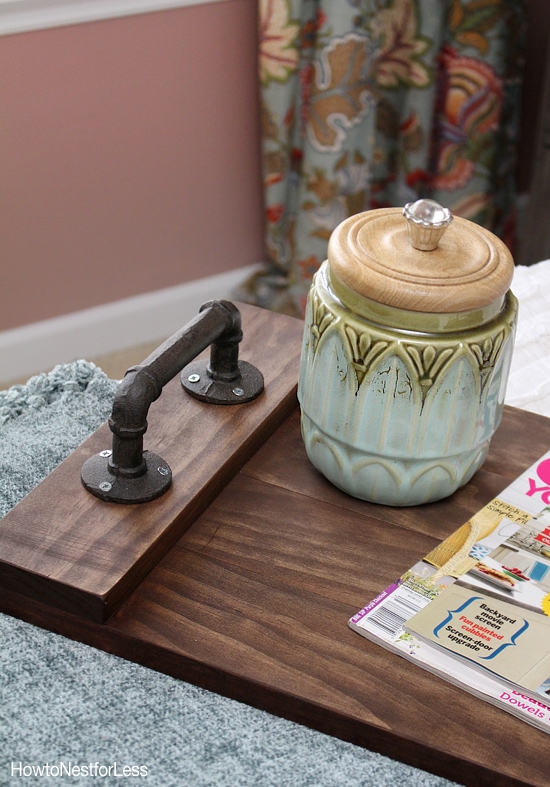
- (2) handles
- 1 1/2 inch wood screws
- Stain
- Paint brush or rag
- Drill
- Saw
- Tape measurer
 I was lucky that I had the scrap wood in my garage and the wood screws on hand. The only thing I had to buy were the handles. Check out Hobby Lobby for a wide range, but wait until they’re 50% off to really save big on this project.
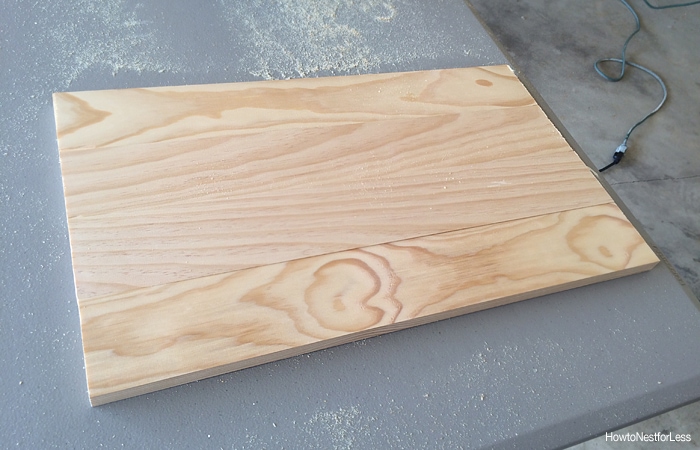
Start by cutting your (4) 2ft boards. I chose 2ft for the tray but you can revise as needed.
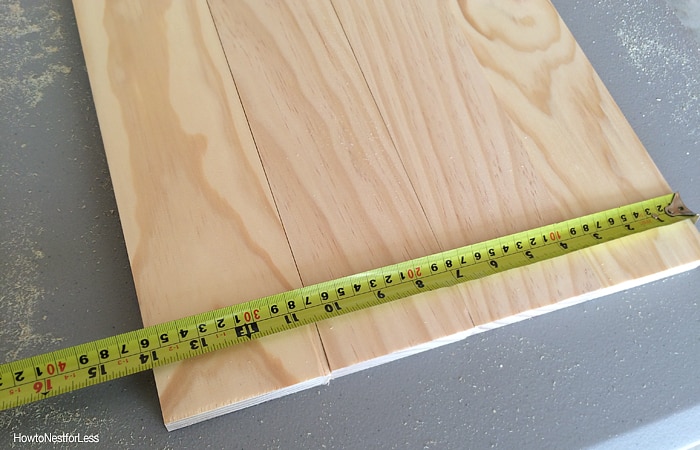
 Next measure across the 4 boards for your cross section pieces. Mine was just at 14 inches but wood may vary slightly so make sure you measure before cutting your 2 cross section pieces!
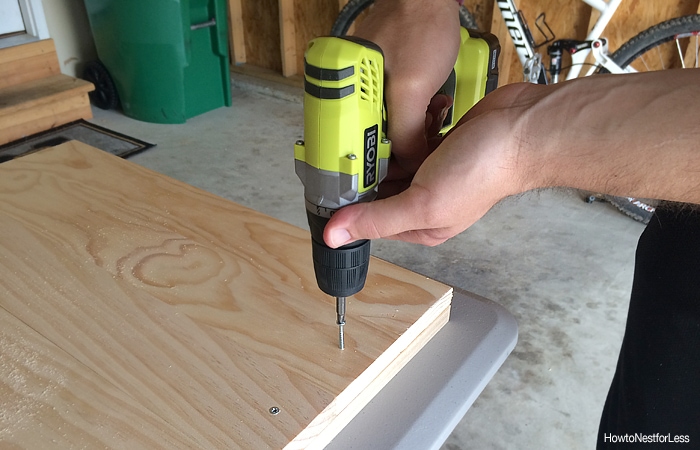
 Then you’re ready to start construction. Place the cross section pieces down first, then lay your 4 longer boards across the top. You’ll want to basically screw upside down so the screws are on the bottom of the finished tray. I recommend making pilot holes first with your drill.
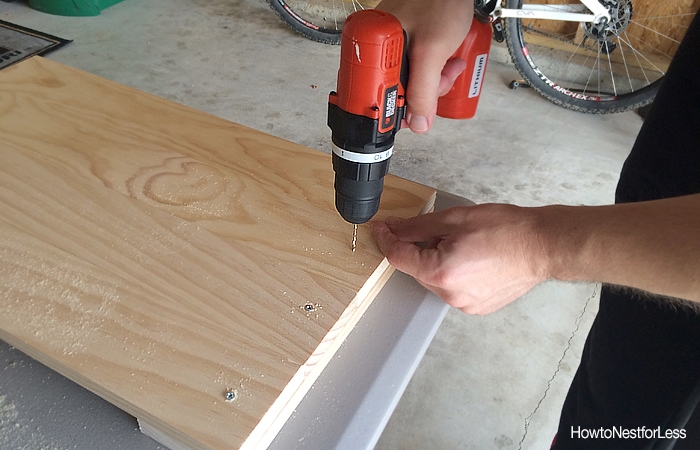 You’ll only need 1 screw in each board for each cross section piece.
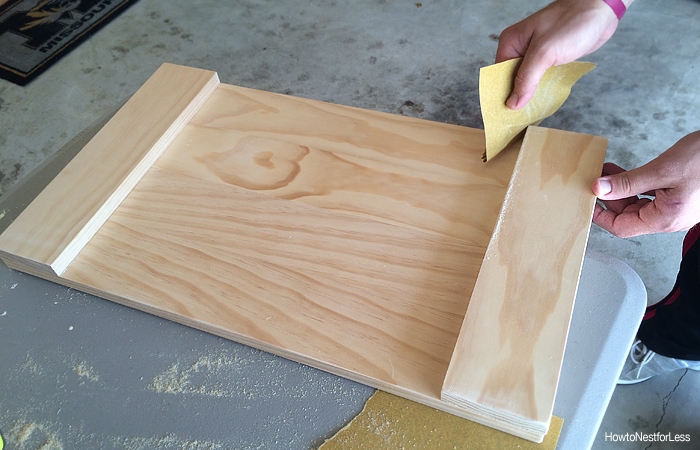
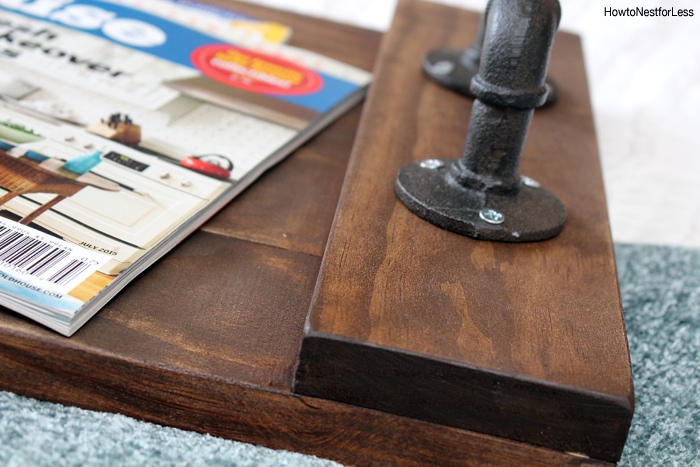
 Next flip it over and start sanding away. You’ll want nice smooth edges and rounded corners so you don’t slice open your hand while handling the tray 😉
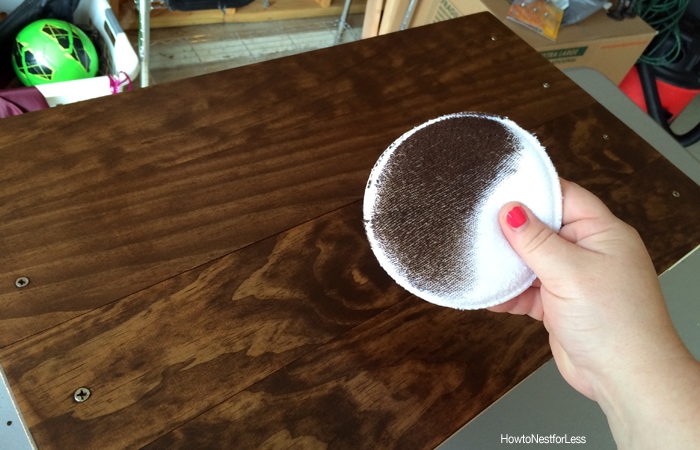
 I used Rustoleum’s Ultimate Wood Stain in Dark Walnut for the finish. Love this stuff. Dries super fast and you only need 1 coat. I used a brush to apply but you can also use a rag or foam brush.
 Then I used a Terry Applicator to wipe away the excess stain. BTW, these terry pads are my new best friend for stain and glazes. You can find them on Amazon here (not an affiliate link).
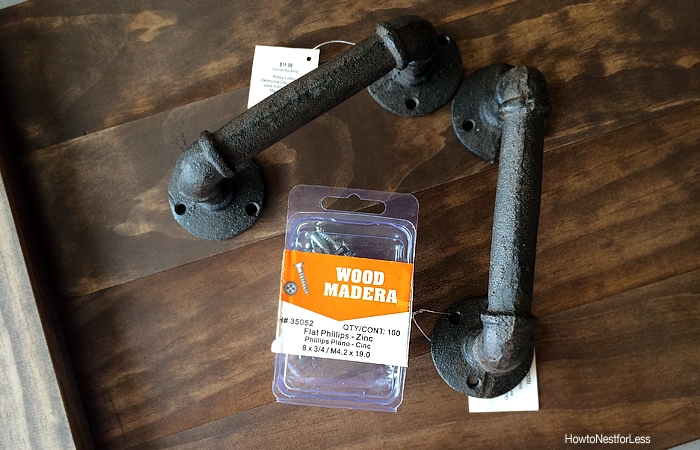
 Once dried you’re ready to apply the hardware.
 And your DIY stained wood tray is complete!
Really pretty easy, right?
By the way, I always said I would never make anything with the industrial pipe look (like the shelving that you saw everywhere this past winter) but I couldn’t help myself when I saw these handles at Hobby Lobby. I know… moment of weakness.
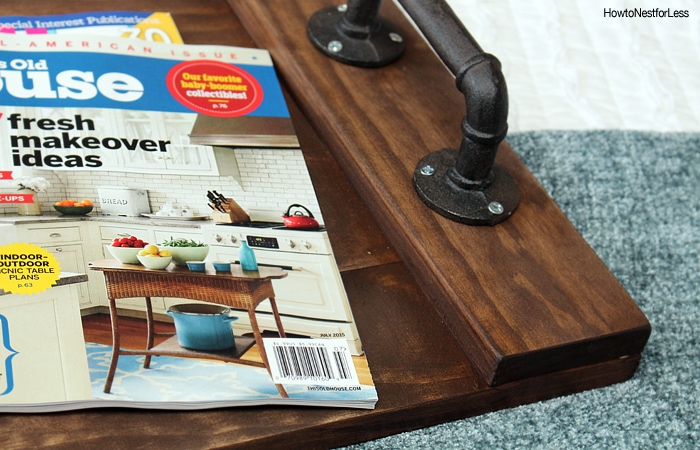
 I wish I would have used black screws for the handles. Complete oversight. Ah, oh well… I’m still in love with this tray. And isn’t that stain just dreamy? Nice change of scenery from painted pieces.
And you got to see a lot of peeks in to the guest bedroom makeover.
Big reveal for this room coming next week!

Wendie says
You are good!
Brandy says
Neat project, I like the walnut stain & the handles make the tray look very unique!
Karen Marchetto says
Just buy a small bottle of black acrylic paint in black and paint the screws. I did that with some towel holder I bought at Hobby Lobby. It turned out fine.
howtonestforless says
Thanks for the tip Karen! Will do!!
Kristen says
Love the tray! To make the screws blend in, why don’t you just use a paint pen and color the screw heads! I’ve done that a bunch and it makes them disappear like magic 🙂
Krista says
Super easy fix for the screws: a Sharpie! It’s a diy bestie 🙂
Or of you want to go fancy, a dab of spray paint on a qtip will do the cover up trick. I spray the paint into a solo cup at the bottom & it is contained & easy clean up.
Project is great…. Looks good!
Could also be making shutters this way…..has me thinking…..
howtonestforless says
I absolutely LOVE that spray paint tip! So smart for touch ups on projects
Kristin says
Looks amazing!
Did you seal the tray or anything after staining it, to avoid water marks or anything?
Thanks!
Kristin
howtonestforless says
The stain we used is amazing and holds up really well against water marks!
Laura L Webster says
I love your blog. I just discovered blogs. The photo of the shelf gives me the idea of cutting a thin piece of wood in the shape of the tops of flower blossoms and gluing or nailing it on the front surface of a shelf. Or perhaps I’ll buy some vinyl peel and stick flowers and back them with the thin piece of wood and then cut off the tops so I can still easily see and access the books on the shelves. I know it’s a little over the top, but I feel quite comfortable there! Nothing makes me feel happier or more alive than decorating my home. Thanks for your wonderful blog.
Laura
Richmond, Virginia
howtonestforless says
Welcome to the blogging world, Laura! I know you’ll get sucked right in 🙂
That shelving sounds like a wonderful idea! I actually did some DIY Cloud bookshelf ledges and think your idea would go perfectly with that concept!! If you ever do the project, please send me a photo. Would love to see it!
https://howtonestforless.com/2016/02/10/diy-cloud-bookshelf-ledges/
Chip says
Suggestion,
After cutting the boards, do you sanding then. Start with a low grit and finish with a light grit.
Also, before assembling, but after drilling any pilot holes, do your stain then. That way you don’t have to fight trying to get the stain into all the corners. It makes it much easier.
howtonestforless says
Thanks for the great tip, Chip!
Javier says
Hi I have been looking for hardware like that, Where did to you buy that?
carmen says
Hobby Lobby