So a couple weeks ago I showed you our newly stamped concrete patios and DIY firepit. Well, now it’s time to furnish the space except everything is so darn expensive. So when Ace Hardware challenged me to a $90 project in celebration of their 90th Anniversary, I knew exactly what I wanted to build…
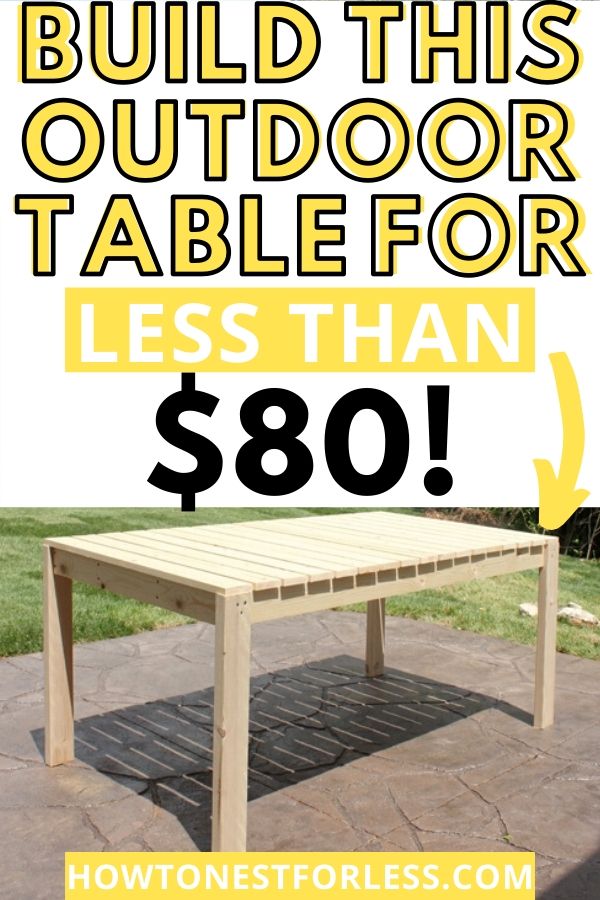
A Patio Dining Table.
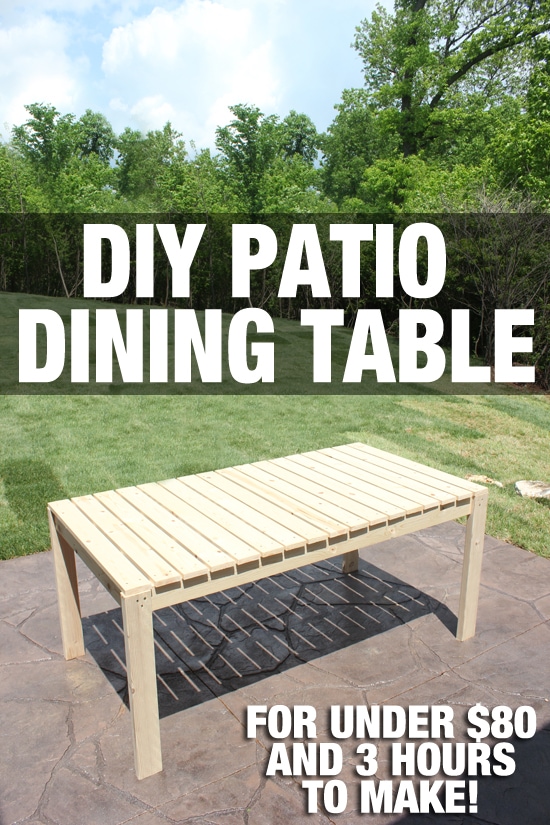 And guess what? It didn’t even cost me $90. More like $80 and that included all of the screws and wood glue. I found the plans that I wanted to use on Ana White’s website, including the entire cut list for the wood.
MATERIALS AND TOOLS
5 – 12′ – 1×4 Boards (Cut Tabletop Boards from these)
5 – 8′ – 1×4 (Supports and Aprons)
1 – 12′ 2×4
1 1/4″ Screws
2″ Screws
2 1/2″ Screws
Wood Glue
Wood Filler
Finishing Supplies
CUT LIST
2 – 1×4 @ 32 1/2″ (End Aprons)
4 – 1×4 @ 64 1/2″ (Supports)
2 – 1×4 @ 60 1/2″ (Side Aprons)
17 – 1×4 @ 35 1/2″ (Tabletop Boards)
4- 2×4 @ 29 1/4″ (Legs)
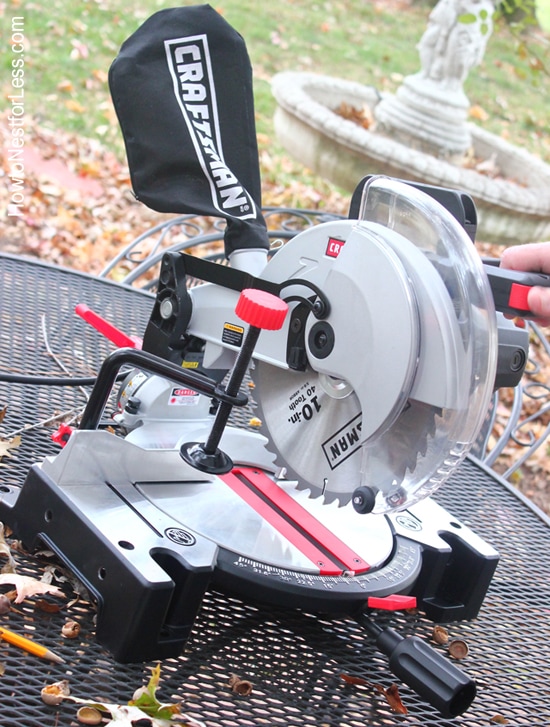
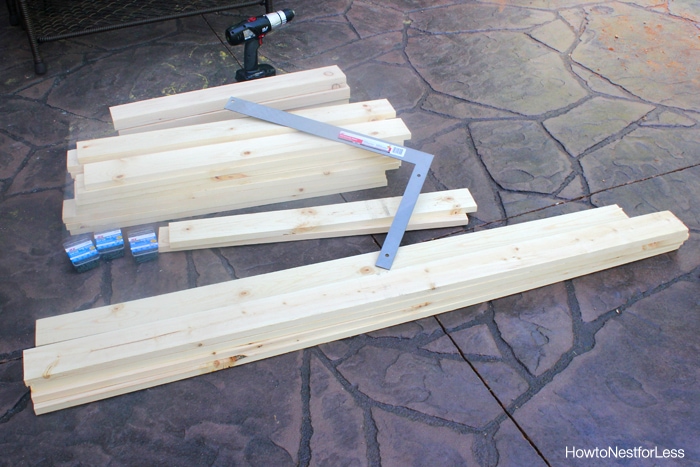 I actually ended up using (10) 6ft 1×4 boards instead of (5) 12ft boards. Easier to transport in my car and Ace Hardware had it in stock! To cut all of my wood I used my Craftsman circular saw. It’s still somewhat of a new tool to me, but you might remember my table trough centerpieces or my basement workshop table.
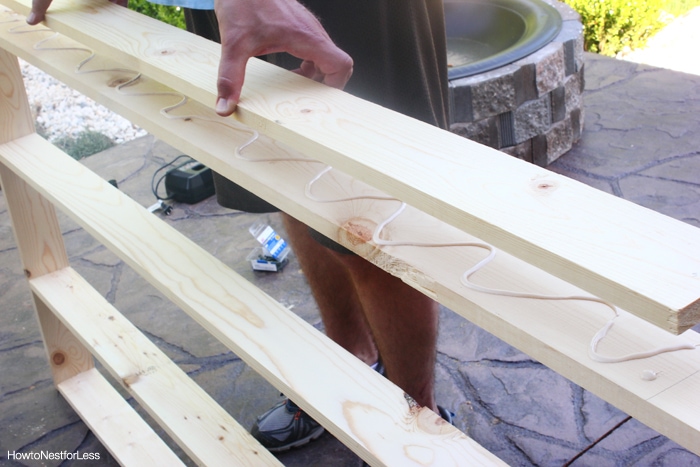
 Then we just followed Ana’s instructions perfectly, making sure we used our square to keep everything angled perfectly before glueing and screwing into place.
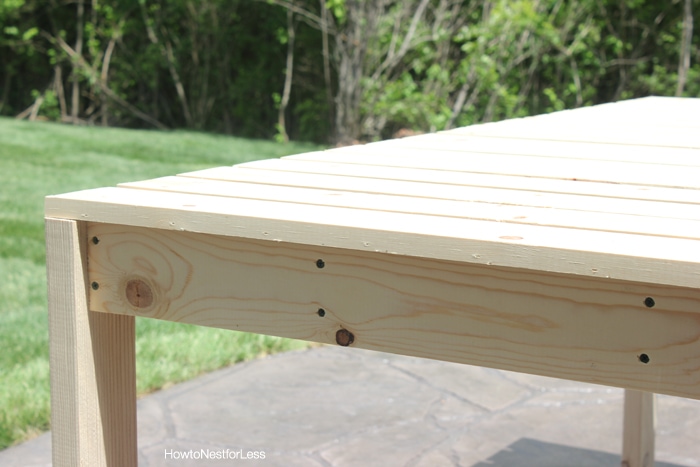
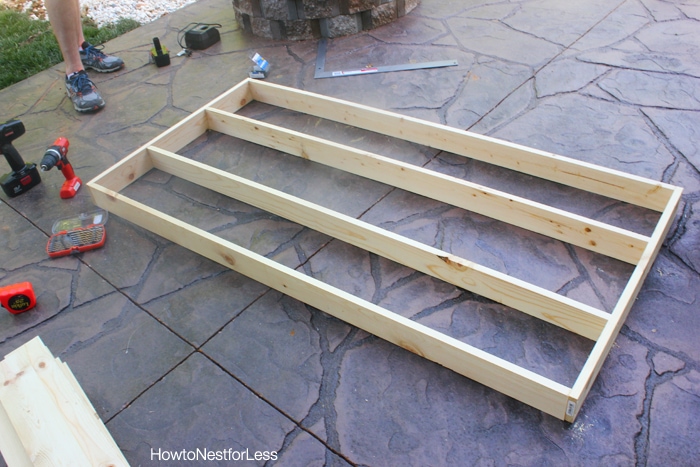 We started by building the table top form with supports down the middle. Then we glued and screwed the aprons onto the side.
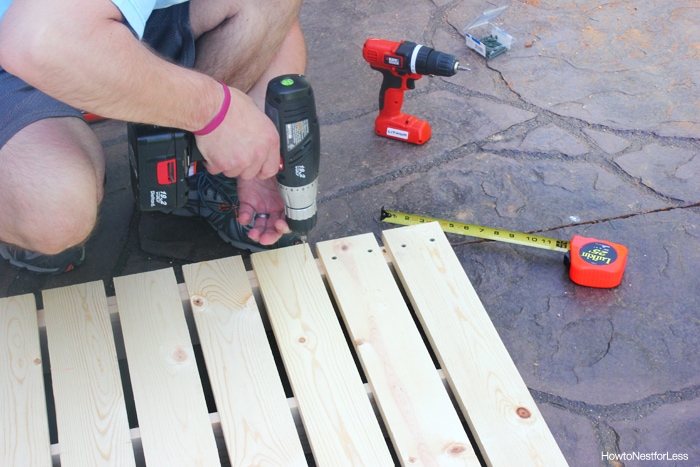
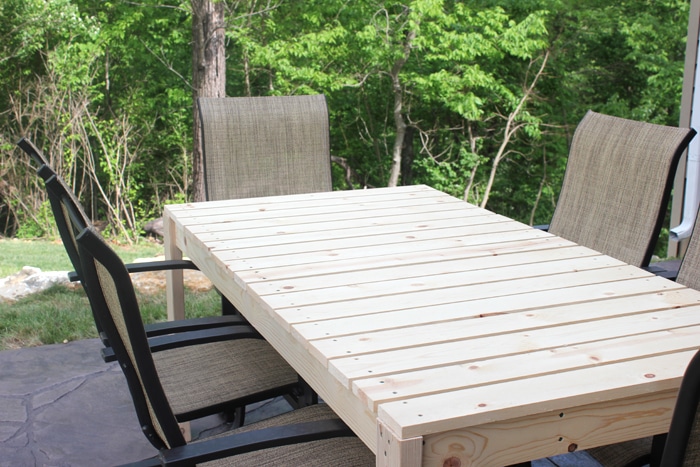
 To add the tabletop boards we laid them in place on top of the supports first to evenly space them out, then screwed them into place. To make things go a little faster we had one drill designated for screwing, and one for pre-drilling holes.
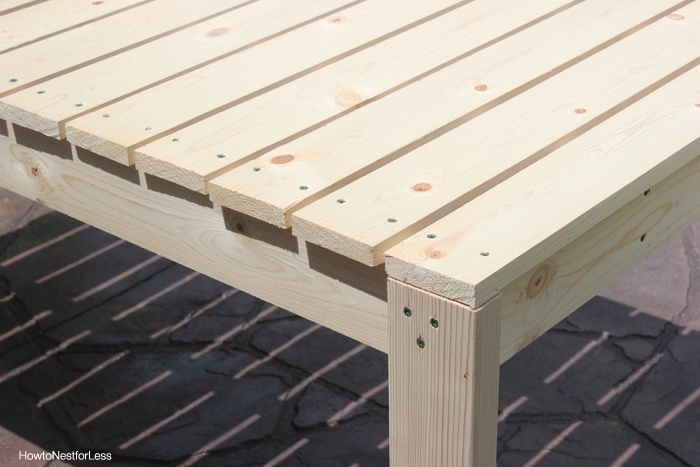
 Once all of the tabletop boards were in place, it was time to add the legs.
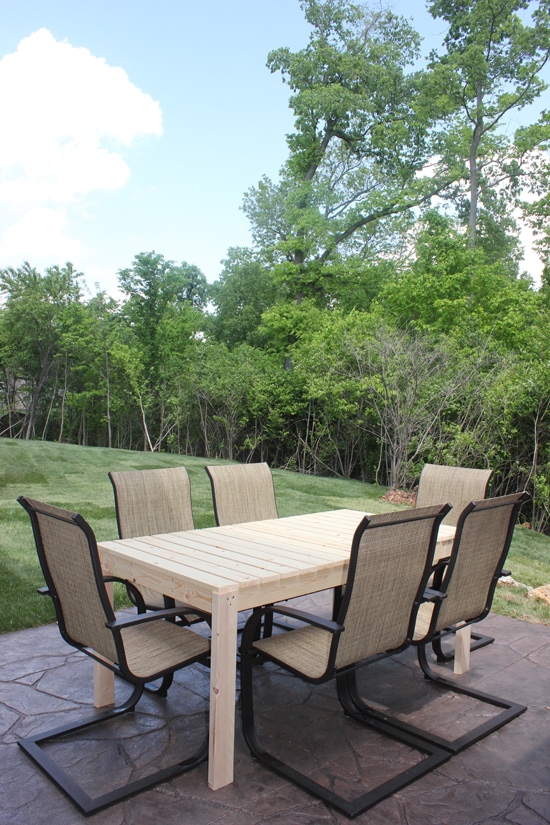
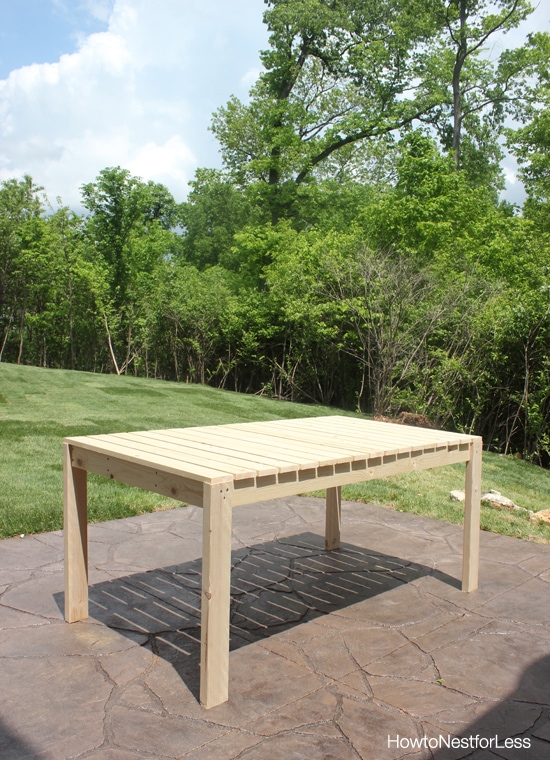
 And three hours later we had ourselves a nice patio dining table.
For under $90 $80.
And here’s the table with some temporary chairs…
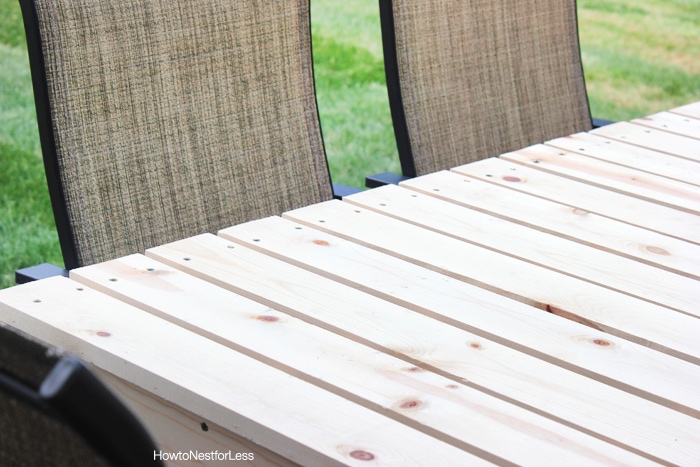
 Now we aren’t going to stain the table. I have cool plans for the rest of this table a different day. But if we were going to stain, I would suggest doing that before assembling. It would be kinda hard to get it perfect between those slats!
 And I could have used a Kreg jig to make pocket holes and hide the screws, but hey… I’m just happy we built a table from scratch!
AND it’s one sturdy table!
Not too shabby for our very first furniture build.
So… what could YOU do for $90?
Tomorrow I’ll be giving away a $90 gift card to Ace Hardware,
so stay tuned!
If you want to see more projects from the Ace Hardware team,
check them out HERE!

I am a member of the Ace Bloggers Panel and Ace Hardware has provided me with materials for this project. I was also compensated for my time and this blog post. All opinions are my own and do not necessarily reflect those of Ace Hardware.


Megan says
Looks great! Good job!!
howtonestforless says
Thank you!
Jill says
Good job! I love Ana White’s website too… Have made a couple of things she designed. Her instructions are accurate and easy to follow!
howtonestforless says
SO EASY! We’re going to make some of the chairs and a bench next 😉
Desiree says
Just wanted to say, love the patio table you just built. I may do that for our backyard… our current patio table broke and my husband is unable to weld it back together because of the material type. We did not want to spend a few hundred dollars on a new one right now…and this would be just perfect for our backyard…
And it would give me something to build to use my new tool set that I got for mothers day!
Wow…now the ideas are flowing! Awesome job and btw..your stamped patio and fire pit look wonderful too
Annie says
Erin,
Nicely done!! I love it!! Enjoy!!
Annie
howtonestforless says
Thanks Annie!
Melissa says
This is great! I usually stay away from Ana’s plans just because I don’t have the Kreg jig. I love seeing an alternative method.
Espie Moreira says
Love the table! I would like to build an 8 seater. Please give me advice on updating the plans. Thank you 🙂