First I gathered my supplies… two 5 inch Styrofoam blocks, 2 garlands of tinsel from Dollar Tree, sticker scrapbook paper and a stand up display box. OK, I have to admit… I didn’t purchase the display box. I saw it empty at the Dollar Tree and asked a worker if I could take it for free. It was the PERFECT size for what I wanted to accomplish. Thankfully he said YES!
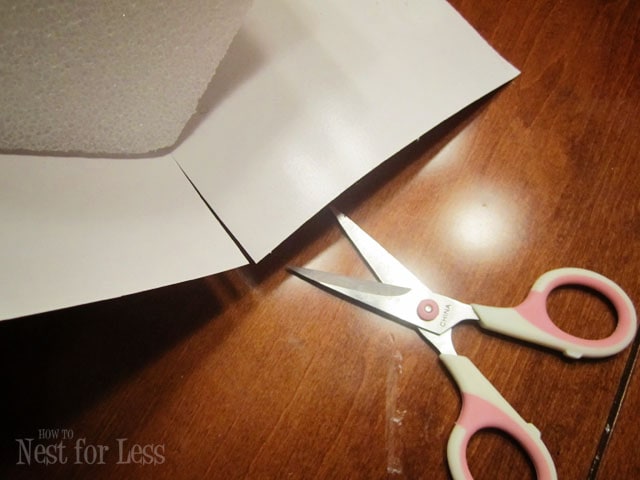
 I started by measuring out the sticky scrapbook paper to cover the Styrofoam cubes. The paper was long enough at 8.5×11″ to cover two sides of the cube. It worked out to having each cube with 2 red, 2 green and 2 silver sides.
 The corners weren’t perfect, but no worries! That’s where the tinsel comes in!
 I used my handy dandy hot glue gun to attach the tinsel to each cube.
 For the numbers I used my new Silhouette Cameo to cut out vinyl lettering on glittery paper (the font I used is Politician). I did half in red, half in silver. You could also use large stickers for this step, or just cut numbers out of construction paper or extra scrapbook paper!
There’s a certain order of the numbers on the cube. One cube will have 0, 1, 2, 3, 4, 7. The other cube will have 0, 1, 2, 5, 8, 9 (the 9 will double as your 6).
 After all the numbers were applied, I trimmed back the tinsel a bit so the numbers would really POP out!
Next it’s time to prepare the stand up display box I got for FREE from the Dollar Store. Like I said before, it was the absolute perfect size to fit the two 5″ cubes! I added the phrase “Days Until Christmas” in silver glittery letters to the bottom of the box in a font called Pharmacy (also, if you don’t have a Silhouette Cameo or vinyl lettering, just use stickers!).

 And that’s it. Wanna see the final result? I’m SUPER happy, and so is my little lady!


Mandi Smith T says
I think this is the cutest idea! I’ve been looking for a new Christmas calendar but all require presents or ornaments. Yours is just as cute, and no gifts required!! M.
Erica says
This is so cute! I did something similar a couple of years ago, though I used small wood blocks from Oriental Trading. Thanks for sharing… I found you on Wow Us Wednesdays!
Mrs_AOK says
Love this so much I had to share I hope you don’t mind ->http://little-miss-aok-bowtique.blogspot.com/2011/12/countdown-is-on.html
xoxo- @mrs_aok
howtonestforless says
THANKS!!
emily says
SO cute! I’m hosting an advent link party and would love for you to join!
http://nap-timecreations.blogspot.com/2011/12/december-1st-beginning-of-advent.html
Kerryanne English says
Very cute Erin.
I’d love for you to share this project on Inspiration Friday at Simply Christmas http://shabbyartboutique.blogspot.com/2011/12/inspiration-friday.html
Macy says
Thanks for linking up to this week’s Tuesday Confessional. You were featured, so stop by and grab a brag button!
http://www.craftyconfessions.com/2011/12/tuesday-confessional-features-crafty.html
Way to go!
~Macy