This fun Hershey’s Kisses DIY Christmas countdown calendar is and easy to make family project!
This is a sponsored post written by me on behalf of The Hershey Company for IZEA. All opinions are 100% mine.
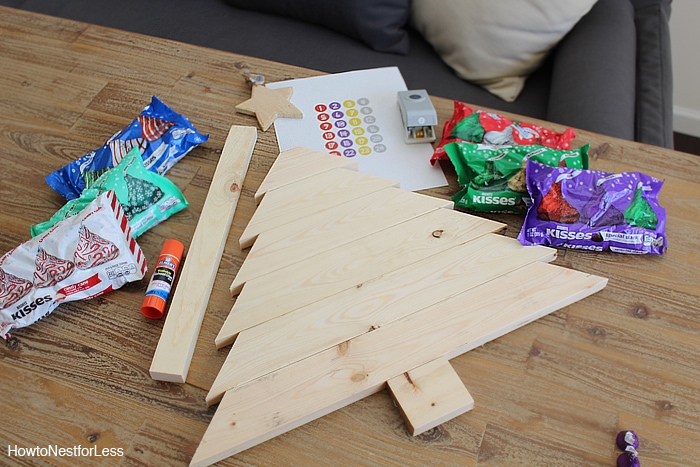
I always love starting new family traditions, especially around the festive holidays. This year I decided to get ahead of schedule and actually plan a fun DIY Christmas countdown calendar with the help of some yummy Hershey’s Kisses chocolates from The Hershey Company! SUPPLIES:
- 8ft 1×3 board cut into
- (6) 1×3 boards with edges cut at 45 degree angles, longest edge at lengths of 21, 18, 15, 12, 9, and 6 inches
- 3×3 inch square tree trunk
- 3×6 inch tree base
- 16 inch 1×2 board (to connect tree boards)
- Wood star
- Nail gun or hammer & nails
- Drill
- (2) 1.5 inch wood screws
- Hershey’s Kisses chocolates
- Candy numbers free printable (below)
- Glue stick
- Scissors or .75 inch hole punch
- Green, brown and yellow paint
 First thing you need to do is right click on the image below and save it to your desktop. Then you’ll want to open the JPG and print out.
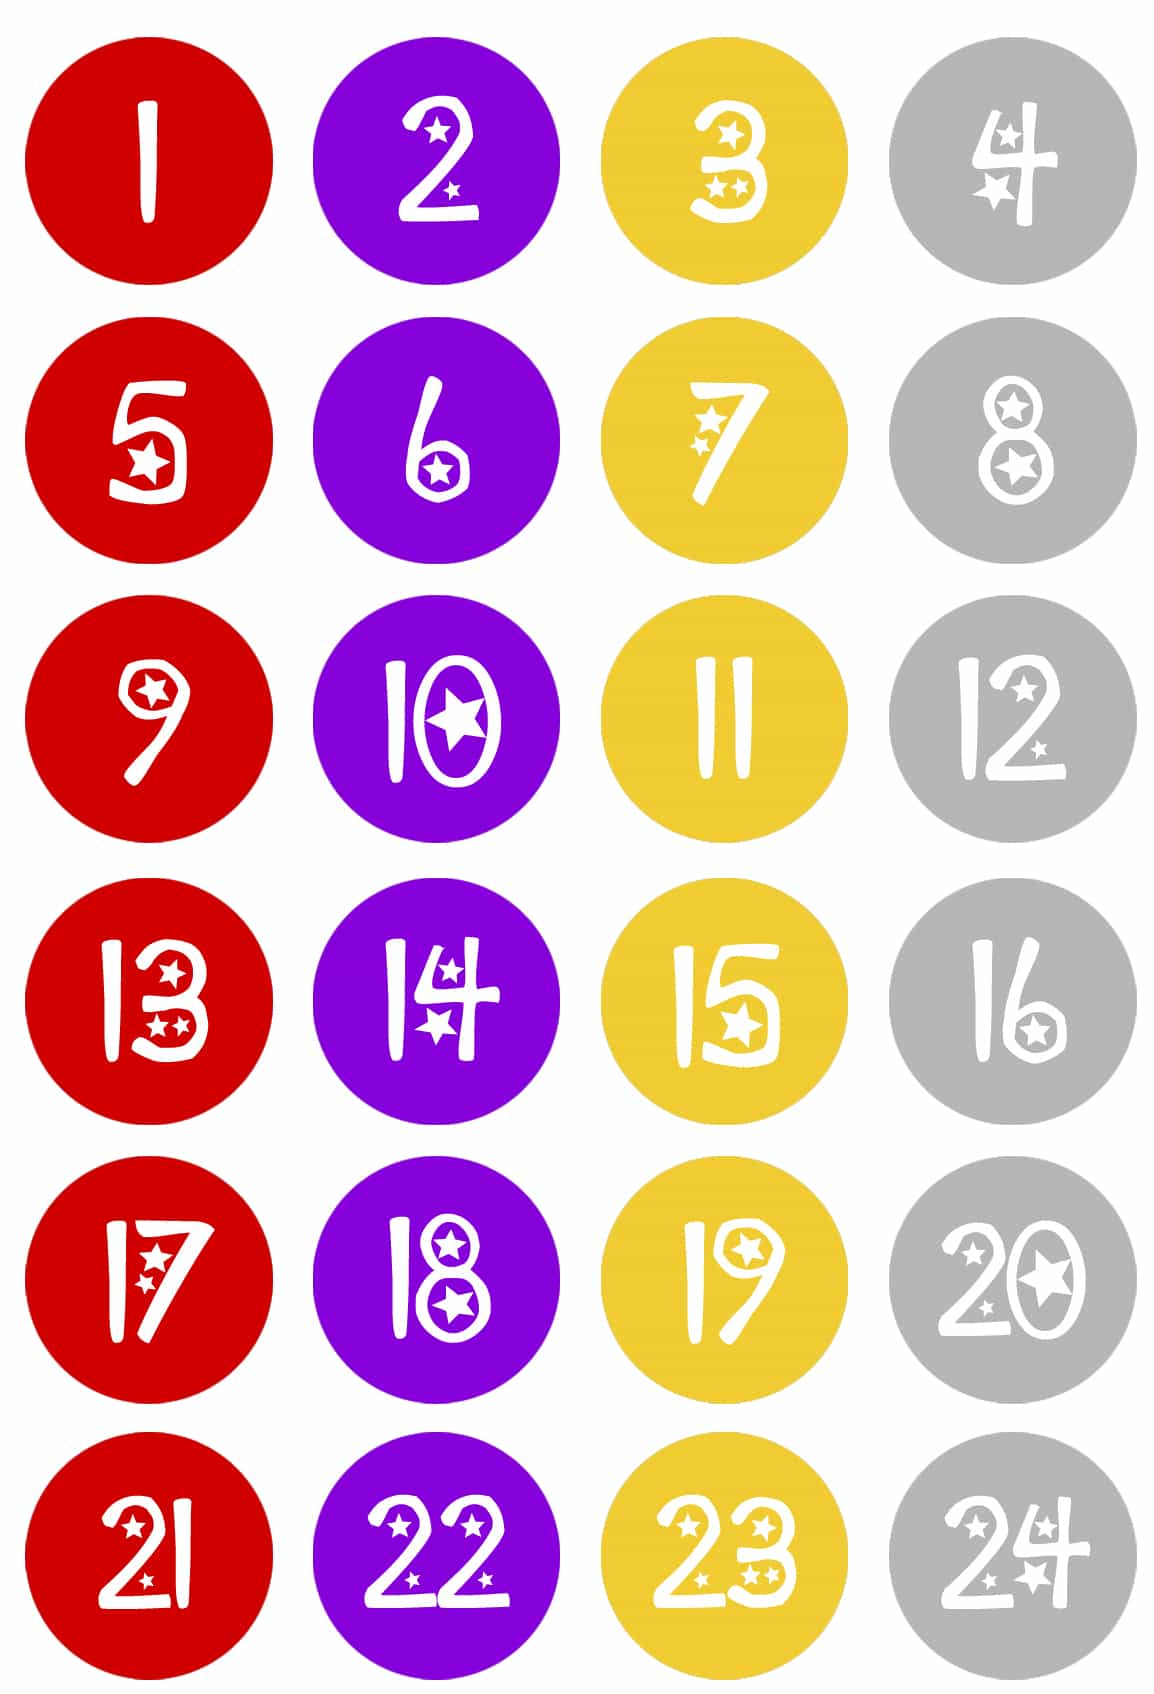
To trim, either use a pair of scissor or get a .75 inch hole punch.
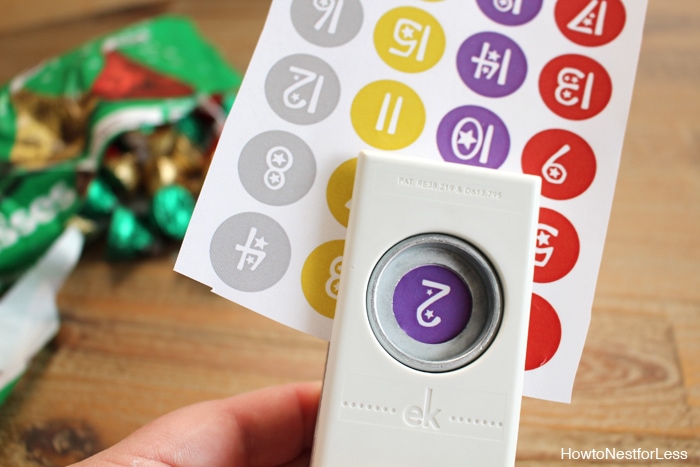
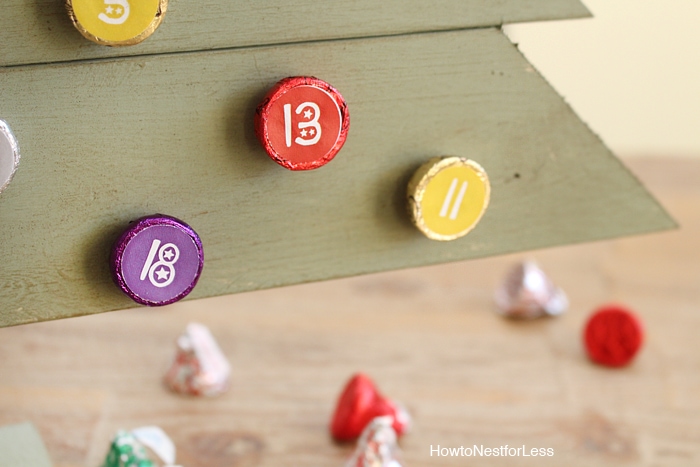
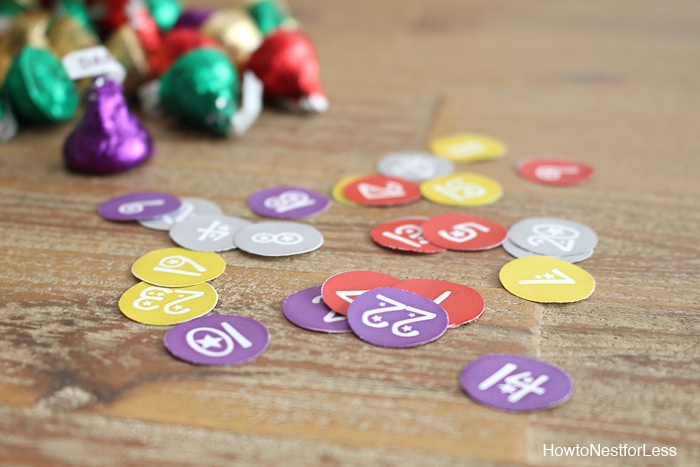 Then glue your circles to the bottom of Hershey’s Kisses chocolates with a glue stick. Pretty cute, right? The kids will love doing this part!

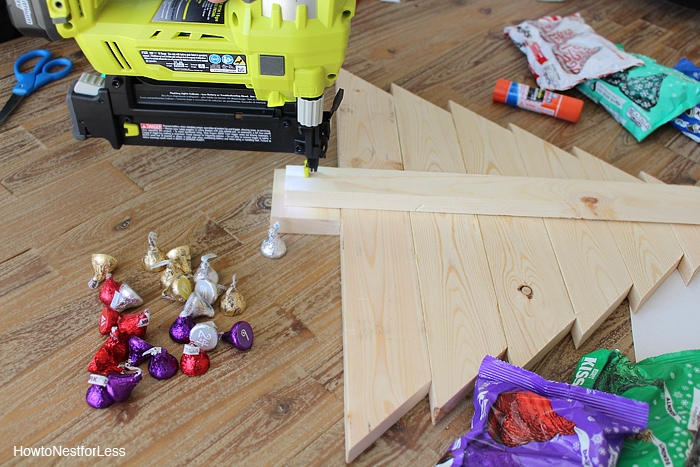
Set the Hershey’s Kisses chocolates aside while you work on the Christmas tree art.
Start the tree by nailing the 16 inch 1×2 board into the middle of the aligned tree boards & tree trunk (like the photo below).
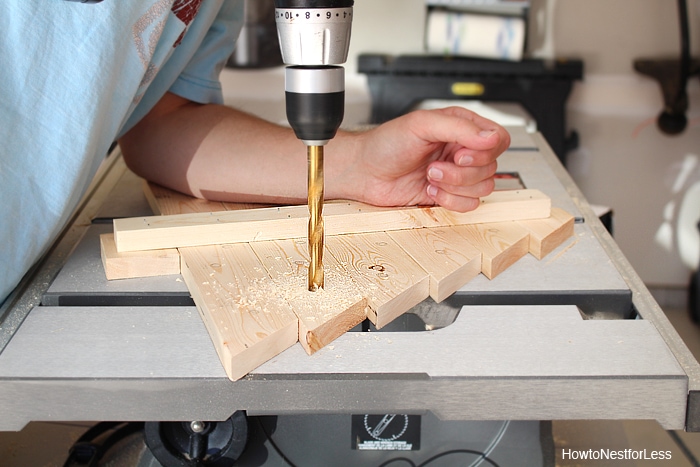
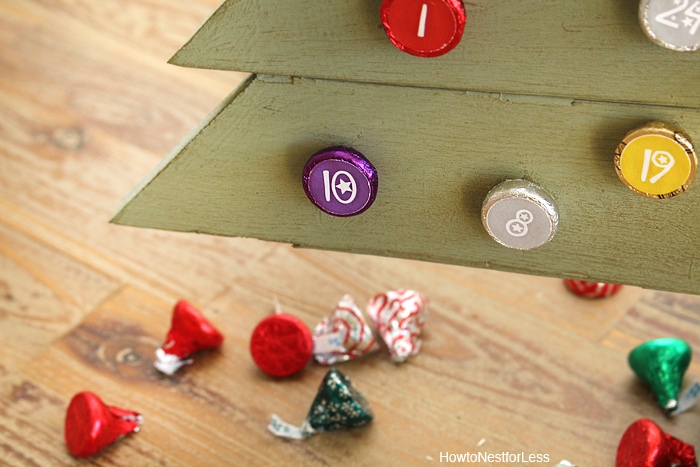
 Then you’ll want to mark 24 areas to drill holes into your tree design for the Hershey’s Kisses chocolates. You’ll need at least 1/2 inch drill bit for the holes.
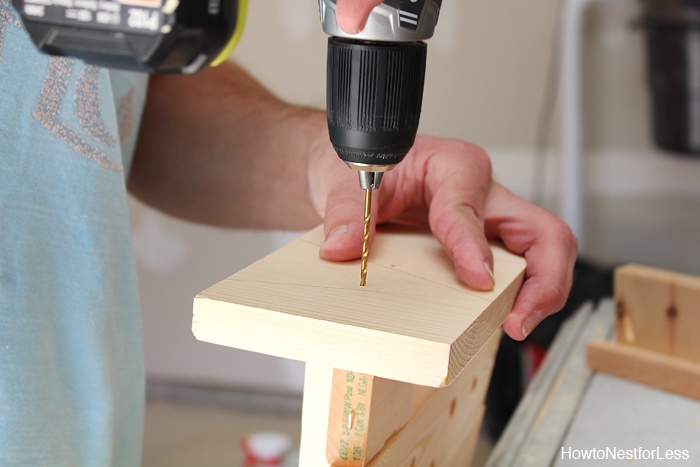
 Next it’s time to work on the base so your tree can stand up. Make 2 pilot holes through the tree base into the tree trunk. Then attached base with 1.5 inch screws.
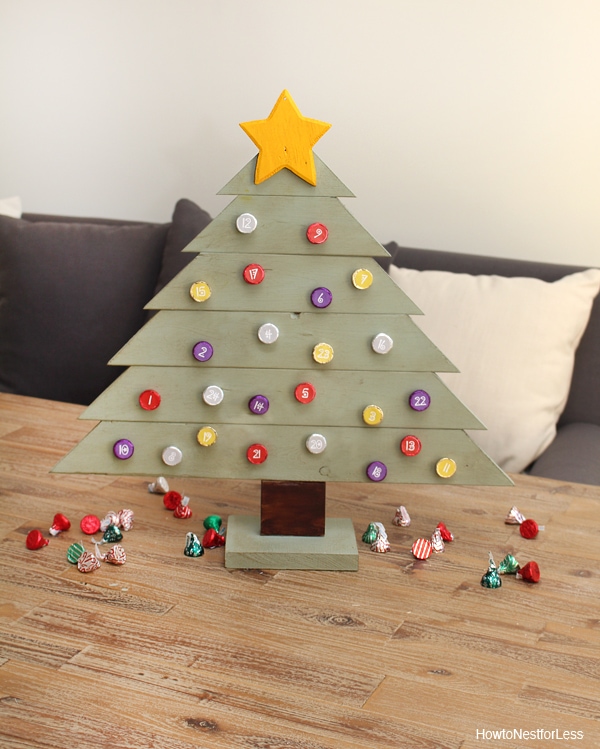
 Paint all of your pieces, then attach the star to the top of the tree. Fill in your holes randomly with the numbered Hershey’s Kisses chocolates.
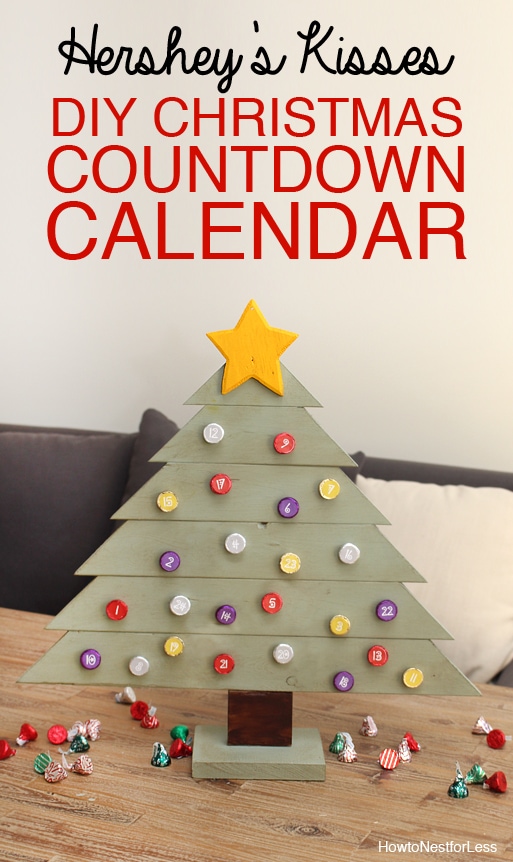
Then you’re all done with your new family tradition…
Hershey’s Kisses Chocolates DIY Christmas Countdown Calendar.
Pretty cute, right?
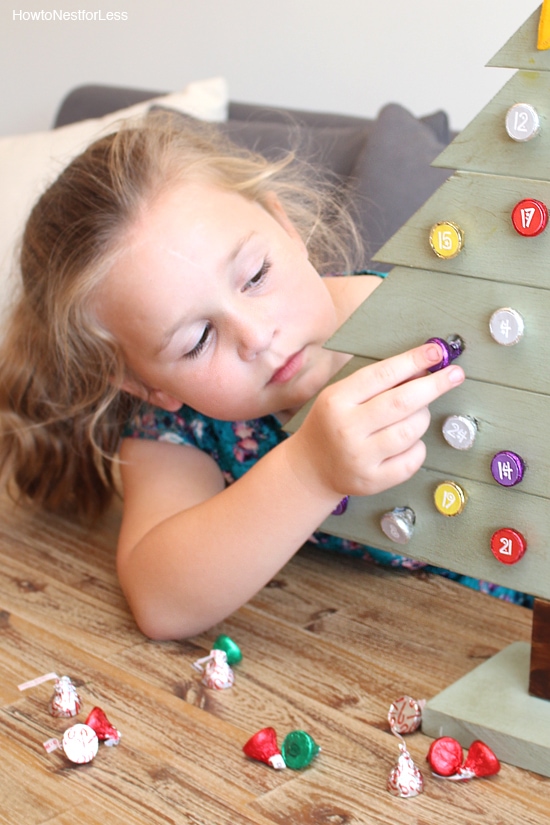
Your kids will love (or fight) over pulling out the Hershey’s Kisses!
And you might just have to make one for every kid in the family 🙂
So who’s ready to spread the holiday cheer and
make this the sweetest time of the year?

Bryn says
I smell an Etsy shop…
howtonestforless says
HA. You make them, I’ll sell them. Split the profits 50/50?
Diana says
What a great idea!!! So creative! Love! 🙂
Heather says
I love this advent calendar! Such a cute idea to make and gift to others!