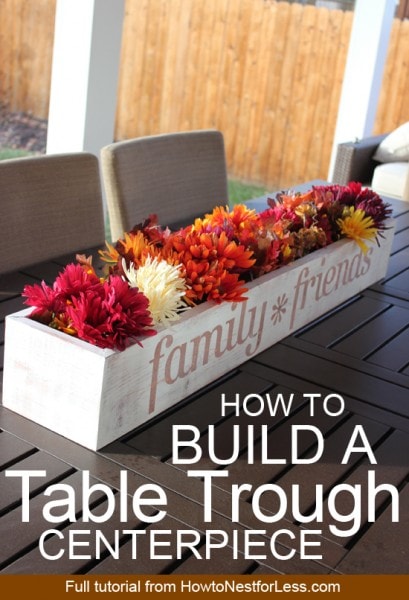
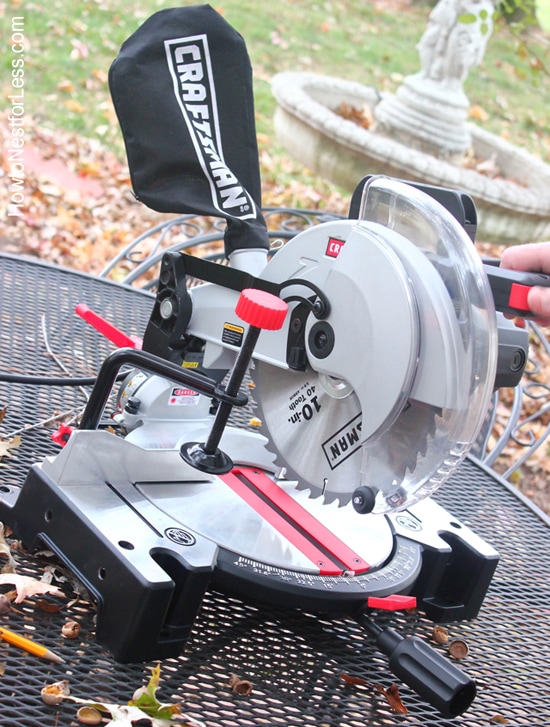
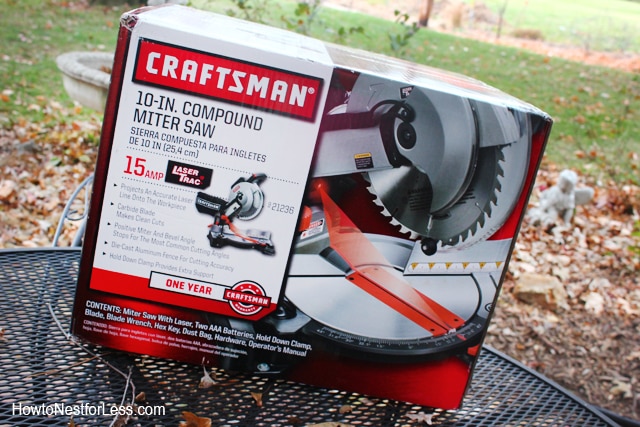
I just got my new Craftsman 10 inch compound miter saw this past weekend and was itching to try my first project with it. So with Thanksgiving just a few short days away, I decided to created a little table trough centerpiece for the occasion… and here’s how I did it.
Here’s what you’ll need:
- 10 inch compound miter saw
- brad nailer
- 3 pieces of 1in x 5.5in x 6ft boards
- stain
- white paint
- vinyl lettering
 I started by cutting my bottom board into 4 foot length with straight cuts (the Craftsman miter saw makes it easy to see where you’re cutting with the battery operated laser line).
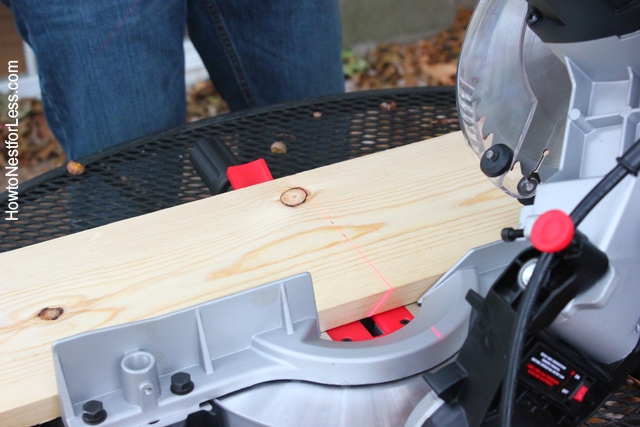 For the two side pieces of the trough I cut the wood into 4 foot lengths with a 45 degree angle cut on both ends (4ft being the short side of the angled edge).
With the leftover wood that I had trimmed off the original boards, I cut two end pieces with both sides mitered at 45 degrees.
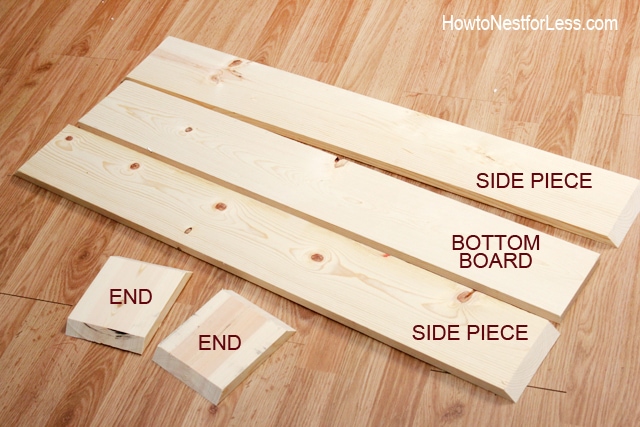 Make sure you double check the measurements for the smaller end pieces so everything fits perfectly together.
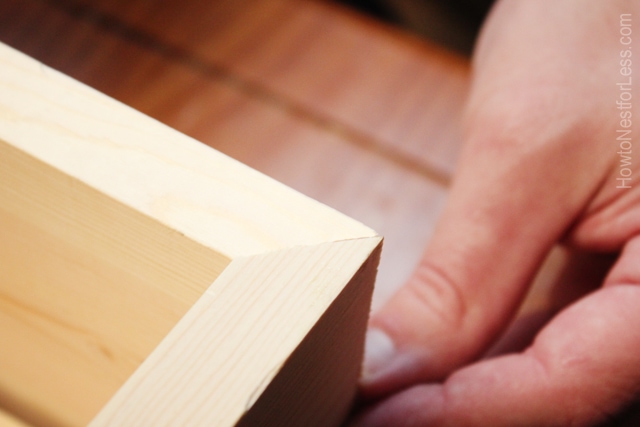 Once you have perfect cuts, start nailing the sides to the main base board (the one with the straight cuts).
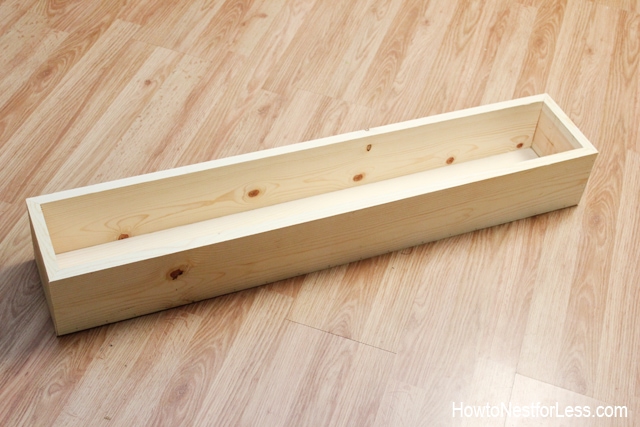
 And pretty soon, you’ll have something pretty like this…
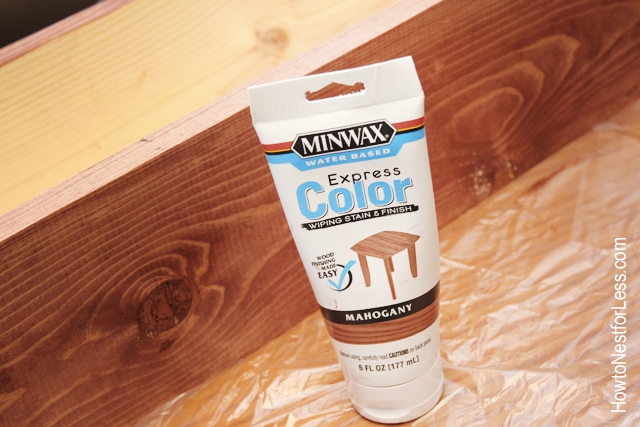
 Next I covered all of the outside of the trough with stain. I used this Express Color from Minwax since it’s easy to wipe on and dries almost immediately.
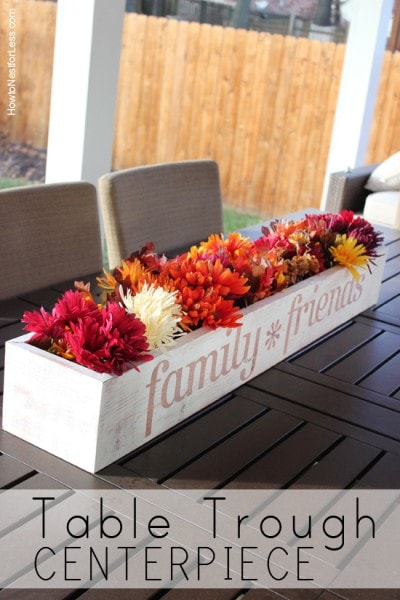
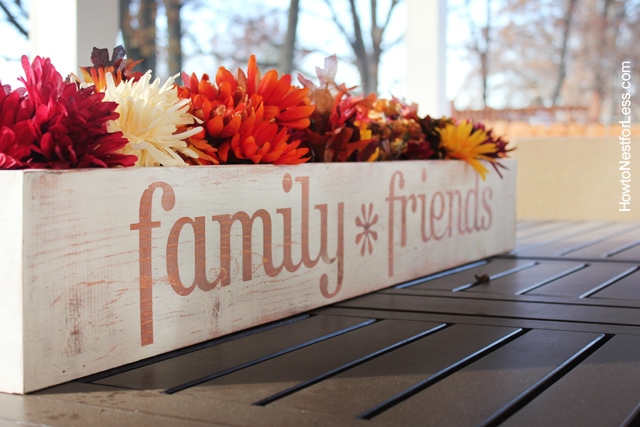
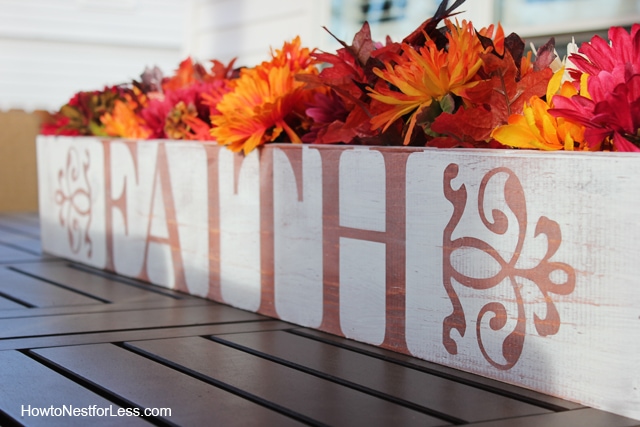
 Then you’re ready to apply your vinyl lettering. I actually found mine on clearance from Michael’s. It came in two pieces: one side says Family & Friends, the other side says Faith with some little ornamental dingbats.
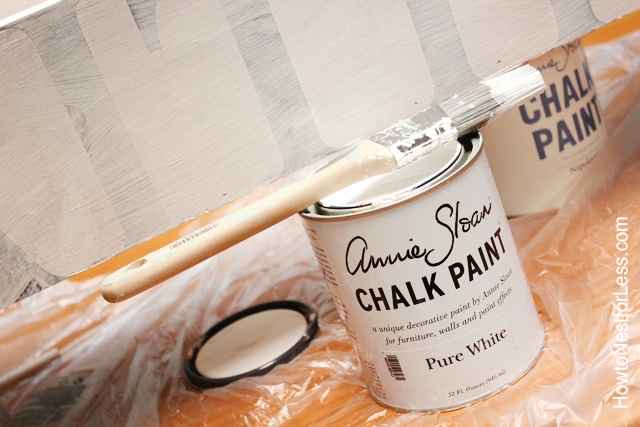
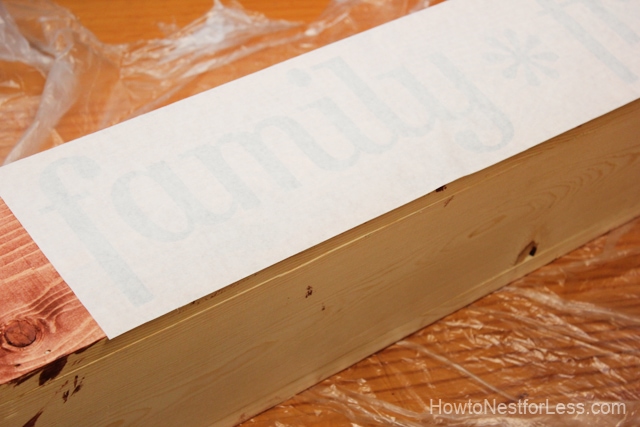 Next I painted the entire box with a coat of Pure White Annie Sloan Chalk Paint.
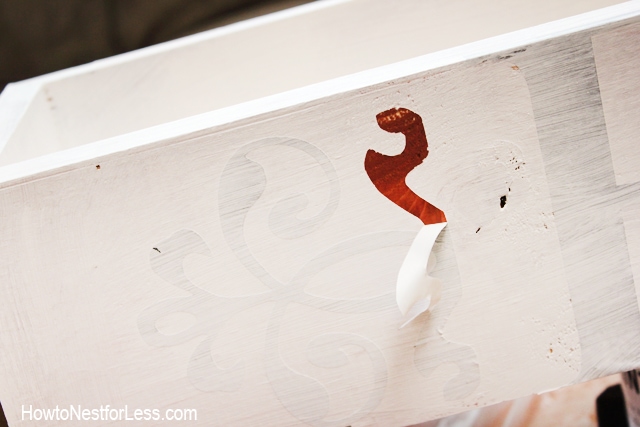
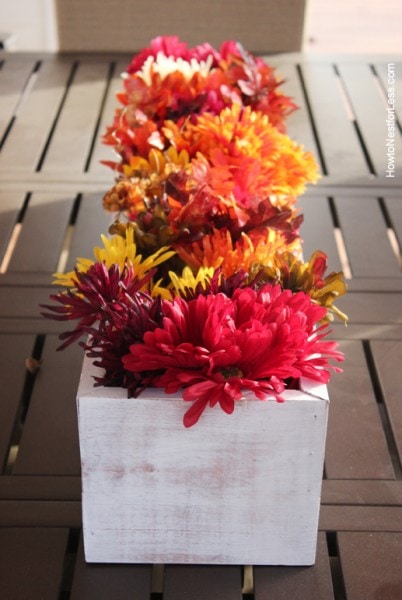
 When it dries, you can peel away the vinyl lettering to reveal the stain underneath. Pretty cool, huh? To finish, I lightly sanded the entire table trough to give it a distressed, vintage look.
And here’s the final piece!
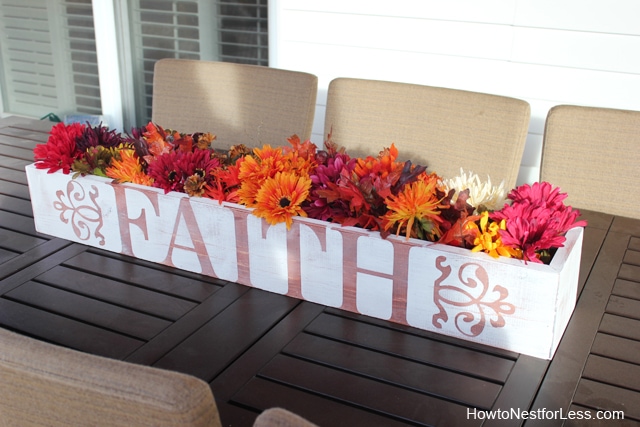
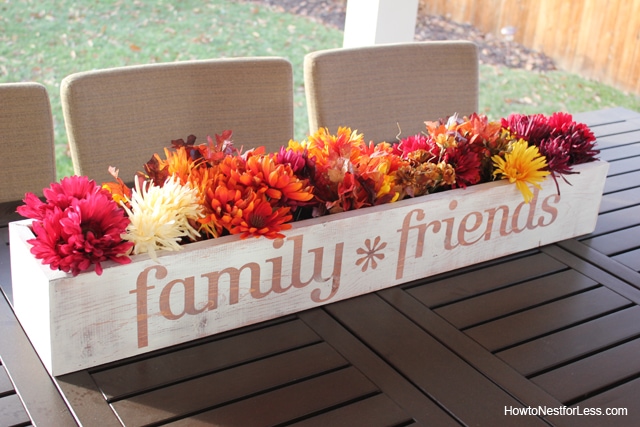
Overall I’m more than happy with my first project using the Craftsman 10 inch compound miter saw! Heck, I can’t wait to see what I can do with this puppy in the new house.
AND make sure you come back tomorrow because I’ll be giving away a Craftsman 10 inch compound miter saw to ONE LUCKY READER from Ace Hardware!
As you know, Ace Hardware is a cooperative-style business meaning each Ace Hardware location is an independent, locally-owned and operated neighborhood business. As a local business, each Ace Hardware location knows the importance of supporting their neighborhood.
On November 30th, Ace Hardware locations across the country will be celebrating Small Business Saturday® – which takes place between Black Friday and Cyber Monday and is dedicated to supporting the small businesses that help fuel our local economy. The Shop Small® movement is an easy way to support the local small businesses that create jobs, fuel the economy and invigorate communities across the country.
If you want to see more projects from the Ace Hardware team,
check them out HERE!

![]()
Disclosure: I am an Ace Hardware DIY Blog Team Member and was provided with an Ace Hardware gift card to purchase items for my project. I was also compensated for my time to use the products. All opinions are 100% mine.

Chelsea @ two twenty one says
Love this! Perfect centerpiece for the Thanksgiving table!
howtonestforless says
Thanks Chelsea!
Laura @ The Turquoise Home says
I love it, Erin! Looks like I need to add this to my project list! Wonder if I have time to do one before Thursday?? 🙂
howtonestforless says
Haha! Drop everything right now so you can get started 🙂
Kim Nagy says
I love it too and it’s perfect for year round use. How fun to change the flowers for each season.
howtonestforless says
That’s what I was thinking! Need to get some poinsettias for Christmas!
Kim Weir says
So pretty! I can see some candles in it or seashells with candles for a beachy theme! Now I want to make one!
howtonestforless says
haha, DO IT!! much easier than I thought it would be!
Linda @ it all started with paint says
It came out so fabulously!!!!! I really do need to get me a power saw …
🙂 Linda
howtonestforless says
Thanks so much Linda!
Ashley says
Great job! Love my planter box centerpieces that I have made in the past 😉
howtonestforless says
Thanks Ashley! Good luck with the new house. We close on ours next week!
T.J. says
My sister wants me to make her this for Thanksgiving. What length nails did you use? Would 1-1/4″ brad nails work?
Also, did you nail the side pieces to the end pieces? Or did you glue the ends together?
howtonestforless says
Yes, 1 1/4 inch brad nails works, depending on your thickness of boards. We nailed the sides pieces as well, no glue was needed. Hope that helps!
Ruthie says
I love this trough centerpiece! I have been wanting to make some for quite some time and have looked a multiple tutorials! Thanks for such a thorough how to!
howtonestforless says
Glad you liked it. Good luck with yours!
Robin says
I have a wooden box that will be perfect for this project. I like the vinyl lettering but to the point.
Lisa says
can you tell me what the measurements are for the 2 end pieces?
carmen says
Eek, I’m so sorry I don’t recall. That was from 2013 and my brain has been long gone since then haha 🙂