![]()
Hi! I’m Kelly, the crafty housewife over at Live Laugh Rowe.
I’m tickled silly that Erin and I are doing blog swaps today.
She meets my readers, I meet hers. How fun is that?
Well, today I thought I would share with you a project that I’m super familiar with because I make them and sell them in my store, House 129. They’re super sweet and versatile. Hang them on your tree at Christmas or add a little color to a gift. They can also be made in all shapes, sizes and colors. The sky is the limit!
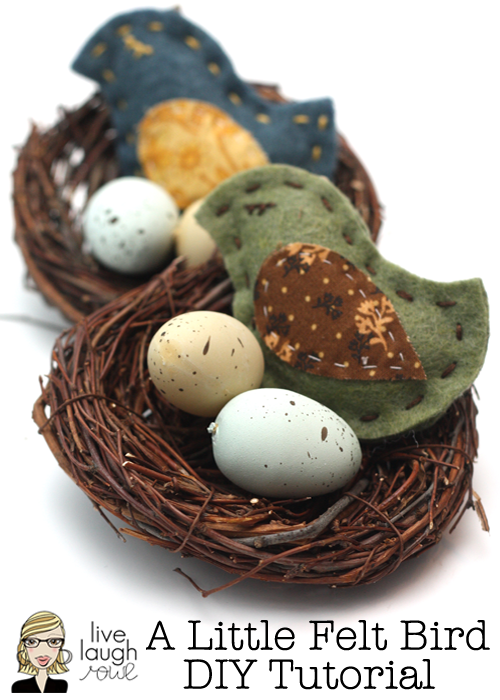
Let’s get this tutorial started, shall we?
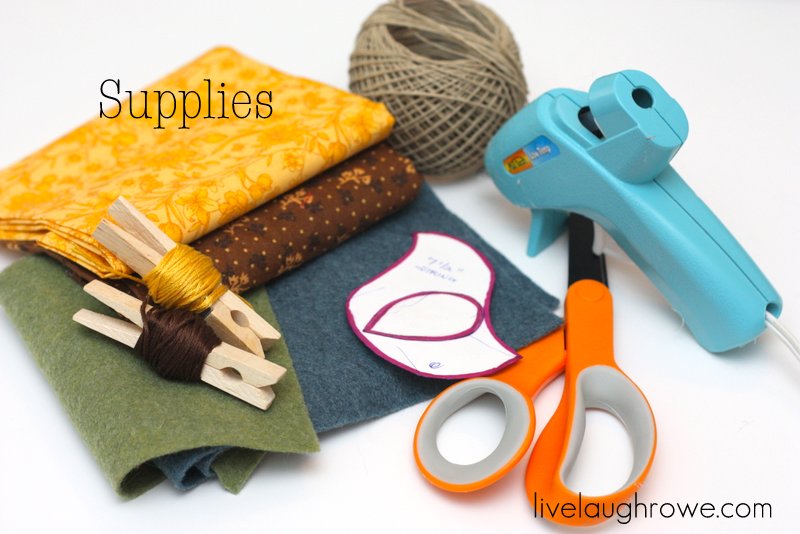
First we’ll need our supplies:
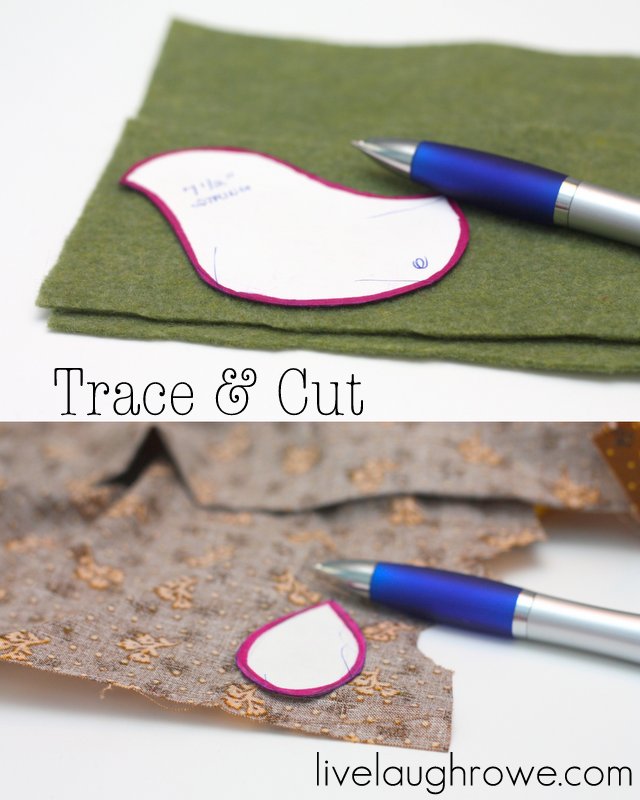
Felt, Fabric, Embroidery Floss, Needle, Thread, Scissors, Glue Gun, Hemp Twine and Poly Fill (a few items are not pictured). You’ll want to grab a piece of paper and pen/pencil as well. Let’s start with tracing out the bird and wing in the size of your choice. Once you’ve done that, cut your patterns out. Go ahead and trace the birds outline on your felt and the wings outline on your fabric, then cut!
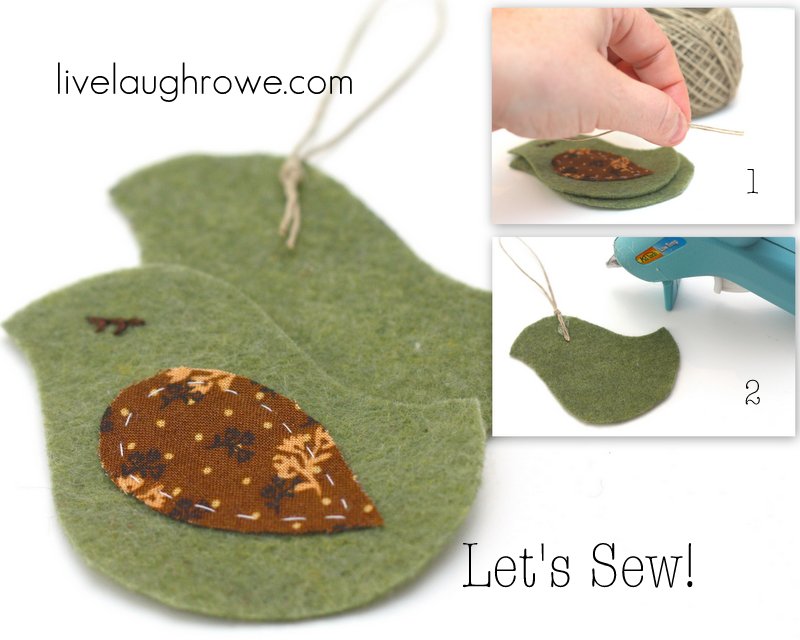
Okay, now that we’ve cut out our pieces, first go ahead and hand stich the wing on one side of the bird. Side note: You could also sew the wing on with your sewing machine. That’s what I typically do, but I didn’t want to assume everyone has a sewing machine. Alright, at this point, you’ll also want to decide if you want your bird to face left or right. For me, the bird facing left seemed most natural. Whatever floats your boat {smile}. Once you’ve stitched on the wing, you’ll also want to sew on an eye. Use your creativity here as well — you can do a stich, an X, a knot or whatever your most comfortable. I like to stich mine so that they look like they have eyelashes…. sassy little birds {wink}.
We’ll then want to cut our hemp twine. Cut a piece about 7-1/2″ in length, fold in half and knot at the one end (reference picture 1 below). Hot glue that knotted piece onto the inside of what would be the back of the birdie (reference picture 2 below).
We’re all set to sew up our sweet felt birdie. Grab a needle and embroidery floss of choice. You’re going to want to start sewing from the inside to ensure you can hide your knot.
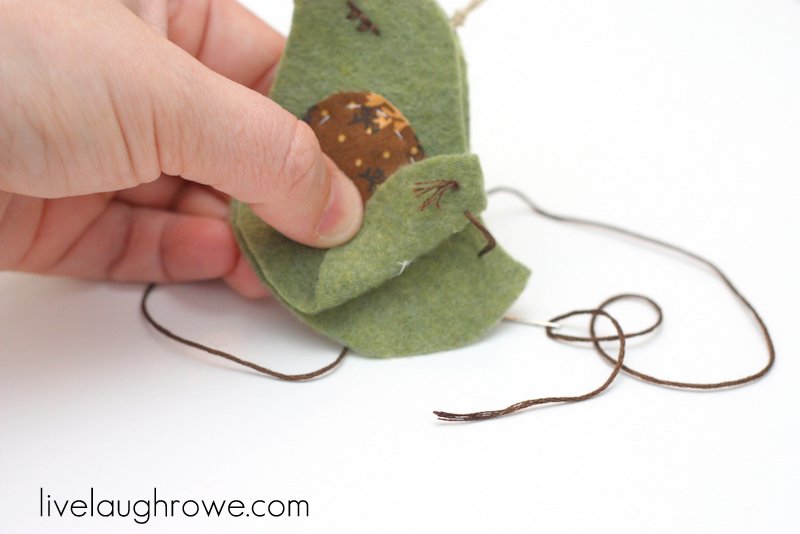
Then stitch all the way around the birdie.
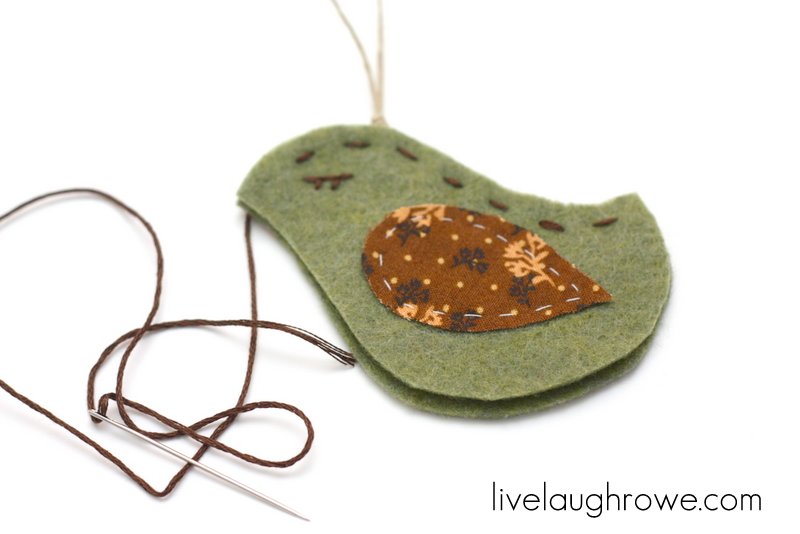
You’ll want to leave a 1 inch opening to lightly stuff him/her.
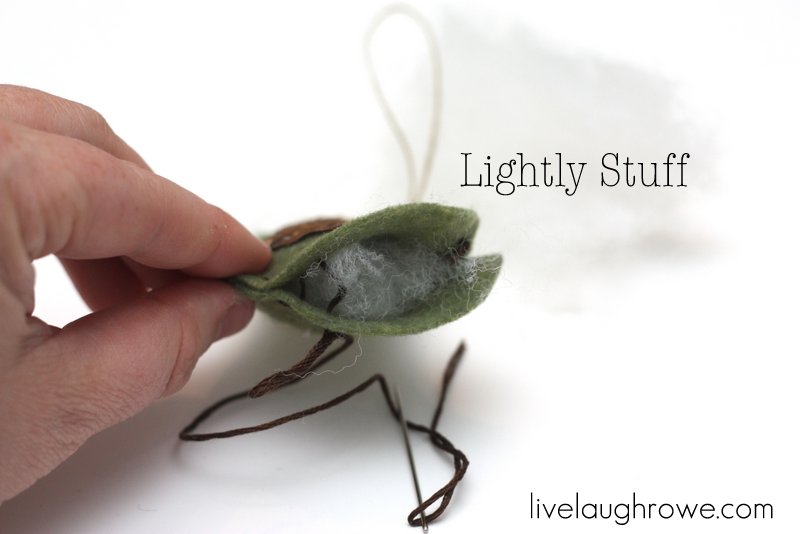
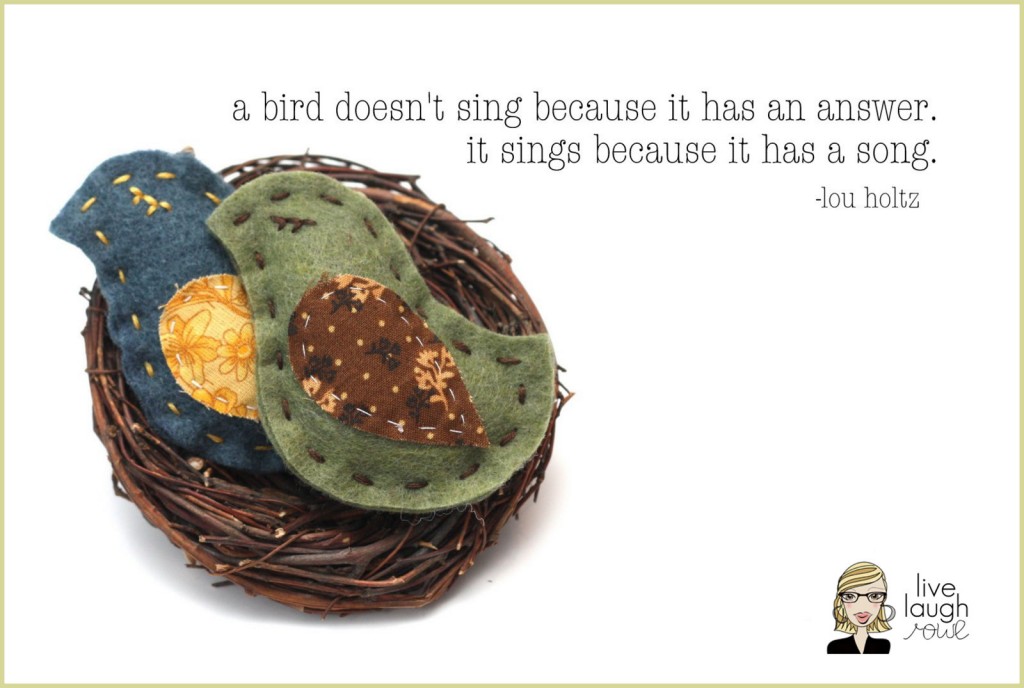
We’re just about done. Once you finish stitching up your bird, you might want to put a dot of hot glue to seal up where you started and finished and to be sure your knots are hidden. And voila! You have yourself a cute little felt birdie. I {love} them so. I made these this past Christmas for gift embellishments, but used both felt for the body and wings. They were adorable, you can see them here in my Get Your Kraft On post. Like I said earlier, they’re super versatile — just let those creative juices flow.
While I enjoy crafting, I do enjoy sharing some of my home projects/makeovers, as well. One of my most popular makeovers was my Shabby Chic Room Makeover. It was even featured on Tatertots and Jello {squeal}.

Swing by and see what I’ve been up to, I always enjoy making new friends. If you picked one day to stop by and say hello — I would say to swing by on a Thursday. We par-tay on Thursdays at Live Laugh Rowe. Better yet? It’s an anything goes par-tay. Holla!
Thanks so much for having me, Erin! I appreciate you allowing me to get a little better acquainted with your readers — and allowing me to share some of my crafty goodness. Happy Wednesday to all of you, lovelies! I hope to see you out and about in bloggy land. Cheers!
Subscribe to Updates | Like on Facebook | Follow on Pinterest


I am LOVD says
This is my kind of sewing project, Kelly!
Bonnie and Trish @ Uncommon says
those are adorable!!! 🙂
Tresa says
This is perfect for me, just my speed! Very cute and clever. 🙂
Dana @ CraftedNiche says
LOVE these! How clever and cute 🙂 Thanks for the how to Kelly!
Melissa says
These are so cute! Thanks for the instructions on how to make this project.
perfect for spring!