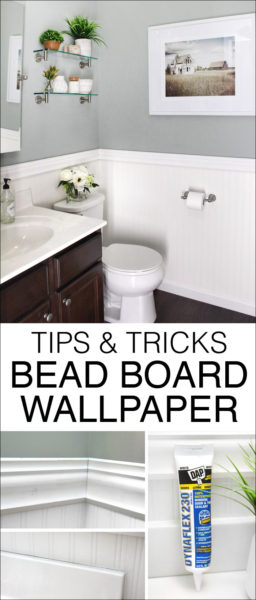
I am sharing my best tips and tricks tutorial for bead board wallpaper!
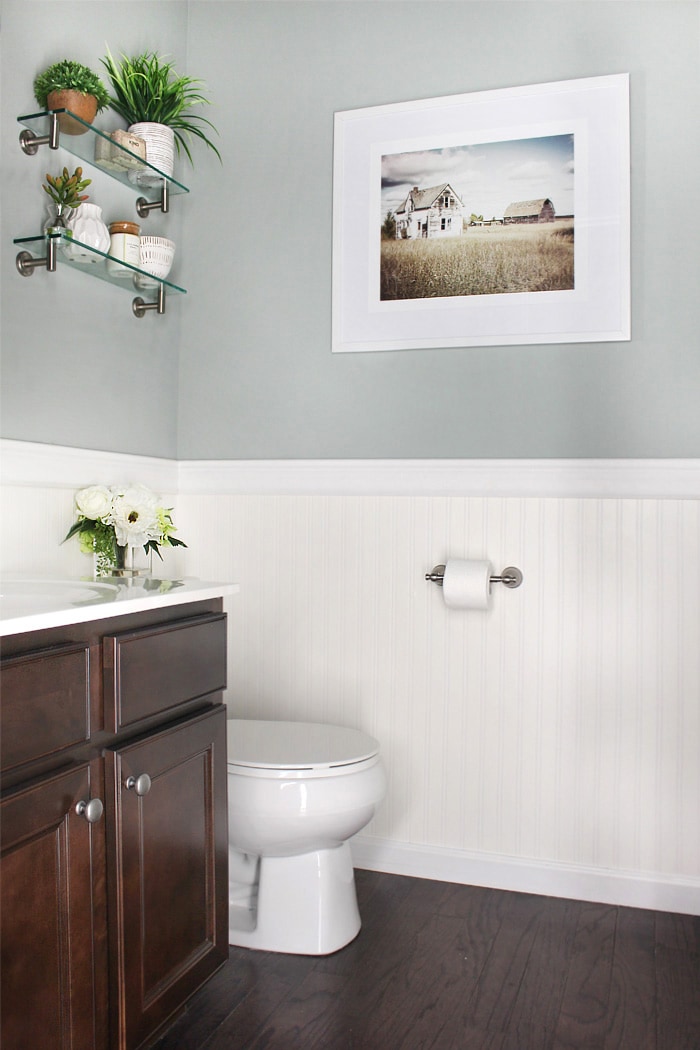
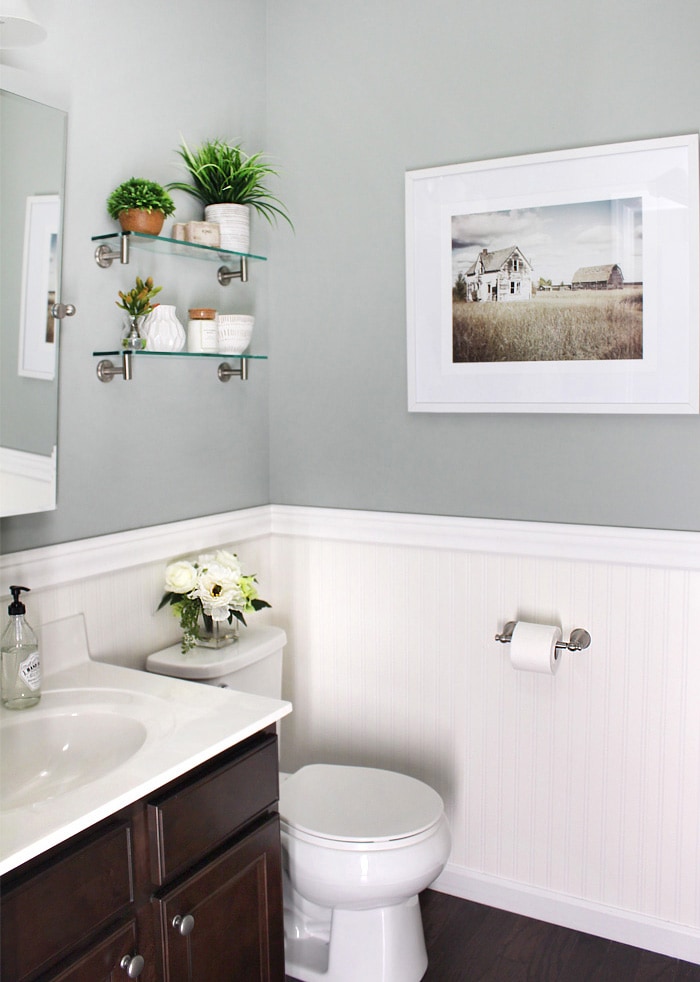
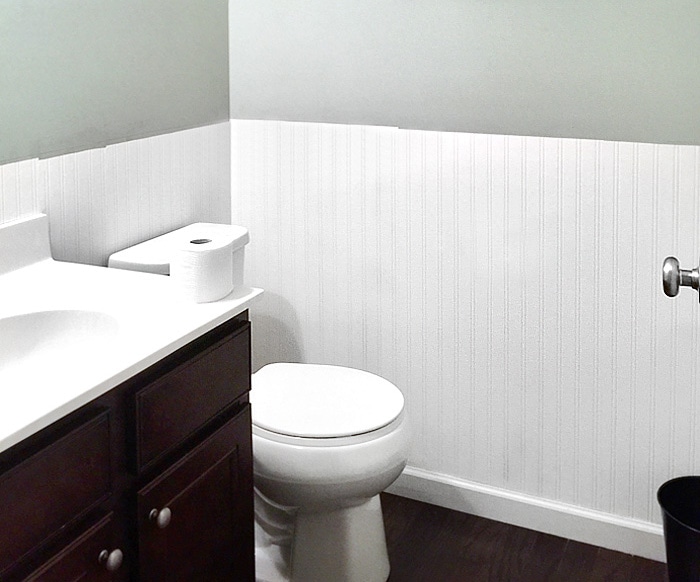
Monday I showed you guys our new powder room makeover. And yes, I’m now that person that says “do you want to come see my bathroom?”. Not even kidding. The best part of this room? Bead Board Wallpaper (yes wallpaper).
So the biggest change to the bathroom was our bead board paintable wallpaper that we snagged from Amazon. We decided to do the wallpaper over actual bead board because 1) we didn’t want to remove the baseboards, 2) I love the ease of wiping down wallpaper in bathrooms, and 3) it’s easy to install and only takes a few hours!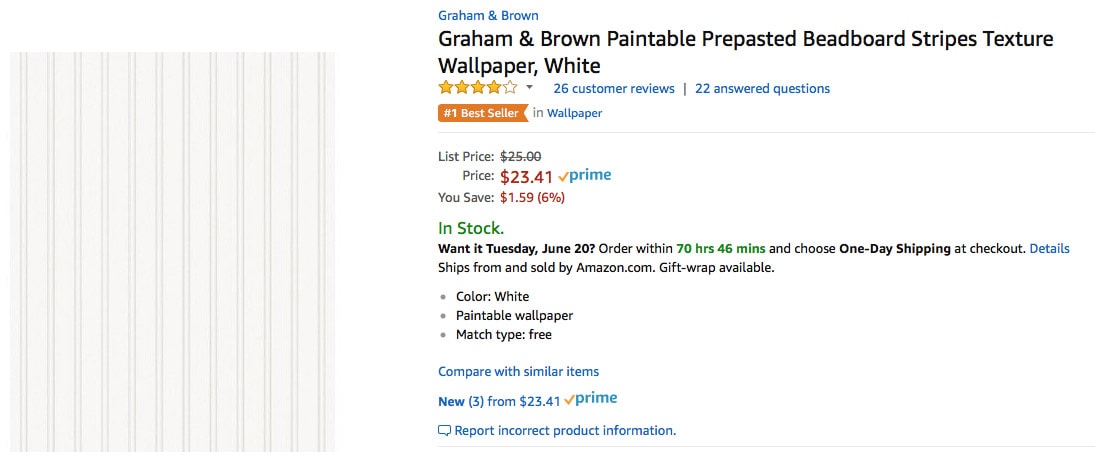
First thing we did was cut the wallpaper roll into 36 inch strips (we have 9ft ceilings so I went a little higher than normal). We used a carpenter square to make sure we were cutting straight and even.
Then we soaked the lovely wallpaper in water for a few minutes, then stuck it up on the blank wall. We made sure the wallpaper was flush with the baseboard and didn’t worry so much about the top since we knew we’d cover that with the chair rail molding.
We used a wallpaper smoothing tool and a wallpaper sponge to remove the excess wallpaper paste. Then it was onto the next section of bead board. We used an x-acto knife to trim around the bathroom cabinet and sink.
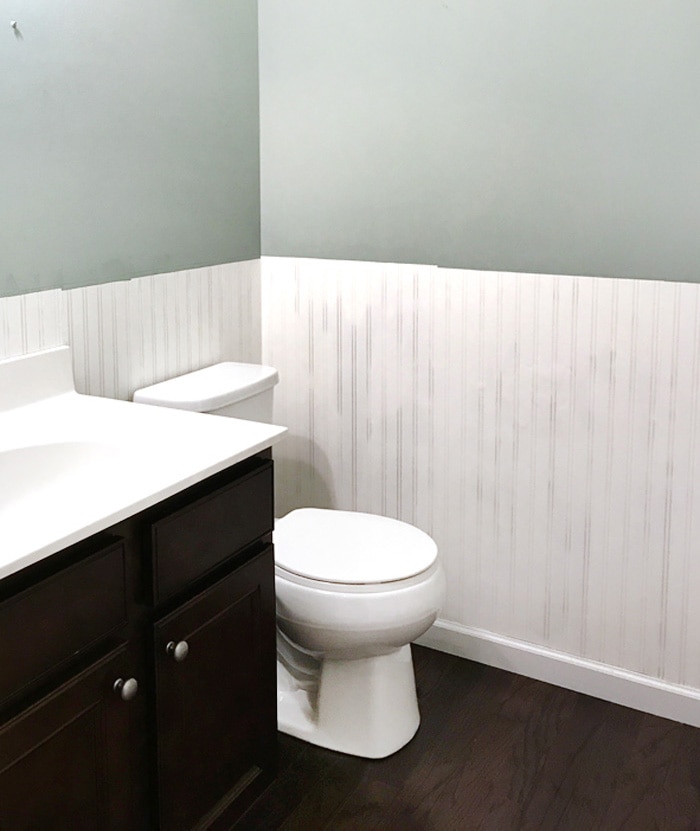
Now, you’ll notice in the photo above it looks dark in some areas. It’s just the wallpaper drying. DON’T PANIC. It will dry opaque white. In fact, we wallpapered right over the SW Oyster Bay paint color and you can’t even tell.
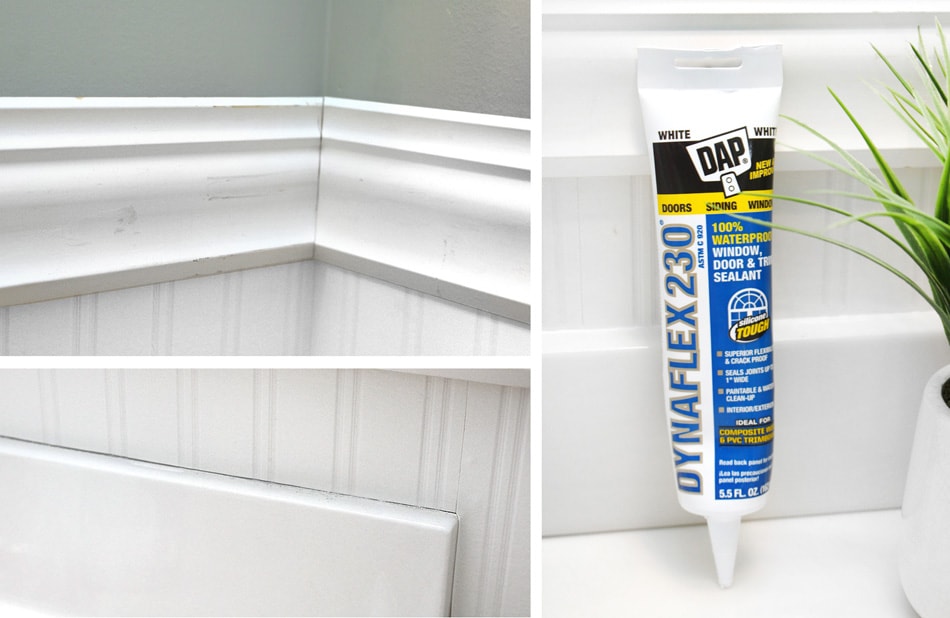
Once the wallpaper dried, we measured and cut the white moldings, then secured it in place with our Ryobi nail gun. We filled the gaps and then caulked.
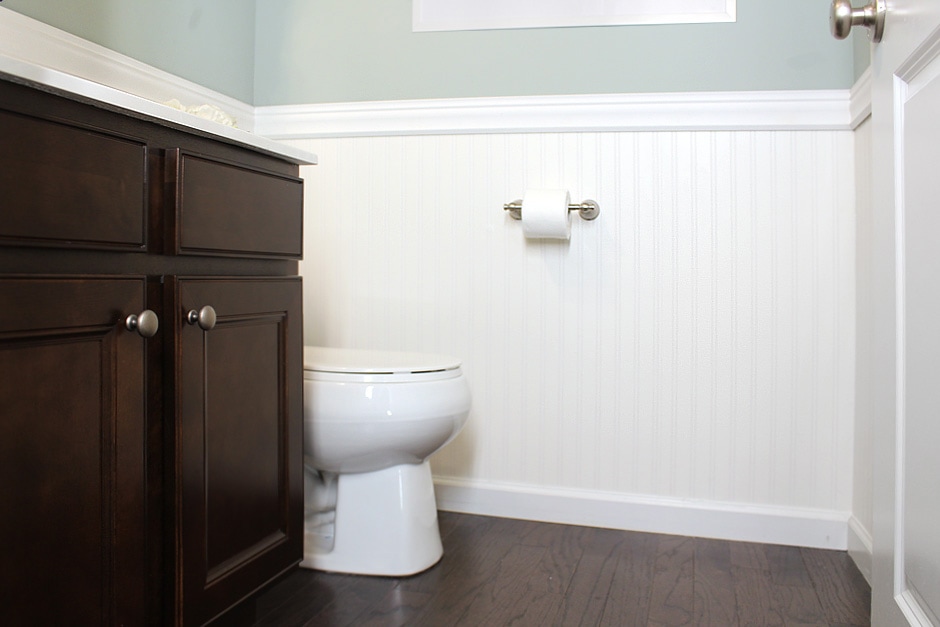
And there we have it! So happy we added this after we painted because the green color was a little much for this small room. The beautiful bead board wallpaper really balances the space and complements the white framed art. OH… and FYI… the bead board pre-pasted wallpaper is paintable, too!
If you want to get the full details on the powder room, click HERE.

Renee says
Love it! I didn’t know bead board wallpaper existed! I am looking to update our powder room as well so I might have to steal this idea! Thanks!
howtonestforless says
You’re welcome 😉
Cheri says
I love your work. This room is oh so cute!!! I need you to come to my house!!!!! I redid our bathroom a few years ago, took all the wallpaper down and painted. I have the 70’s style bathroom where it is longer and narrow . Anyhow when you walk into my room the main wall you see is so plain to me it just hit you in the face! It has the window in it and I painted a chambray blue with oak stained wood and vanity. I thought about stripping the wall or ombre, just not sure. Any suggestions? Any help will do!!! Thank-You so much,
howtonestforless says
If you can, please send a pic to [email protected] and we’ll take a look at it! So much easier when we can see the space!!
Diane LaCalamita says
I love this idea! I didn’t know this was available and can’t wait to try it out! Thanks for sharing!
howtonestforless says
You’re welcome!!
Jenny says
I remember seeing this wallpaper before. How is the durability? I thought past reviews said it dented easily. That’s great that it dries white. I was afraid you would have to paint it white. It looks great!
howtonestforless says
Durability is great so far. We did tear one little corner while putting it up, but you can’t tell where once it dried. The stuff I used in my old laundry room I HATED! This one I love 😉
Carol ("Mimi") says
The bead board wallpaper is a great product! I just looked at your other powder room reveal post, and I thought it was ‘real’ bead board wainscoting. It looks fabulous.
Carol (“Mimi”) from Home with Mimi
Melissa ~ Brown Dog Vintage says
This looks amazing! I always wondered how the wallpaper would look and clearly it’s good stuff! Your bathroom is gorgeous – I would totally ask guests if they “want to see my bathroom” ! Thanks so much for sharing at the #HomeMattersParty !
howtonestforless says
Thank you!! 😉
Linda says
Do you mind sharing where your glass shelves came from ?
Jolene says
I saw your original post about your Before and After Powder Room. The bead board wallpaper really intrigued me. I had to search a little to find your follow up post about what you really thought about the beadboard wallpaper. Thank you so much for posting and giving a tutorial. I am going to share this post with my husband and see what we can do with our tiny powder room. I think the bead board wallpaper may be just the ticket! Thank you so much for sharing!
Maria Johnson says
I love this, Thanks very much for all your Awesome posts, I also Love the idea of having plants on your toilet.
Thank you.