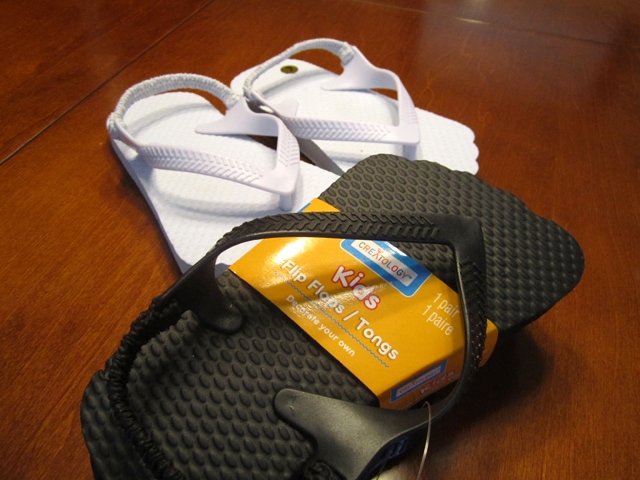
I really hadn’t planned on crafting anything last night, but while I was at Michael’s yesterday I spotted some plain flip flops for $2 a pair. My kiddo just happened to break her white sandals on Saturday, but it’s getting towards the end of summer and I don’t want to spend a lot on a new pair of shoes. So, there goes my brain… I could probably add a little pizzazz to these bland flip flops for my darling daughter. I scooped up a pair of black and white for a grand total of $4!
As I was walking towards the register I spotted some curly hair bows near the ribbon section for $4 per pair. Cute, huh?
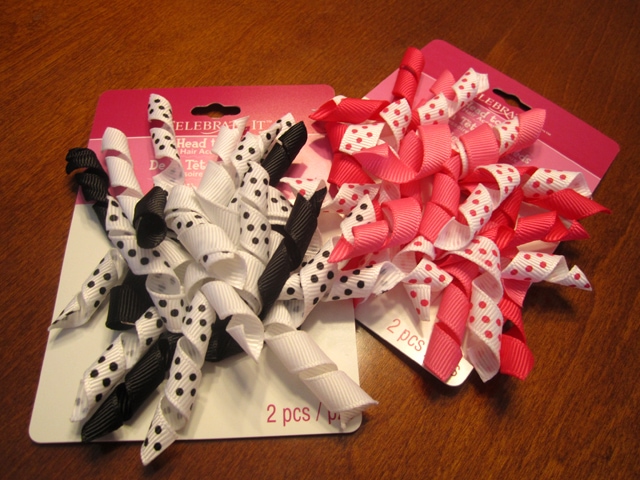 The curly ribbons were glued to little hair clips, but I could easily get these to work for what I have in mind!
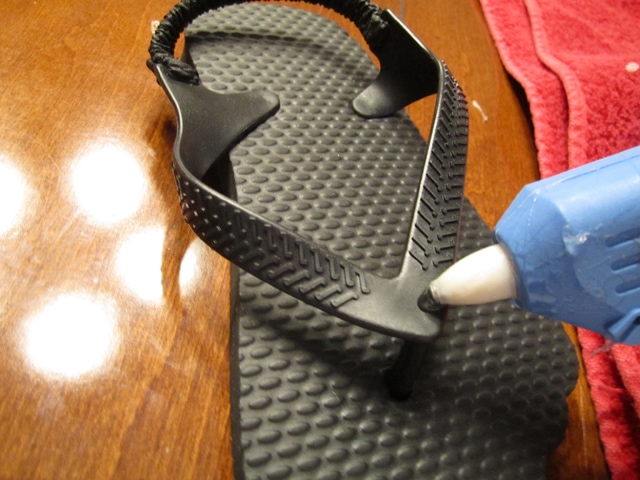 When I got home, I tugged the hair clips off the back of the barrettes. Then I used my own handy dandy glue gun and attached the curly ribbon to the flip flop straps.
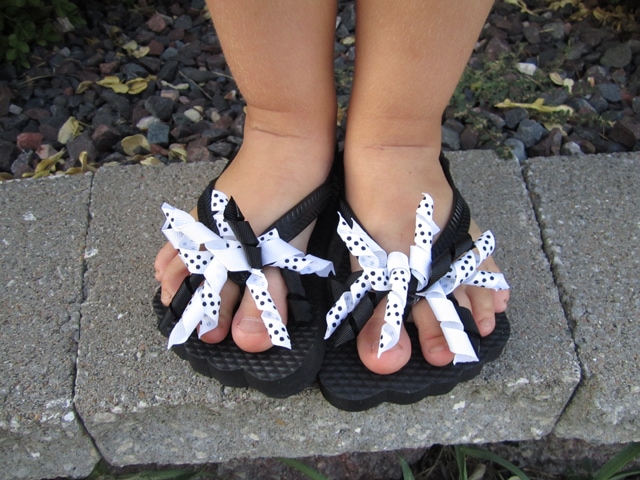 Voila! I’m a genius! The next Picasso! or Vera Wang! OK…No, not really. This was the simplest project to date and writing this post took longer than the actual project.
OK, now for the white pair… I decided to strut my stuff and add a little extra something. I had some ruffle ribbon around the house so I cut two 3″ pieces and glued them to the straps.
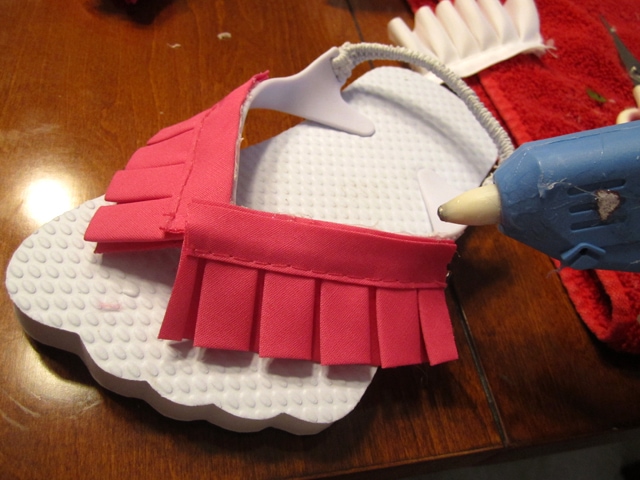 Once the glue was dry, I added the curly ribbon to the crossing of the ruffled straps.
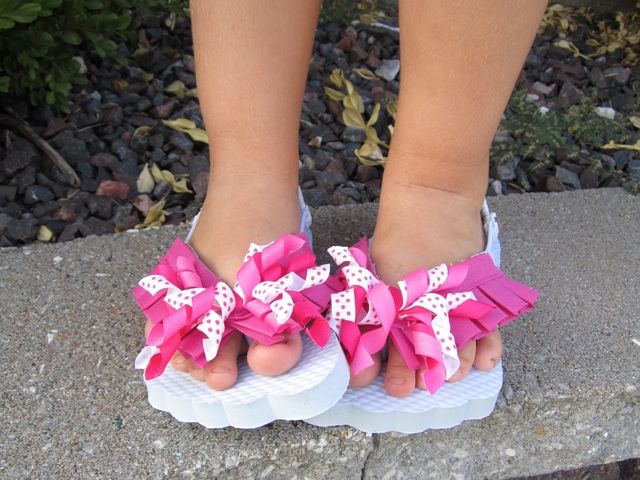 Yep, like I said before, it’s that easy!
My costs were $4 for both pairs of sandals and $8 for the curly ribbons. Total cost of $12 for BOTH pairs of flip flops! I think they’re super cute so I’m happy 🙂 Don’t you love easy projects that just come to fruition? I certainly do!
Linking up to: Savvy Southern Style
Jackie says
very cute!! 🙂
Valerie@Occasionally Crafty says
Those are super cute- I especially like that pink pleated ruffle! Visiting from Sugar Bee’s Link-up.
Valerie- http://www.occasionallycrafty.blogspot.com Drop on by!
Heather at Willow Cottage says
This is such a cute project. So often the coordinating pieces to a cute outfit for my daughter is what puts the whole thing out of my budget range. This is a great way to coordinate summer outfits without paying an arm and a leg. Love it!
debbie says
How cute…that was really good thinking. Thanks for sharing at my newbie party.
Jen says
I don’t know what is cuter, the flops or the little feet in them! These are so simple, yet so darling! I’m going to feature them on my site Friday. Stop by and grab a button if you’d like!
Jen
Scissors & Spatulas
howtonestforless says
Thanks Jen! I appreciate it 🙂
Lisa says
Adorable!! I’ve thought about doing this so many times but always put it off….I’m going to have to try it now for sure! Thanks for sharing!
Amanda says
These are TOO cute!
I run Fun Family Crafts, a site similar in nature to Craftgawker and Spotlight, but different in that it’s a library of craft tutorials geared only at kids. I have featured your fun post here
http://funfamilycrafts.com/ribbon-flip-flops/
FFC also accepts submissions! Please consider this an invitation to submit as many kid friendly craft tutorials as you like. I look forward to seeing what you submit!
If you would like to display a featured button on your site, you can grab one from the right side bar of your post above.
Shevon says
Hey question for ya! How do they hold up with hot glue? I’ve noticed some projects don’t work so well with that type of glue on certain materials.
howtonestforless says
It actually held up pretty well on my 4 year old’s flip flops! You can reinforce with needle and thread, too 🙂