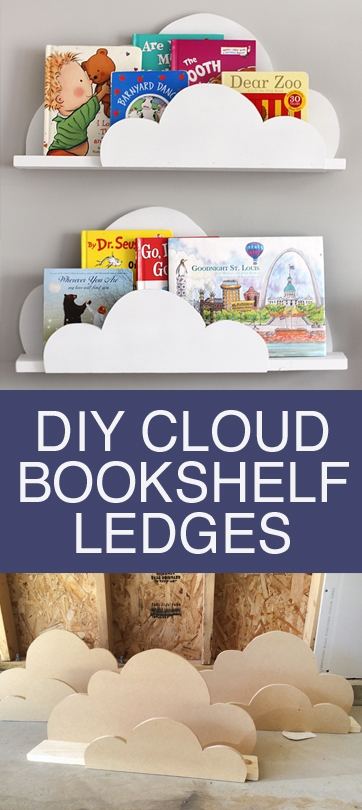
These DIY cloud bookshelf ledges are easier to make than you think!
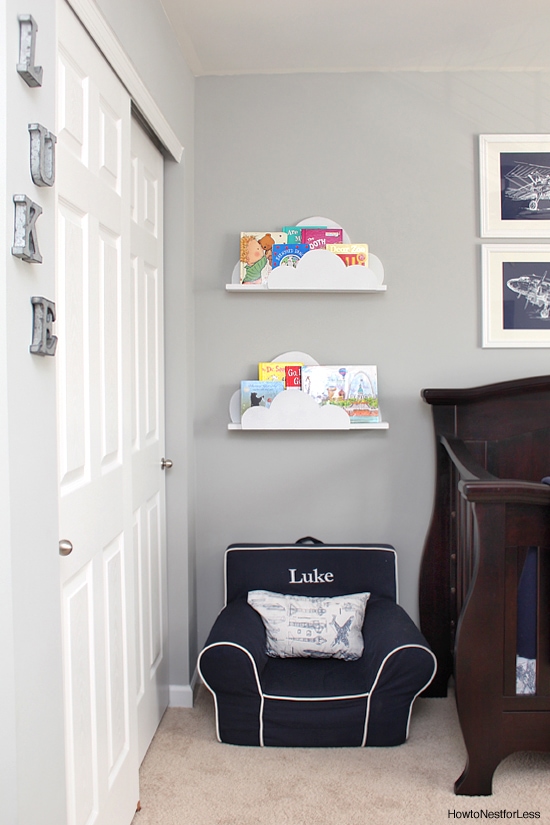
My favorite project from my nephew’s bedroom are his new new DIY cloud bookshelf ledges. We basically took the same idea from the bookshelf ledges in Ellie’s bedroom, just put a fun twist on it! We built all 3 of our small bookshelves for under $30!
This was an easy DIY project too, taking us less than 2 hours to build and paint!
SUPPLIES:
- (1) 8ft 1×4 board
- (1) 3/4in 4×8 piece of MDF
- 2 inch screws
- tape measurer
- sander
- jigsaw
- compound miter saw
- nail gun
- drill
- white paint
- wood filler
- ceiling hooks (optional)
Don’t let the supply list scare you. The DIY Cloud Bookshelf Ledges are actually quite easy to build.
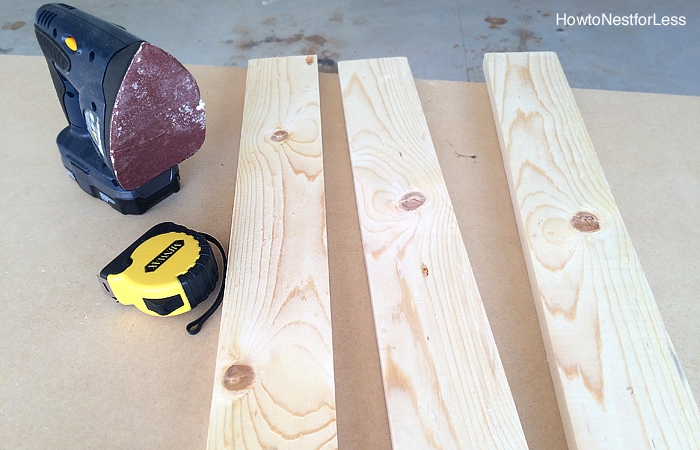
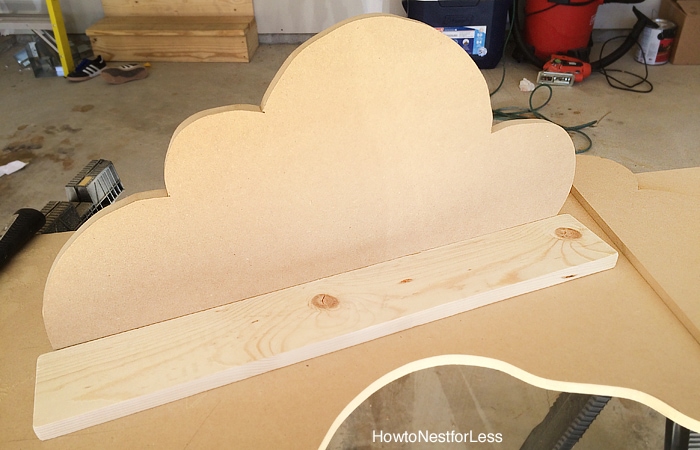
First thing you want to do is decide how long you want your cloud bookshelf ledges to be. We opted for 2ft wide shelves and we needed 3 of them total. So we used our compound miter saw to cut the 1×4 board into (3) 2ft boards. Then we sanded the edges.
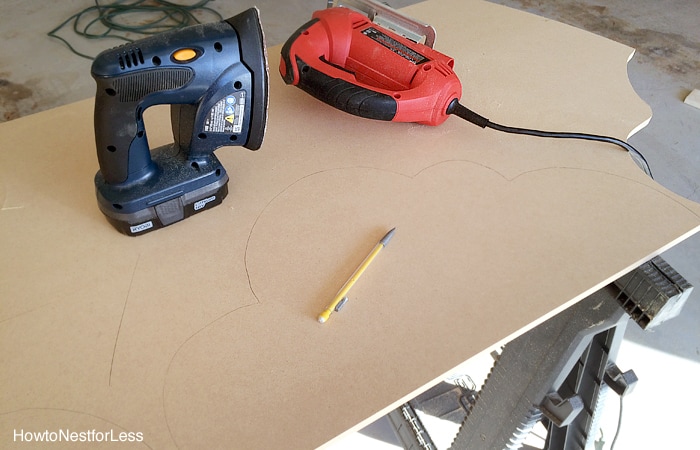
Next we traced out the large cloud shapes on the MDF board (by the way, the 4×8 board is WAY more than you’ll need for this project, expect lots of leftovers). OK, so we didn’t have a template for the cloud, I just kind of winged it. Google “cloud clip art” to get some ideas for shapes.
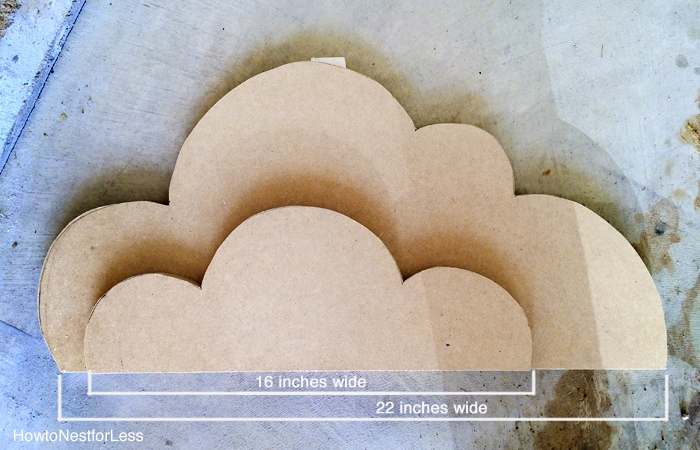
I decided to make the clouds a little smaller than the 1×4 boards we cut so the bottom length of the cloud is 22 inches total. Mark your MDF and draw your large clouds from those lines. Hint: I only drew one large cloud, cut it with my jigsaw, then used it to trace the other large clouds.
Once you have all 3 large clouds cut with your jigsaw you’ll want to cut your 3 smaller clouds (I drew these clouds at 16 inches wide each). Don’t worry if your shape looks a little rough after cutting, use your power sander to smooth out the edges.
Once you have everything cut it’s time to put the shelves together. Lay the 1×4 down on a flat surface. Place the large cloud behind it, flat side down flush with the 1×4 board. Use your 2 inch screws to attach the cloud to the board (we used 4 screws in each).
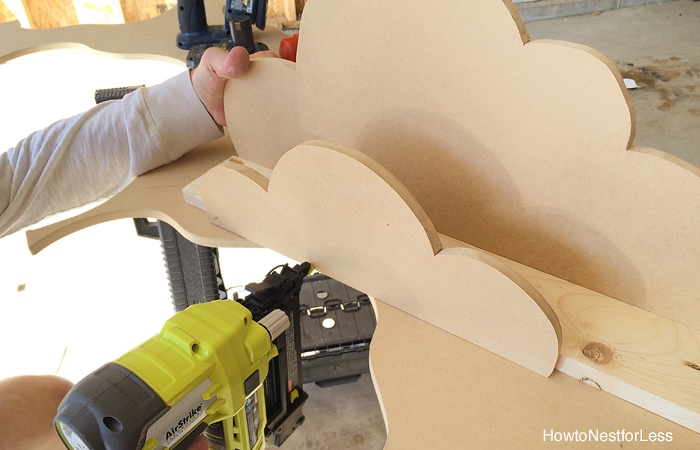
Then line up your small cloud to the front of the 1×4 board and attach with your nail gun.
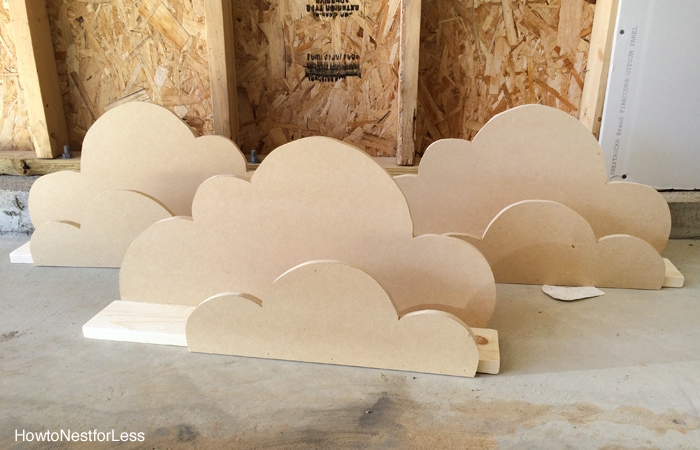
Since we built 3 bookshelf ledges and used the same large and small clouds as templates for all 3, on one of the bookshelf ledges we just flipped the clouds so they faced in the other direction. You can see below the two right bookshelves are the same and the one on the left is the opposite.
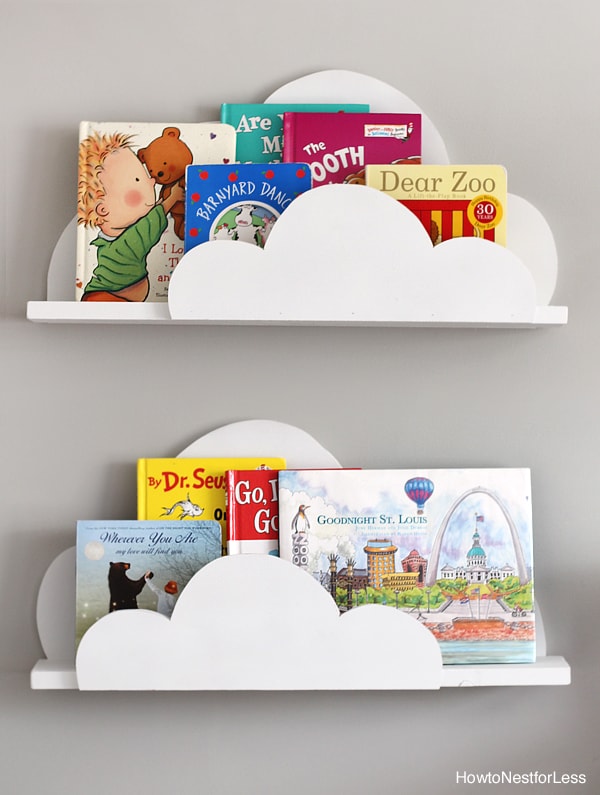
Paint the DIY Cloud Bookshelf Ledges white and let dry. To hang, use a stud finder to find your stud. Then drill a part of the large cloud directly into the stud and countersink your screws. Use a little wood filler to fill the gap and touch up with white paint.
Pretty cool, right?

Such a great idea for a bookshelf!
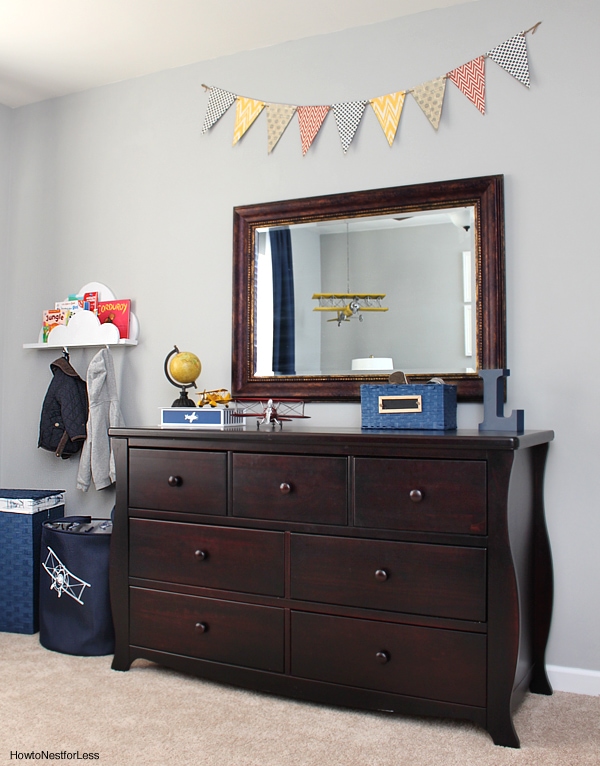
For one of the shelves we decided to put some white hooks on the bottom so my nephew could hang some clothes from the ledges.

If you think about it, the shapes for these DIY Cloud Bookshelf Ledges are endless.
If you have the basic idea you can create anything!
For more DIY Build Projects, CLICK HERE.

Anika says
These are so beautiful!! So dreamy….
Really great job on making these like the Land of Nod shelves!
howtonestforless says
Thanks Anika!
Handyman North London says
What an awesome bookshelf! In addition, it looks really easy to make! Thanks for sharing this ideas with us and keep up the good work!
howtonestforless says
Thank you!!
Morgan @ Morgan Manages Mommyhood says
SO cute! I have more kids books than I know what to do with and I think that I’ll be putting in a request to my hubs to make these for me soon! 🙂
Kati says
These are amazing! I needed these for my kids nursery back when I did it. I used lots of clouds and grass.
swapna says
This is interesting! & a lot of hard work! Would love to see your posts in the Practical Mondays Link Up:)
Claire says
Love these shelves they look really sweet.
howtonestforless says
Thanks 😉
Marie, The Interior Frugalista says
These are adorable – what cute idea. Pinning to share and think about making for my grandson’s nursery.
howtonestforless says
Thanks Marie!
Kristi says
Love this idea!!! My little guy’s nursery has a rain cloud mobile and some vinyl clouds on the wall above his crib. These would be perfect! And you’re right..the shape possibilities are endless!! Thanks so much for sharing..this just might have to go on the to-do list!
Emily says
These are SO adorable!! Already pinned 😀
howtonestforless says
Thanks Emily!!
Sam @ Living The Dutch Dream says
These are so sweet. My girls have their books displayed on a upcycled palette but this is by far cuter!
Pauline Molinari says
These are so fun! Thanks for sharing your crafty inspiration on this week’s Monday Funday Party!
Shimi says
Very beautiful, I love it !!! (ˊ♥‿♥ˋ)
Jenna @ Wife in Progress says
Hi! Saw you featured at Work it Wednesday. These are fantastic, I think I’ll make them for my son’s nursery!
C.Lem (creativeclementine) says
So gorgeous!!! These are my to-do list for sure.
Thanks for joining us at Idea Box Link Party! These beauties are one of my features this week. 🙂
Denise says
Nice idea! Plus…I love finding crafty St. Louis moms!
howtonestforless says
Thanks Denise! Same here 😉
Karen Pope says
Love this idea – going to make for my grandkids playroom in my house!!! The instructions are super.
howtonestforless says
THanks Karen!
Mindi says
Erin I love these shelves! They are so cute and cleaver! I picked you as my rock star feature at Creativity Unleashed, don’t forget to come and vote for your project! Hugs!
howtonestforless says
Thanks so much Mindi!
Amanda says
I love the shelves, do u have the template for the clouds that you traced? Im not the best at free hand 🙂
howtonestforless says
Sorry I don’t. I just free handed it from a drawing I found on the web!
Khyati says
These are amazing! We just made them following your instructions for our son’s nursery! What did you use for paint? We used bher from home depot and the result is terrible 🙁 not sure if it’s because we randomly brushed the primer on, but the paint job we did looks terrible! Luckily we’ve only painted 1-any advice?
howtonestforless says
OH NO!! I actually used Rustoleum white spray paint. Covered really well and smooth. Hope it gets better for you!
Heather Melendez says
I love these and have been waiting to make them. Now that we are making a loft bed for my daughter it is the perfect time to make some cloud shelves so she can keep some books up in her bed for easy access. Here is a different question… What is the name of the wall color in your pictures. It looks like a gray and I love it. I would truly appreciate it if you could share. Thank you!
howtonestforless says
Coastal Pleasure by Clark+Kensington at Ace Hardware!
Dick Moebius says
Super idea for my 1st Grandson’s room! Had to put my own touches on them though…added a rising sun peeking out between the two clouds on the front panel. It added a bit of color and fun to the shelves! Thanks for the great idea to get me going!!
howtonestforless says
Love the addition!
Chris Chambless says
So I made them and they turned out great. Thanks for the tutorial, but your estimate of 2 hours is pretty unrealistic for 3 shelves. Painting them alone took longer than that considering multiple coats and dry time. Im working on mounting mine now and finding studs/planning where to put them, takes a lot of work. Hell, getting the shape drawn took a good half hour. 2 hours is a joke. More like 2 days (asuming you have a baby to deal with).
Mayra says
So adorable!I Will be doing this!for my girls room!!gratis job&thank you for the idea!!????????
howtonestforless says
You’re welcome!
Sunshine says
These are adorable, and I have been looking to have them made.
Are you in St Louis? I saw that book 🙂
howtonestforless says
Yes, we are in St. Louis!!
Sunshine says
Awesome, we are too, and I was looking to get these made for our baby’s nursery 🙂
Do you take orders? If so, Can you shoot me an email?
Tilesbay says
Very adorable! I Will be doing this!! great job & thanks for the idea!! 🙂
Pauline Fisher says
Love to DIY , love the site.
Alex says
I really love your shelves, great idea, good job !
But how did you hung it on the wall ?