Hello! It’s Amber from Crazy Little Projects saying hi!
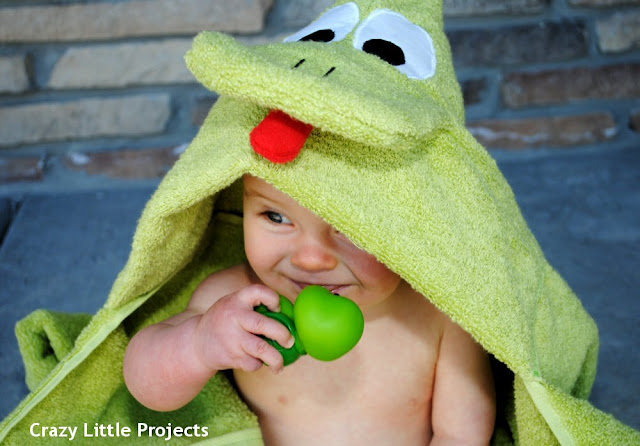
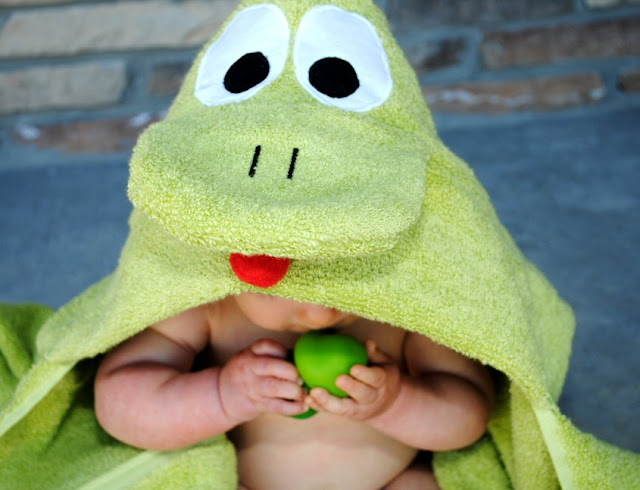
Years ago I used to make a lot of these hooded frog towels for friends as baby gifts, but for some reason I quit making them for a while. I have to say, when I made this I was reminded just how cute they really are. My 7 year old is begging me to make him one now. And the best part? I really could! These hooded towels are great for newborns clear up to young kids. Toddlers, preschoolers, everyone.
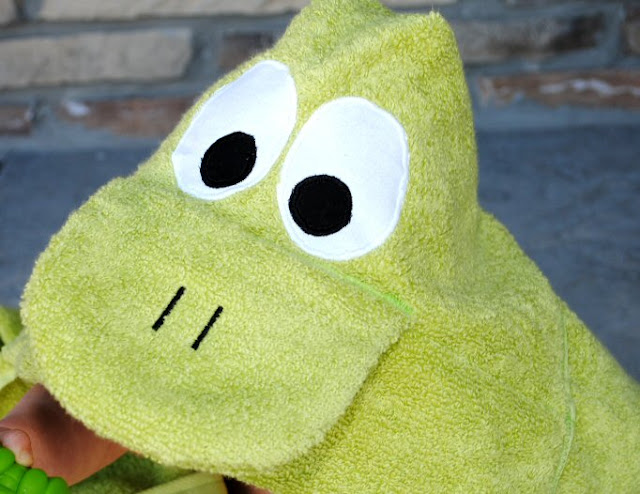
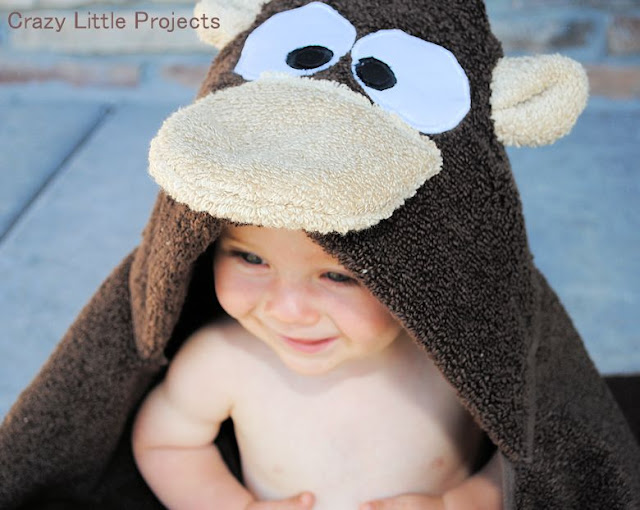
Isn’t this froggy cute?!?! OK, maybe it’s partly the adorable model too. I’ve also done a ladybug and a monkey and will introduce a new towel each month.
These towels take maybe 30 minutes to an hour max and cost less than $10. Not bad! And guess what? I have tutorials for a duck, monkey, dragon, ladybug and others coming in the future.
What You Need:
Green bath towel (I got mine at Target and it cost about $4-5)
Green hand towel to match the bath towel
Small amounts of white and black fabric
Iron on transfer paper
Small amount of red fabric (I usually use fleece or felt but any will work)
Green, white and black thread
Pattern pieces for eyes, nose and tongue
To start, snip all the tags off of your towels and hand towels to get them out of the way.
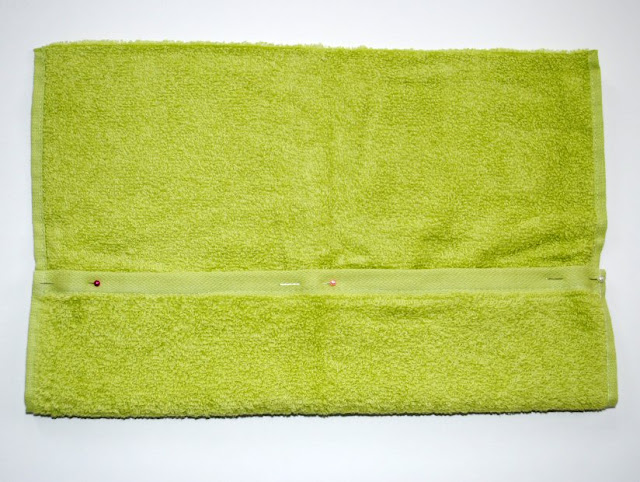
Then cut your hand towel in half the hamburger way (as in not the long skinny hot dog way, but the short, fat, hamburger way.)
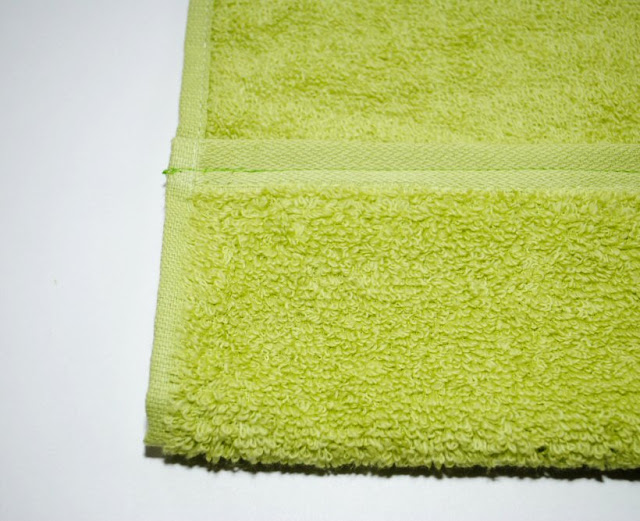
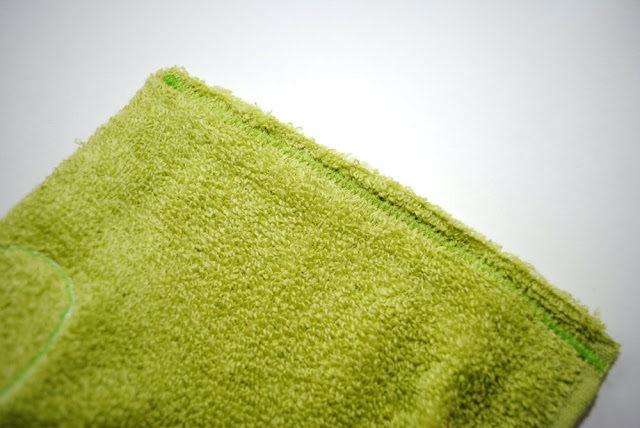
Fold the edge of the hand towel over about 4 or 5 inches. Pin it in place and sew a straight stitch.
Simple enough right?
With the leftover half of your hand towel, cut out your green frog nose from the pattern piece you printed. Cut two and then sew them together leaving a couple of inches open on the top (the straight part) so that you can turn it. Then turn it.
Cut two:
Stitch together leaving opening on top straight part:
Turn:
Don’t worry about sewing that opening closed. That will take care of itself when you attach the nose to the towel.
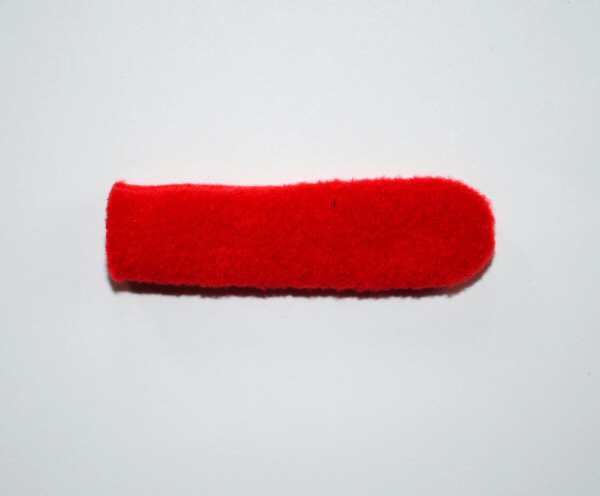
Now do the same with your red fabric and the tongue pieces-cut two, sew them together leaving an opening at the top and turn it. If you are using felt you can just use one layer and not sew it.
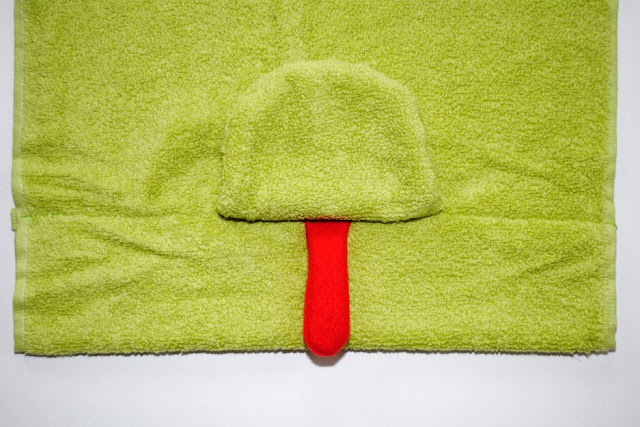
Flip the hand towel over. Center your nose on the hand towel right along the stitch line you made previously. Stick the tongue up under the nose right where you are going to sew so that you will catch it in there too while you sew the nose on and then do a fairly tight zig zag to attach your nose.
See how the tongue is under there:
 Zig Zag along the nose to attach it:
Cut out two white eyes and two black eyeballs from the pattern pieces. Iron them onto the iron-on paper and then iron them into place on your towel:

Now, using a very tight and fairly narrow zig zag stitch (applique), sew around them first in white on the white parts then in black on the black parts:

While you have your black thread in, add some little nostrils to your nose. Flip the nose out so that you can work with it. Then I just use the same tight zig zag stitch and go forward about an inch and then reverse over it one time. You could do this before you attach your nose to the towel if you prefer, I just like to wait until I have my black thread in anyway.
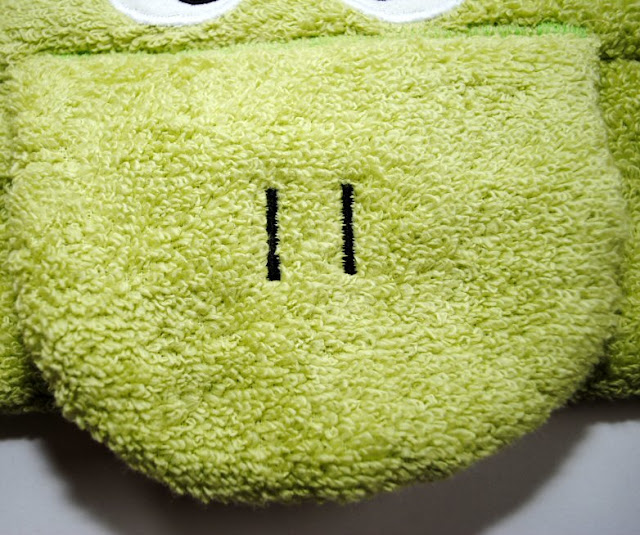
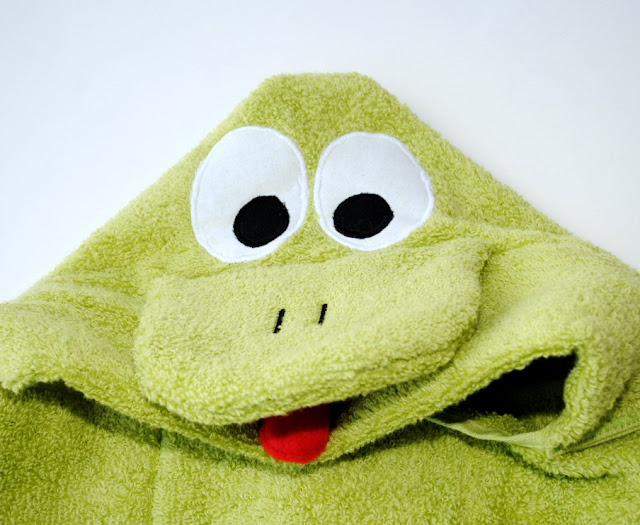
There’s your frog face!
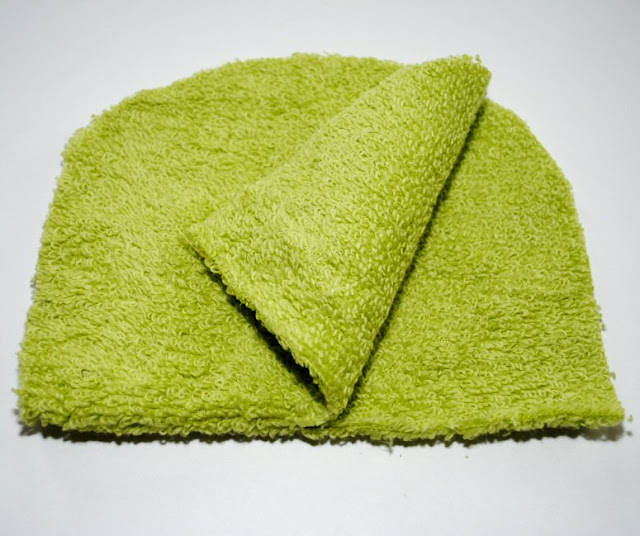
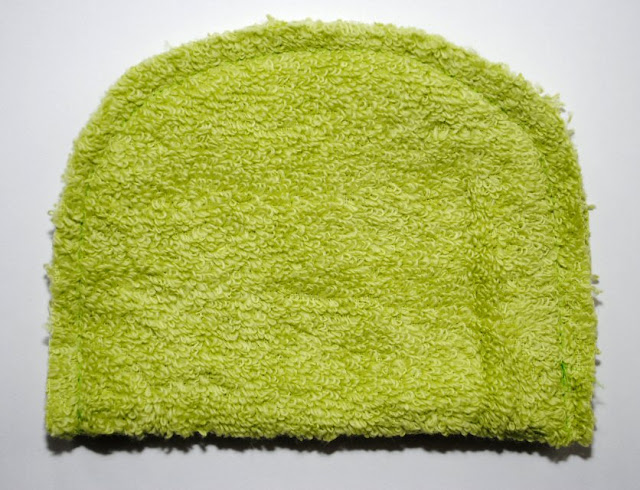
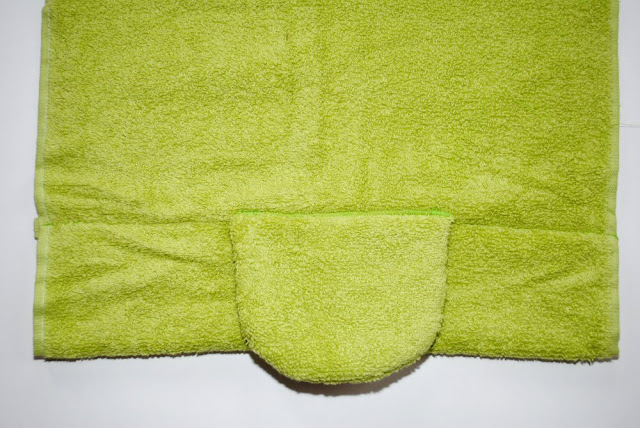
Now, fold the hand towel in half with the face on the inside and zig zag the raw edges together to form the hood.
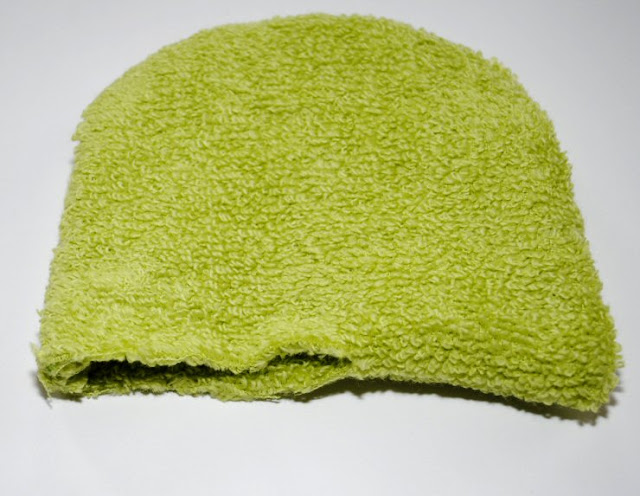
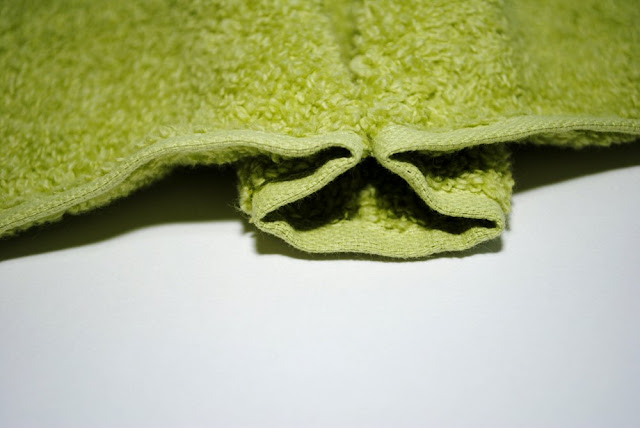
I like my frog to have more of a rounded head rather than pointy. To do this, fold your head like this:

And stitch a straight line across the top triangle part like this:
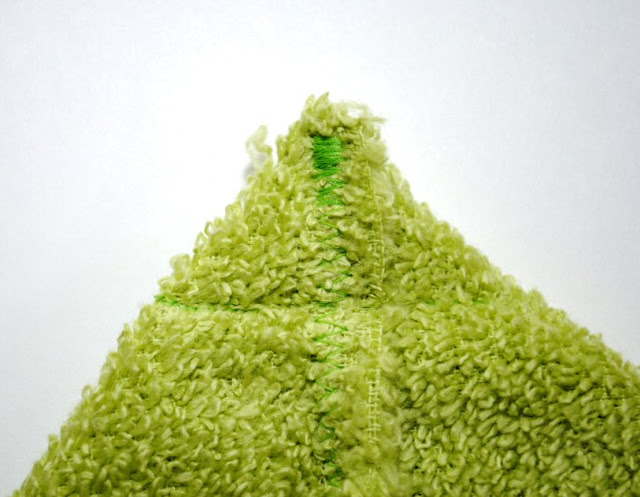
Then you can just snip that tip off if you want.
And now you should have a nice, cute frog head.
Next you need to sew your head onto your hooded towel. I have sort of a fancy way I like to do it with a little pleat that makes the towel wrap around the kid even better. You can do it that way or you can just center it on your towel and zig zag it in place. I recommend using a zig zag to keep it nice and secure.
Here’s how to do the the pleat if you want it:
In the center of the towel right where you want to sew your head on, make a fold like this:
Pin it in place and zig zag it together:

Now, sew your head on with a zig zag stitch like this: (see the pleat?)

And ta da! You have an adorable little frog hooded towel!
Really-your kids or your friends or whoever this is for-they are going to LOVE this!
See also:

Like I said, more tutorials for hooded towels coming on Crazy Little Projects…ducks, monkeys, dragons, ladybugs, owl, maybe a shark? Butterfly? Tiger? What do you want to see first? Other ideas? I think I will do a towel a month, so stayed tuned (like me on facebook, RSS, Twitter, Pinterest) to see more!

kellie says
Love this project! Too cute, Thanks so much for sharing!
Trina @ afewmineradjustments.blogspot.com says
That is awesome! Way above my sewing skills! Sew cute though!
katie says
How adorable is this towel! I can’t wait to make a few for all my friends babies!