![]()
Hello lovely readers of How to Nest for Less! I’m no stranger around here, but for those who may not know me, I’m Kelly! I’m the creative, crafty, cooking fashionista who blogs over at Live Laugh Rowe. Did you know that Erin and I are practically neighbors? Read Look Who I Met to see how we found that out {giggle}. Anywho, feel free to drop by and say hello sometime! I adore meeting new people and making new friends! Today I thought I’d share one of my recent and super easy projects with you:
A Pallet Planter Box… true {love}.
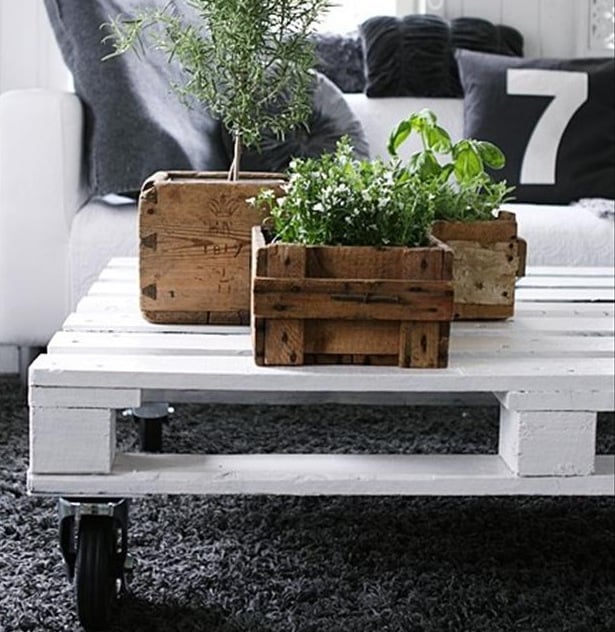
The inspiration for this project started with this picture:
 {source}
Funny enough, I think the pallet project being featured in that picture is the coffee table. HA! Well, I saw beyond the coffee table and fell in love with those planter boxes. I thought they could easily be made with pallet wood, and why not give it a try? Of course that required a pallet, which meant I needed to get my hands on one. Mission accomplished with a little dumpster diving drive by in which I scored two. Woo Hoo!
Some folks think the pallet projects are a little excessive and over rated, but do you know what I {love} the most about these projects? The supplies are practically FREE! You can’t beat that!
Grab your hammer, nails and mitre saw!
Let’s make a Pallet Planter Box.
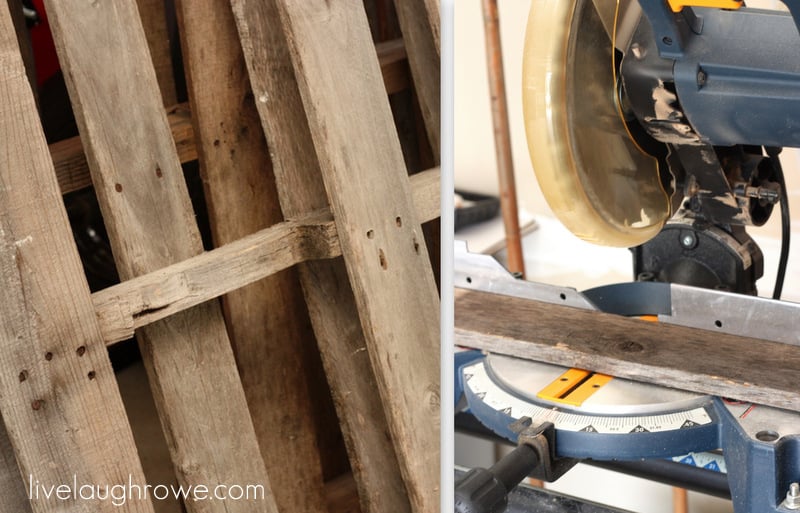
What you will need to cut is the following.
The width of your boards will vary on your pallet.
(2) 13-1/2″ boards
(11) 12″ boards
(4) 9″ boards
Here is a hand drawn illustration (by my hubby) to help with understanding what to do at each step of constructing the front and the back pieces of the planter box.
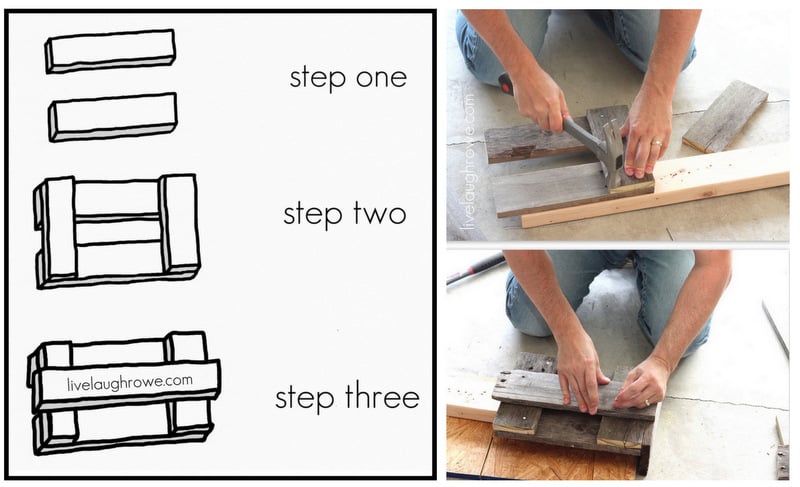
step one. Take two of your 12″ pieces and lay them horizontally parallel to one another. Whether they’re flush or there is a slight gap will depend upon on the width of your pallet boards.
step two. Take your other two 9″ pieces and place them vertically on top of the other boards (one on each end).
step three. Now take the 13-1/2″ board (the piece I refer to as the brace, although it’s not technically a brace) and place it horizontally parallel centered to the top and bottom of the bottom pieces.
step four: Repeat for the back piece.
For the sides, you’ll want to grab two 12″ boards for each side. Take those boards and nail them into the ends of both the front and the back pieces we’ve already put together.
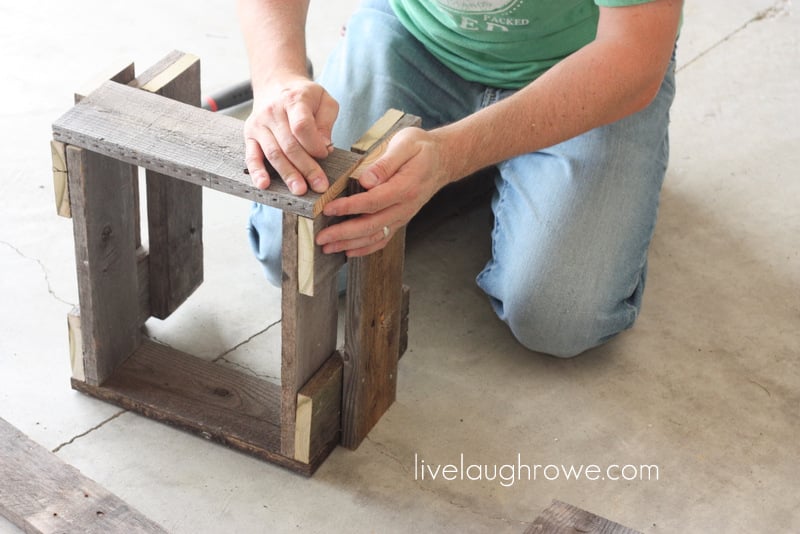
Once those are attached, you’ll nail your three remaining 12″ pieces on the bottom.
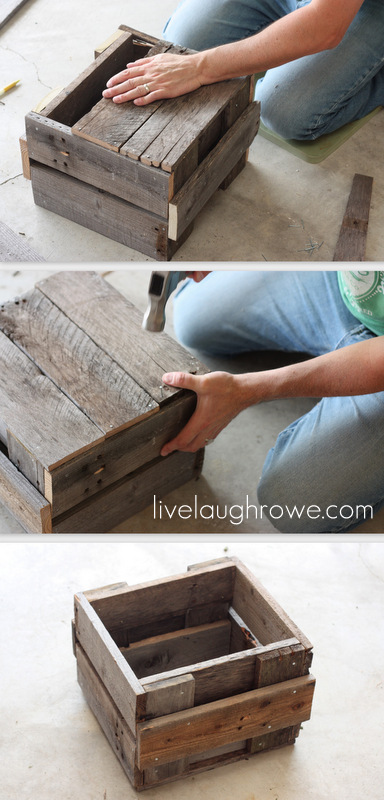 And you’re done!
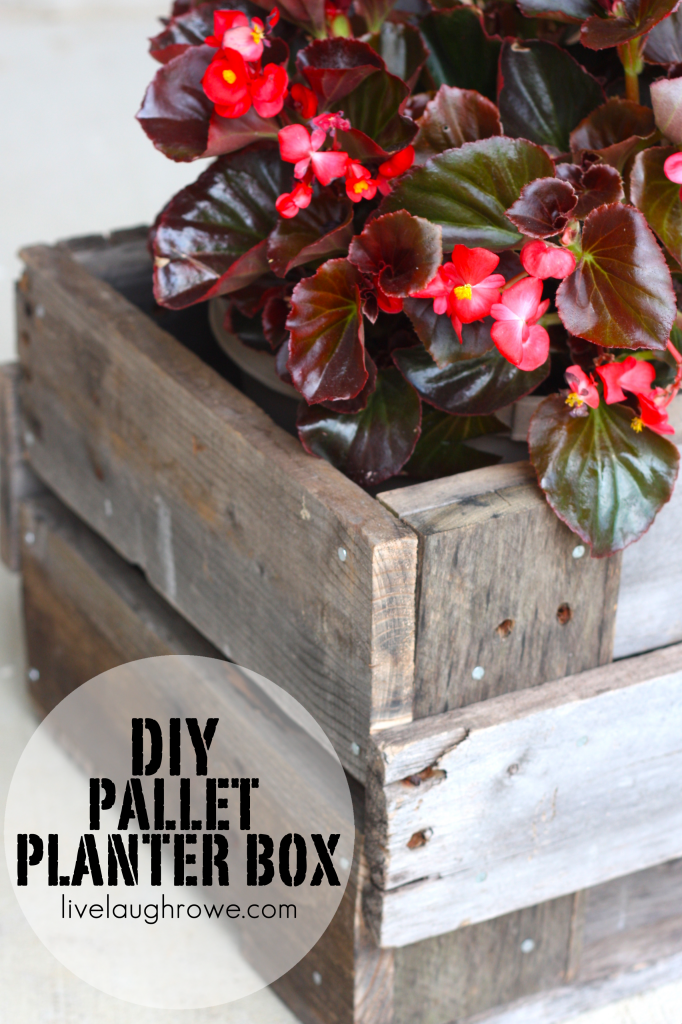
A rustic, weathered pallet planter box!
Here’s a tip. After cutting the pallet boards, the ends are not as weathered. You can see that in some of the pictures above. I took some black crafting paint, watered it down and rubbed it over those spots with a rag. After it absorbs, you won’t know the difference. Perfection!
If you enjoyed this project, you might want to swing by
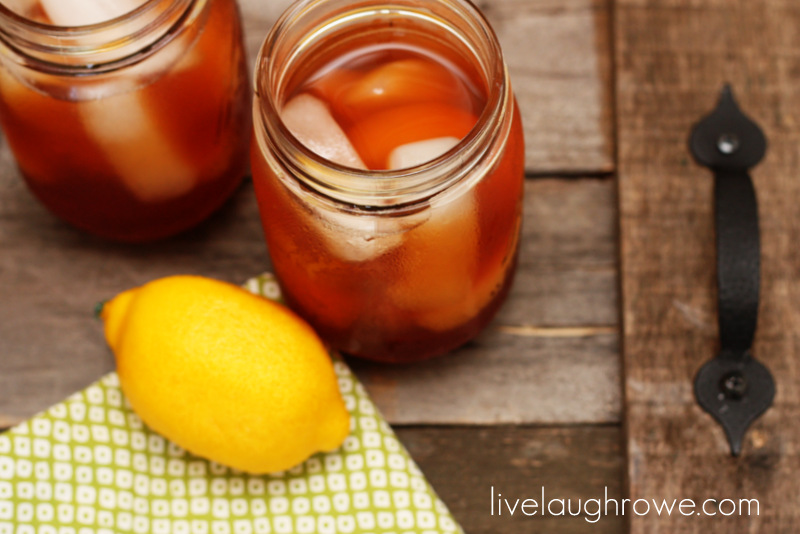
and see my newest project, the Pallet Serving Tray.
It’s perfectly rustic, functional and unique!
That’s all folks! Thanks so much for having me, Erin! Hugs!!
Subscribe to Updates | Like on Facebook | Follow on Pinterest

Lisa says
Great idea!
Amanda says
Love the idea! Guess what I acually happen to have…a pallet that our generator was delivered on. Problem is isn’t not old looking…any cheap ideas on how to make it look old?