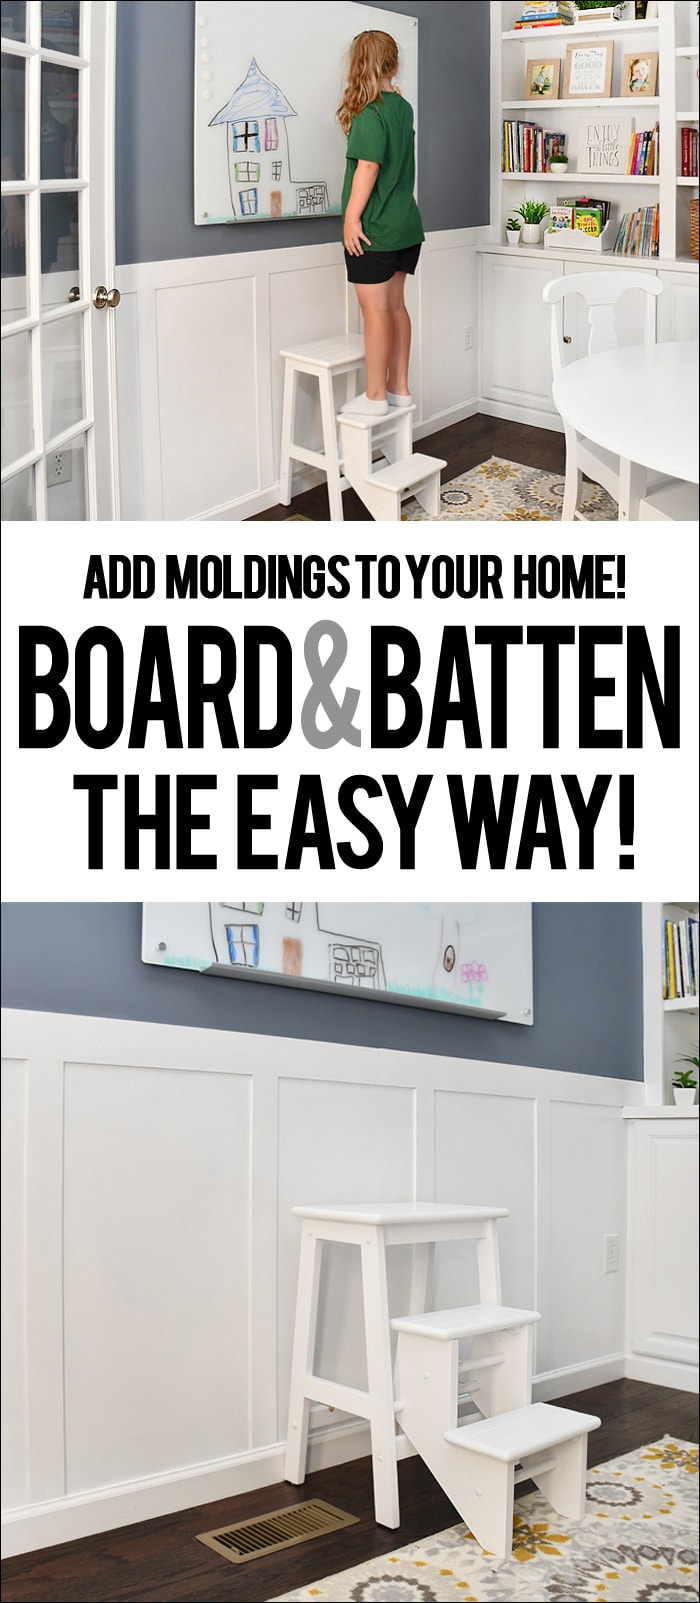
This easy board and batten tutorial can transform any room!
I’m really excited to share this easy board and batten tutorial with you! On Monday I showed you guys our new Homework Room, and I have to say… I’m still smitten every time I pass this room. And it makes me even happier when I see Ellie sitting at the table working on her summer workbook. Yep, I’m that mom.
So today I thought I would share with you guys the clever way we installed the board and batten. Let me just warn you now, this is the lazy way… not even gonna lie. I honestly did not feel like taking down my baseboards so we just figured out a way to get the board and batten look.
Board and Batten Supplies
Poplar boards (1/4″ x 3in wide x 4ft tall for the vertical boards, 1/4″ x 4in wide x 4ft tall for the horizontal boards)
Tape measurer
Level
Painter’s tape
Paint
Directions
So for this DIY project we used 1/4″ poplar boards from Lowe’s. We loved the thinness since we knew we weren’t going to take down our baseboards. Also they were only $3.88 each and pre-cut into 4ft lengths so I could just throw them in the back of my car.
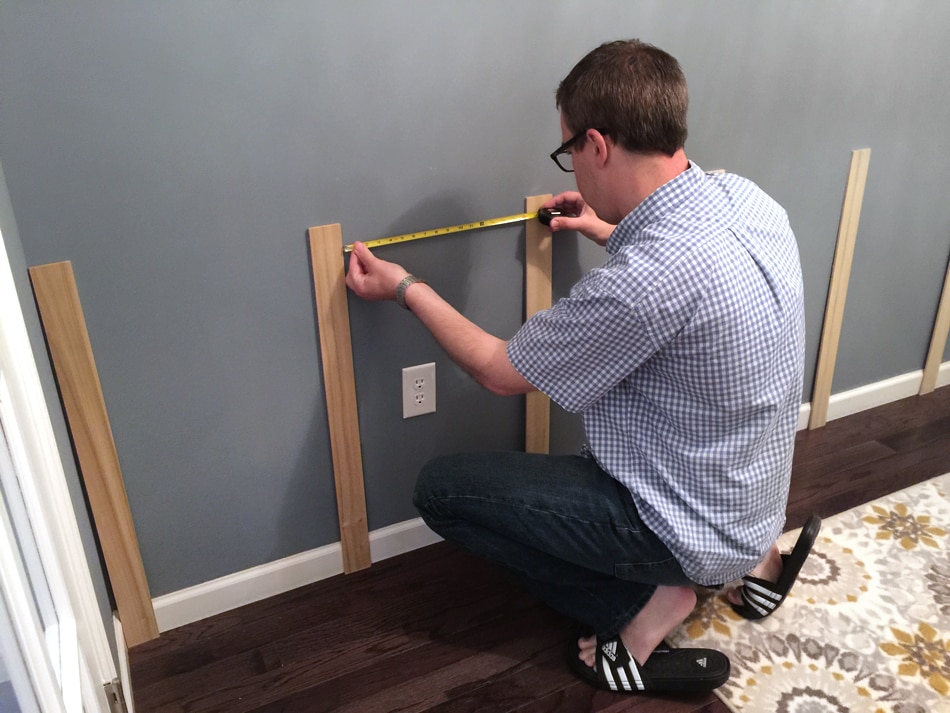
When we got home the first thing we did was measure our walls to figure out how many boards we needed and how to cut them. Since we knew we wanted the horizontal boards (or chair rail) to rest on top of the new built ins lip, we laid one wooden board horizontally in place and used that to get our measurements for the vertical boards.
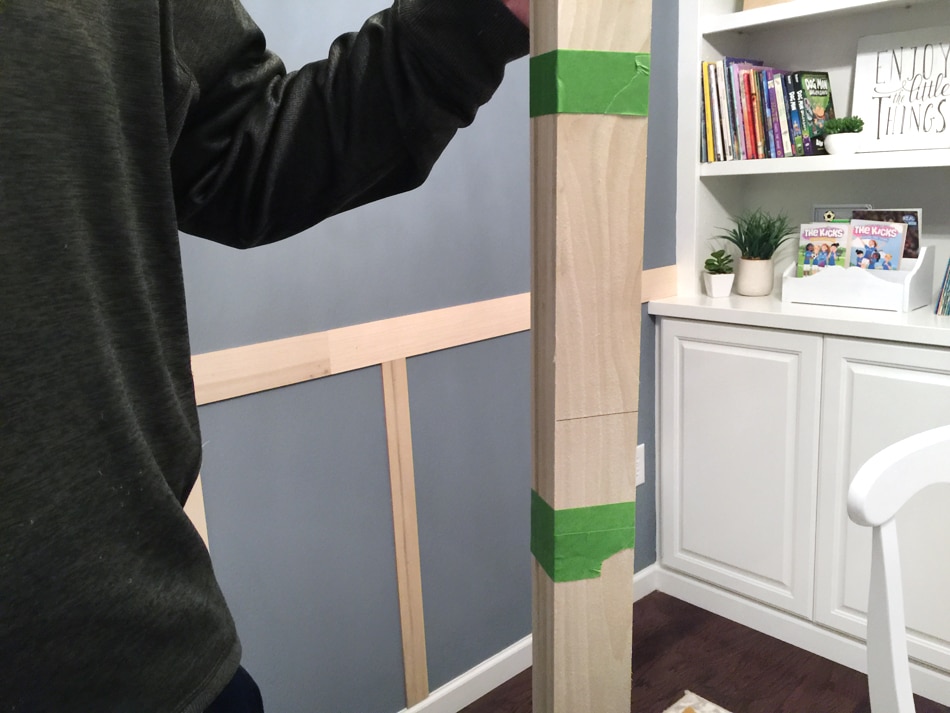
Then go cut all of the vertical boards evenly we taped them together with painter’s tape! One easy cut with the compound miter saw and we were good to go. Measure one, cut all. Worked perfectly!
Next we placed the vertical boards against the wall and measured the spacing (we ended up using 13 inches between each board).
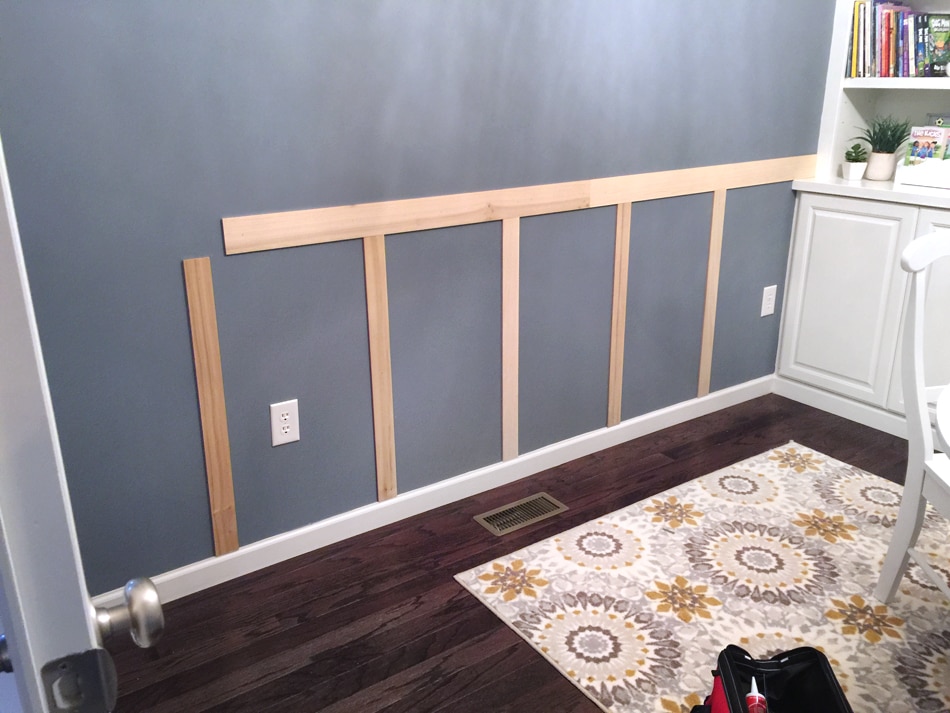
Then we started nailing the boards into place, starting with the vertical boards. We placed them right up to the baseboard, so they were just sitting right on top. Once the vertical wooden boards were all up, we added the chair rail boards.
(Note: there is another vertical board in the corner to the left of the photo, you just can’t see it from this angle. We opted not to add a vertical board next to the built ins though because we didn’t want to cut around the lip… again, lazy but we’re ok with that)
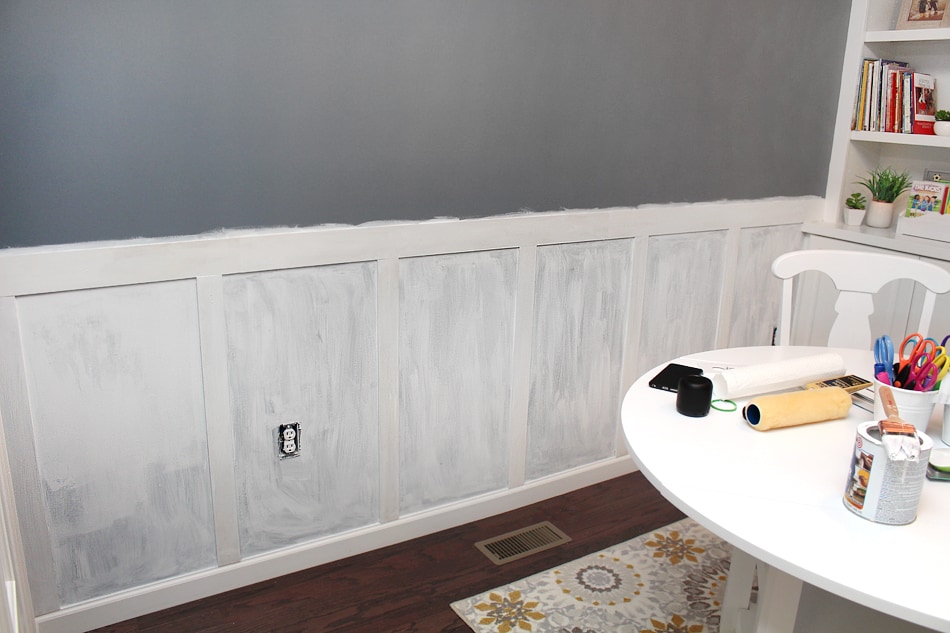
Once all of the boards were up we filled in the nail holes and any small gaps between the boards (have to admit though, our board cuts were SO GOOD, we rocked it… barely any gaps). Once the filler dried, we lightly sanded and gave everything a coat of primer.
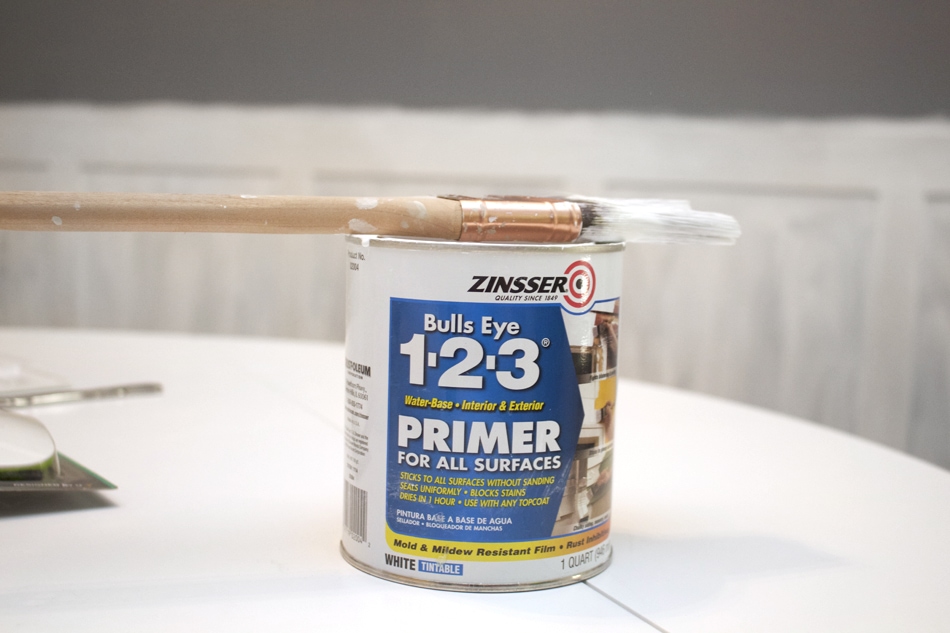
You can definitely do this step before nailing up the boards but since we also had to cover the blue paint, we just opted to do it all at once. And don’t fear when your primer doesn’t cover everything. Or when you make a huge mess because you didn’t tape off like we did. Thank goodness for touch up paint.
See? Did you ever really doubt us? Just kidding!
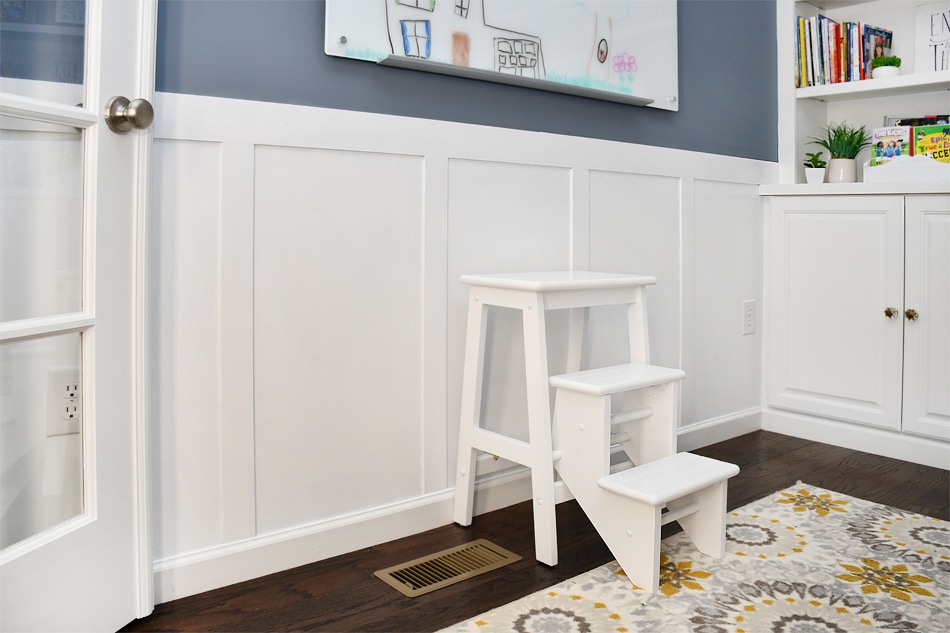
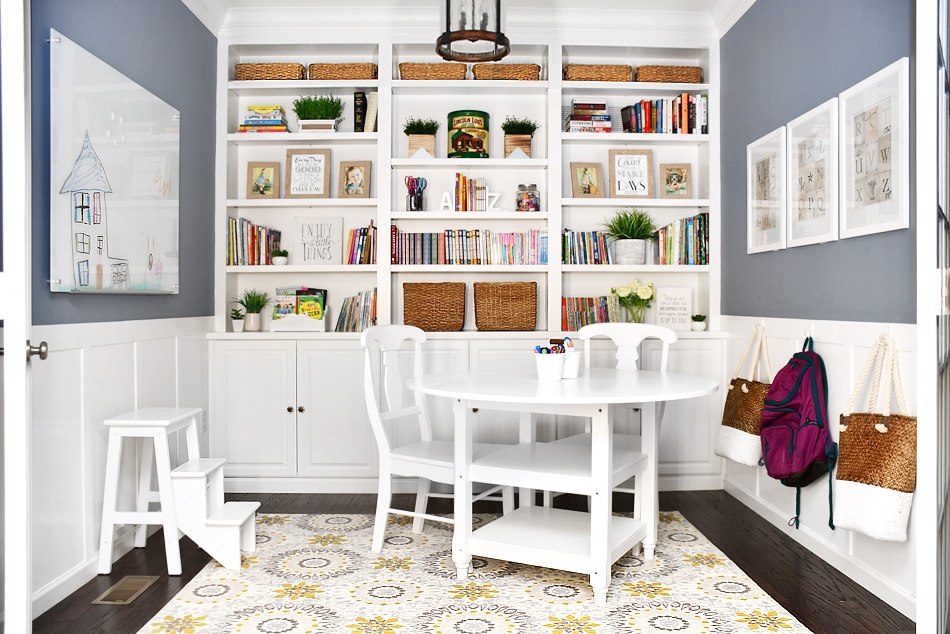
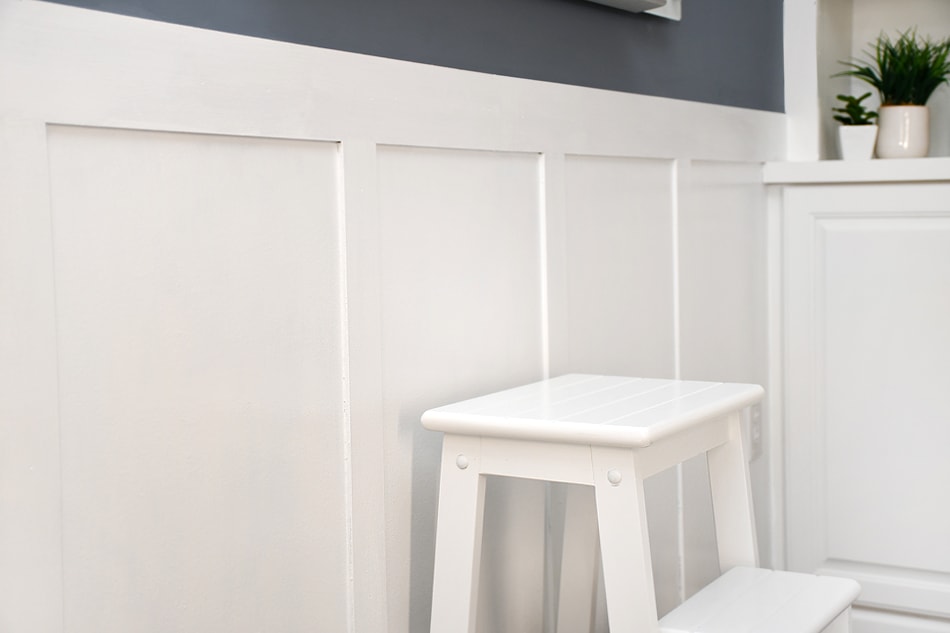
So happy with the final board and batten result!
We even added some fun hooks on the other side to hang bookbags, etc.
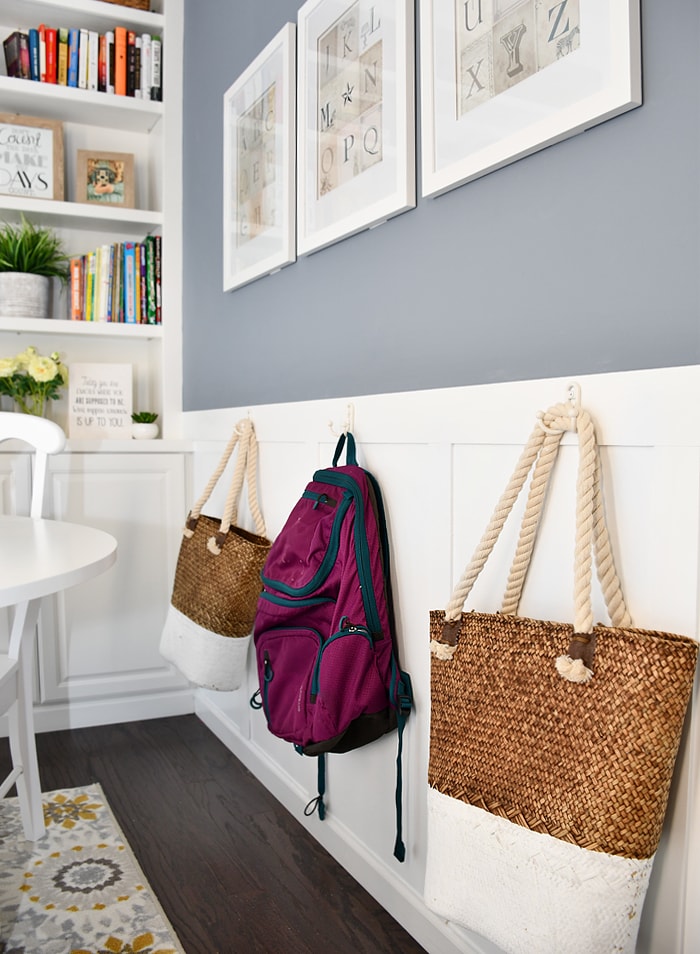
Love how the board and batten broke up the blue paint and really finished off the room.
Now I just need to get a new floor vent cover 😉
And FYI… when my mom stopped by she was surprised how good the board and batten looked!
I gotta say, it does look pretty good in person!
If you missed the entire homework room tour, CLICK HERE!
And next up? The free printables!

Jennah Wiggins says
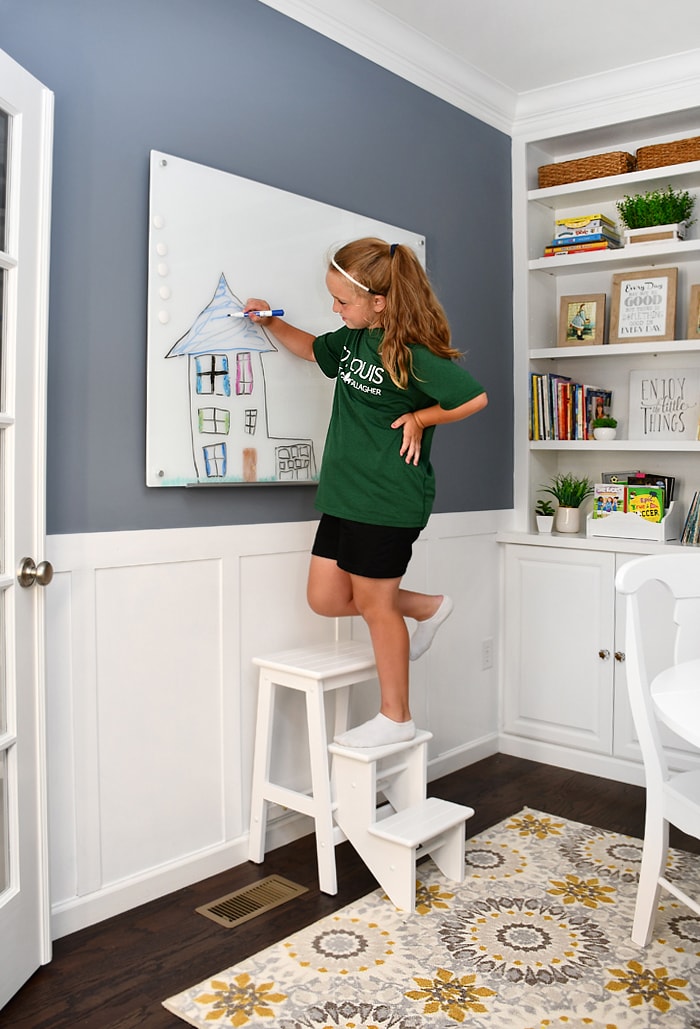
Where did you get that white step stool?!
howtonestforless says
Amazon! http://amzn.to/2u4HkqJ
Kim~madeinaday says
What a fantastic room! You make adding that batten so easy! Pinned & sharing on Twitter. Thank you for sharing on Merry Monday! Hope to see ya next week!
Kim
howtonestforless says
Thank you Kim!!
Nancy says
I just sent this to my husband and said “do this in the bathroom!” We have been wanting to do something on the bottom, beadboard, beadboard-look wallpaper, this… but we don’t really have the energy to remove the bottom moldings. I’m pretty sure this is the winner.Thanks, it looks great!
howtonestforless says
You’re welcome for the inspiration! Good luck on your project!!
Lisa says
Your house is beautiful. Did sheen of paint did you use for the walls and boards? Did you use semi-gloss for both? Thanks