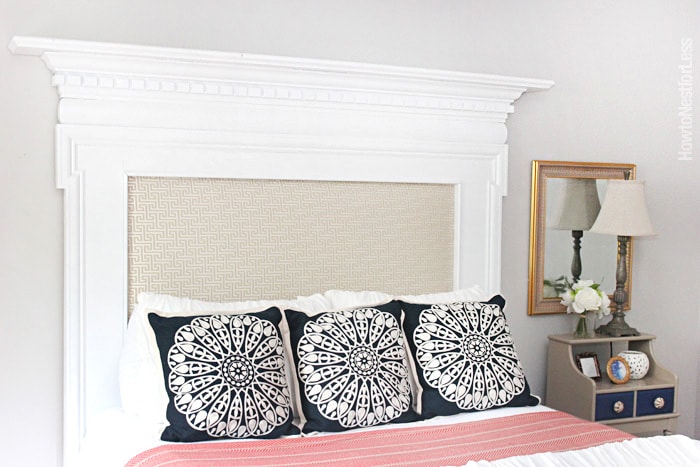
So yesterday I showed you my Guest Bedroom makeover. My favorite part of the room is the DIY fireplace mantel upholstered headboard. It’s definitely the focal point of the bedroom and adds so much to the space.
 So how did this idea start? Well I first purchased this old fireplace mantel off Craigslist for $30 last Fall. My hope was to put it in our Master Bedroom as a faux fireplace, kinda like here. But since I had no immediate plans for a Master Bedroom makeover and I desperately needed a new headboard for the Guest Bedroom that was under construction… well, my mind started spinning.
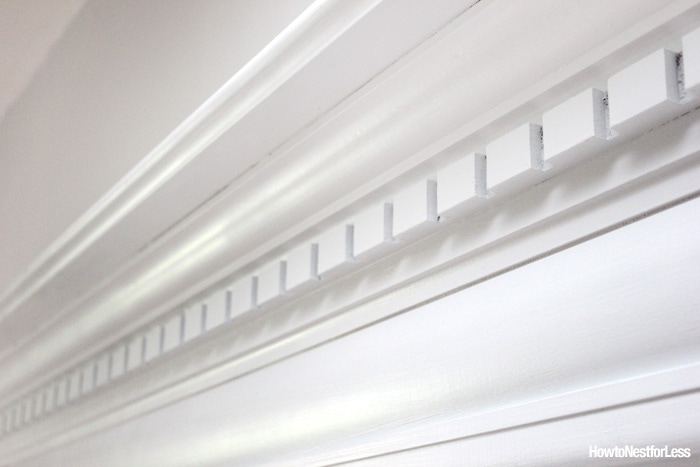
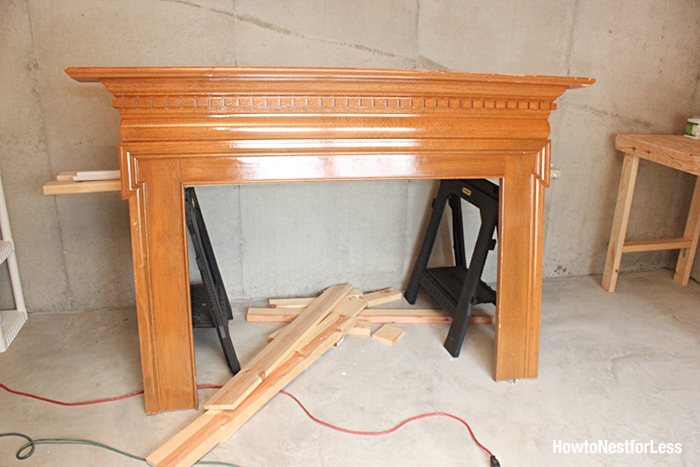 The first thing I did was spray paint the entire fireplace mantel white (well almost all of it). Before I finished, we carried it up two flights of stairs to the master bedroom but it seemed a little short behind the bed. I wanted something GINORMOUS. So we extended the legs with some 1x4s and finished up the painting.
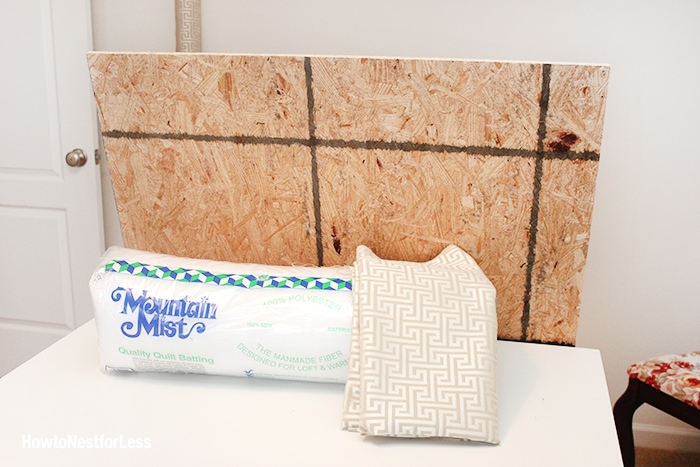
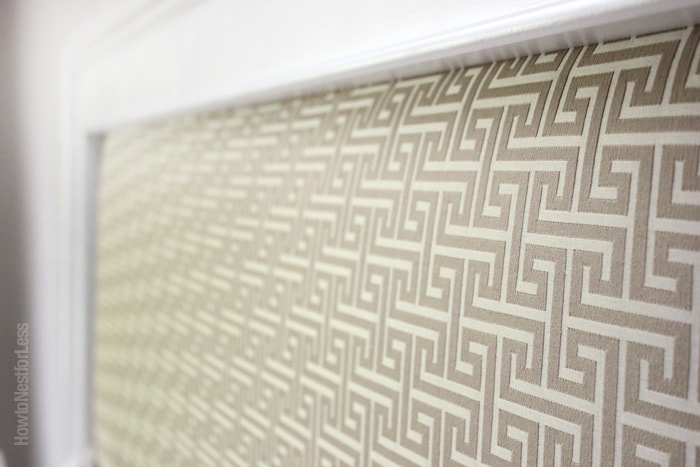
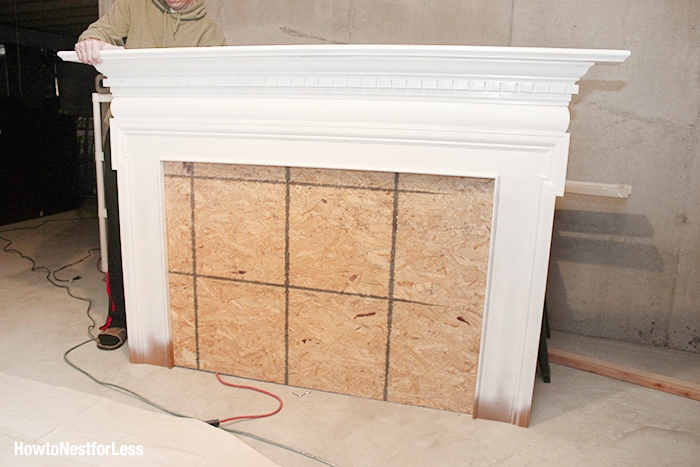 Next you can see the wood board insert. I wanted an upholstered look for the middle part of the mantel. So we measured a few inches wider on each side and purchased a board from the lumber store.
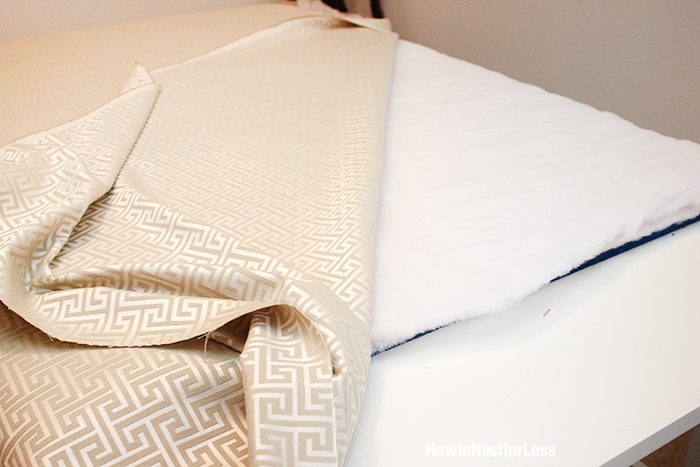
Then I purchased one bag of quilt batting and picked out some fabulous fabric (I also purchased enough for the DIY window board valance we made in the Guest Bedroom).
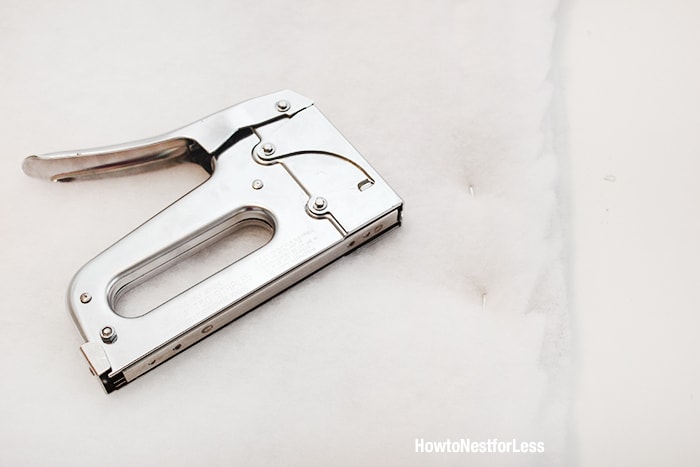
 I used my staple gun to attach the batting evenly around the board (the batting was wrapped around the back of the board, I stapled on both sides so it wouldn’t slip and gather at the bottom of the headboard or look lopsided).
 Then I wrapped the fabric on top of that and stapled it to the underside of the board.
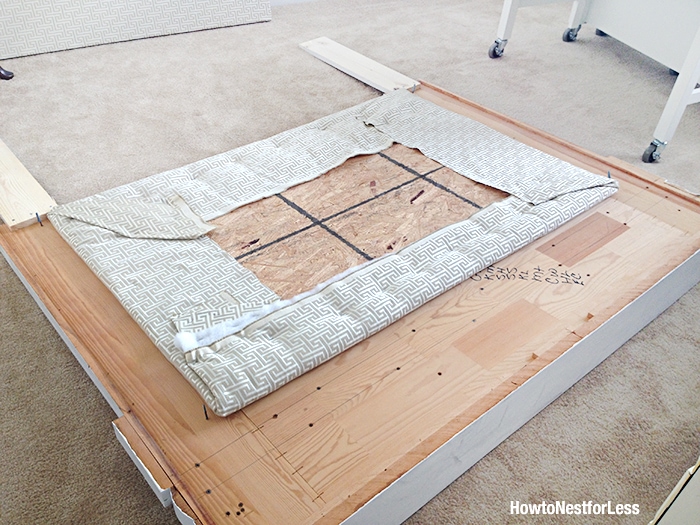
 Next I laid the fireplace mantel face down on the carpet in my craft room. Then I laid the upholstered insert into place, making sure it was evenly spaced around.
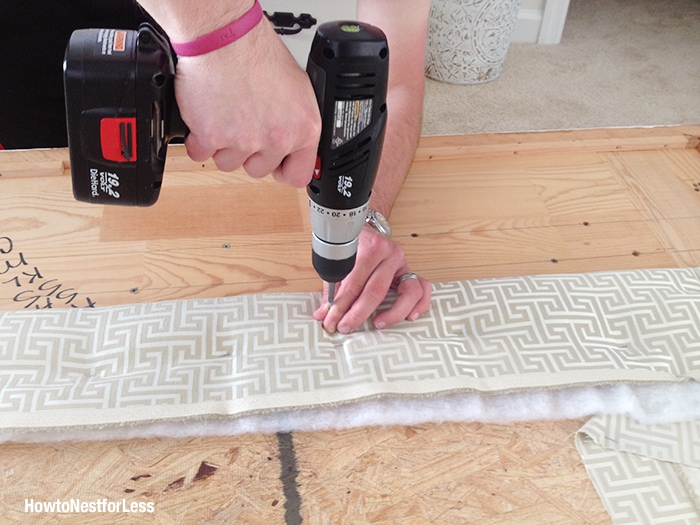
 And we just screwed the board directly into the fireplace mantel (yes, through the batting and fabric). We used about 3-4 screws on each side.
 And then you’re done! We secured the fireplace mantel headboard to studs in the wall with a couple of long screws. Then we filled the screw holes and added a bit of paint.


Overall I’m super happy with the outcome of this DIY project. Overall project costs were under $60. Not too shabby for a queen size headboard!


Harsha @ Healthy Cooking 'N' Fitness says
Wow its so beautiful. I am planning to DIY upholsetered headboard from a long time. And this looks perfect.
howtonestforless says
Thank you so much!
Laura B says
I love this headboard and the height it has. You have given me an idea on what I’ve been tossing around in my head for our bedroom re-do. Great job on the whole space!
Laura
howtonestforless says
Thanks so much, and good luck with yours!
Denise says
Absolutely stunning! I have a couple of questions.
– How did you get it to lay flat against the wall after you screwed in the board, batting & fabric?
– In one picture it looks like the legs don’t come to the floor but in another picture it looks like they did. Did you extend the legs and if so, how did you make it look seamless?
Love the entire room!
Denise