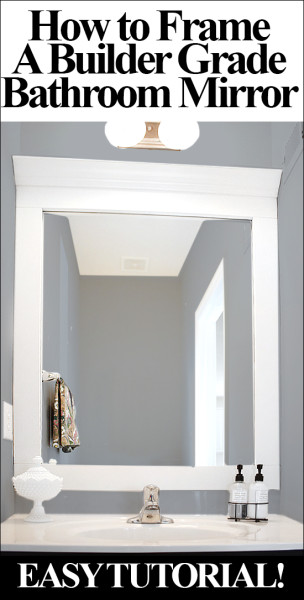
It’s time to start cracking down on some DIY projects in our new place. So today I’m showing you how to frame a bathroom mirror.
While I have some wallpaper on order that should be here some time this week, I wanted to get a jump start on the bathroom and trim out the bland builder grade mirror.
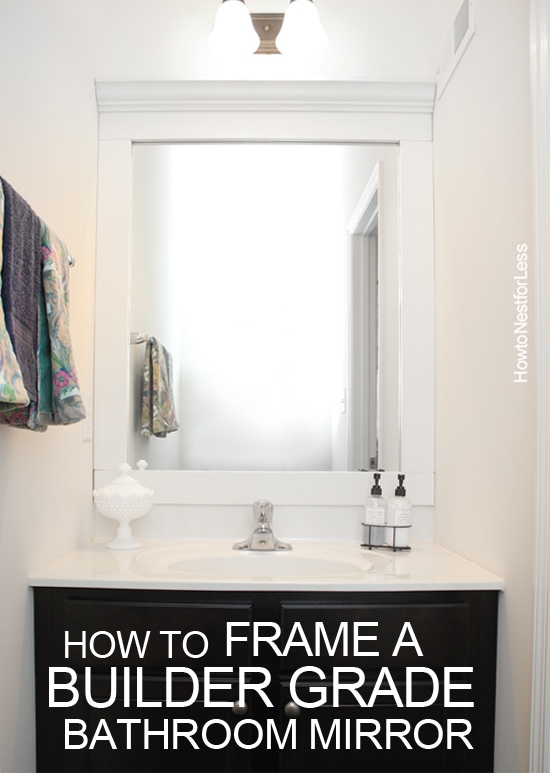 The bathroom is extremely small… only the width of our vanity. Yeah, small. But at least that meant that framing out the wall mirror would be a super quick and easy project.
How to Frame a Bathroom Mirror
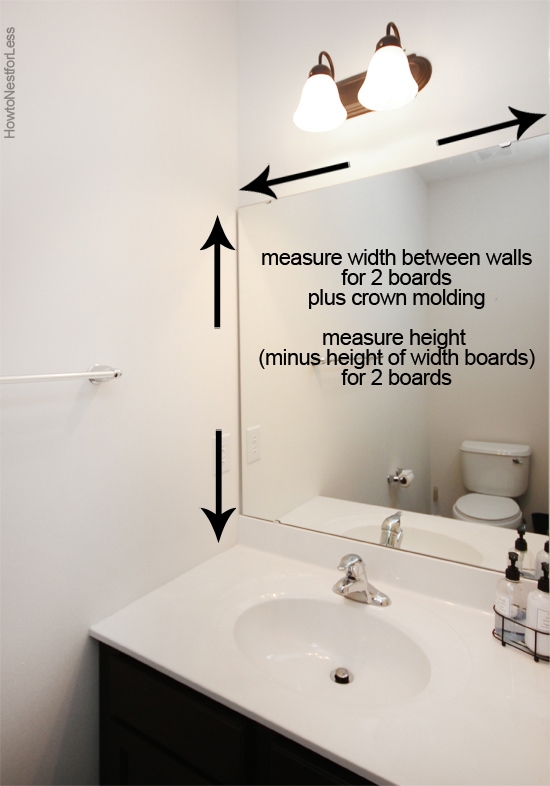
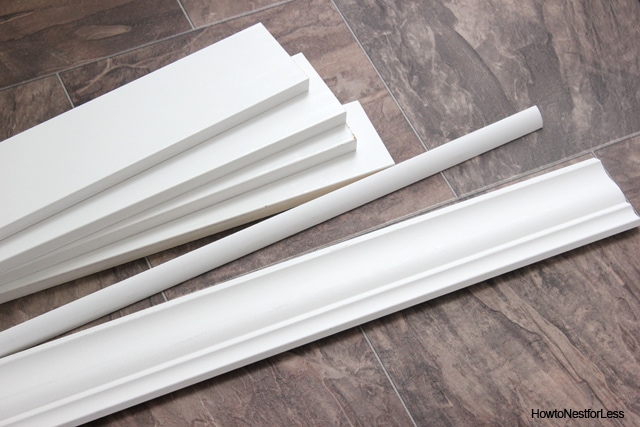
Measure, Cut, & Paint
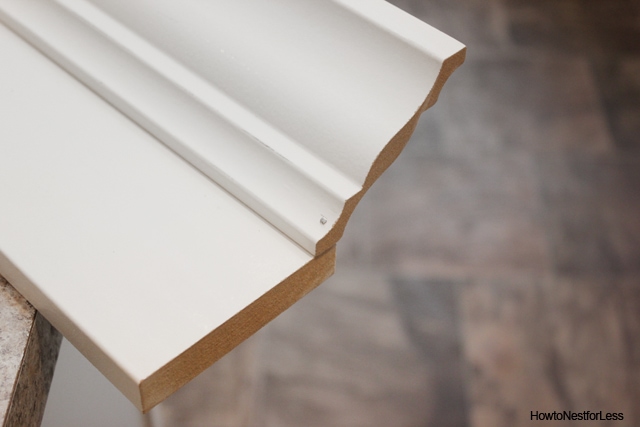
I measured for my pieces of trim and crown and purchased the wood from my local hardware store. Then, I painted the wood including the back sides of everything since the edges could reflect in the mirror.
Start Gluing
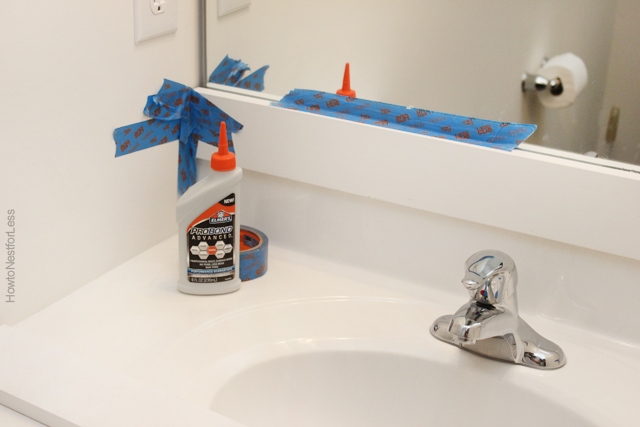
To adhere the first piece of trim to the vanity mirror, I used Elmer’s ProBond Advanced. This heavy-duty strength glue will bond any Mixed Materials, like wood to metal or ceramic to drywall or wood to mirrors, without any of the foam residue. Plus it has a translucent paintable finish.
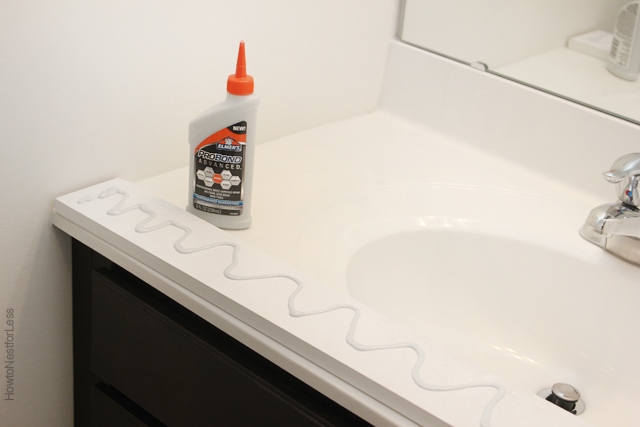
Secure with Painter’s Tape
I put a generous line of ProBond Advanced on the back of the wood then pressed it along the bottom of the mirror on top of the backsplash. To hold it in place I used some painter’s tape.
Check for Levelness
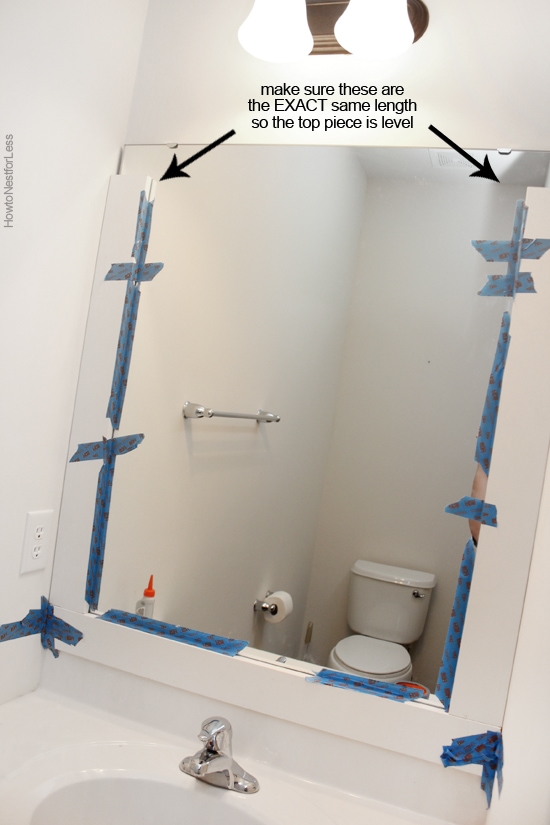
Next I added the side boards. Start with one side: add a little bit of glue and clamp in place with painter’s tape. Next hold the other side in place, but do not glue yet. You want to make sure that the two side pieces are the exact same height and that the top board will be level once in place.
 Now it’s time to add the top piece. Since I didn’t want to apply too much pressure while nailing the crown into the top board after I adhered it to the mirror (yeah, I could just see the entire mirror breaking into a million pieces in my head), I went ahead and pre-nailed the crown to the top MDF board BEFORE gluing on the mirror.
Glue and Clamp
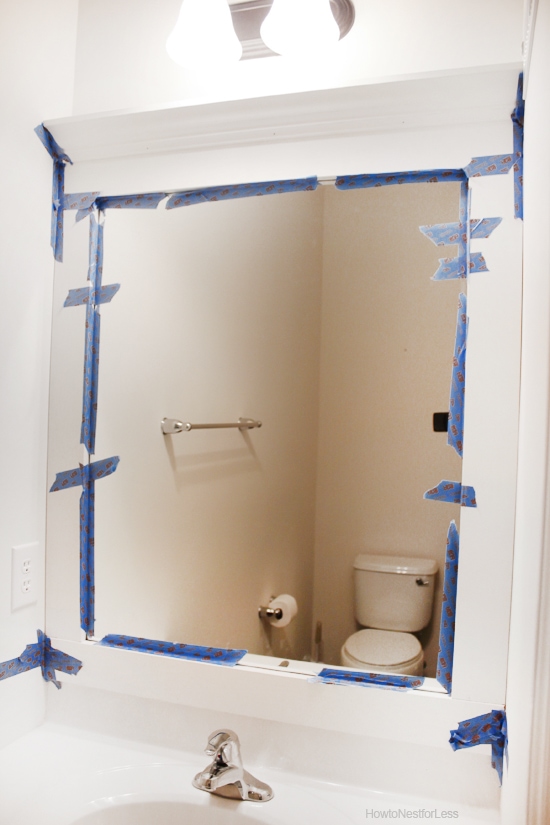
Then I went ahead and glued/clamped in place.
Wait 24 Hours
I waited 24 hours before removing the tape. Then it was time to caulk and putty the nail holes in mirror frame. And then stand back and admire your new framed bathroom mirror!
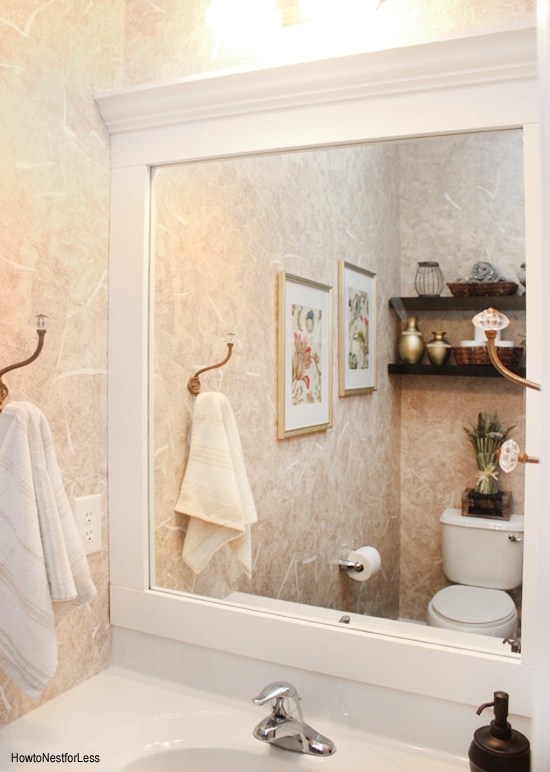 I was completely stunned at how fast this project went along once I had the wood purchased and painted. Only took an hour to get everything glued and clamped in place. Not bad for turning a builder grade mirror into something with a little character.
SEE THE ENTIRE POWDER ROOM MAKEOVER HERE.

Kim Weir says
I’ve been thinking about doing this for a long time but was worried it wouldn’t look right! I love the way yours came out!! One question though, did you remove the clear tab thingys that hold the mirror up first? I was just wondering how it would lay flat if you didn’t.
Candace says
I had the same question about the tabs that hold the mirror!
howtonestforless says
Ours weren’t that thick so the wood is almost flush to the mirror. You can’t even tell where they are!
Pam says
Did you paint the back of your frame black, or leave it the wood color? I can’t tell from the pictures, does the back of the frame reflect in your mirror? I had my old mirror framed and found I could see the back of the frame so I had them paint the back black and it disappeared when you look at it at an angle.
howtonestforless says
Yes, the back of the wood will reflect a little bit so I painted it white. Great idea to use a store bought frame!
Melissa says
I’ve seen this done, but never with such a great tutorial! You made this doable for me! Thanks!
howtonestforless says
You’re welcome Melissa!
Debbie says
This is a great tutorial, but being the perfectionist that I am, I would caulk in the edges to make it look more professional. But it is really nice!
howtonestforless says
Thanks Debbie!
Natalie Jones says
Where did you find those hangers for the mirror? I can’t seem to find any that lay flush like what you’re talking about. 🙂
howtonestforless says
Ours were not flat. They stuck out a bit but the wood over it laid pretty flat and wasn’t an issue. Hope that helps!
Hannah says
Great look and easy without having to own a miter saw. What was the trim used for? And also, does collect above the crown molding? I wonder if you created a little shelf, or add a piece of wood on top so it doesn’t collect dust, does that make sense?
howtonestforless says
We ended up not having to use the trim for this project! We didn’t create a little ledge above but that is a GREAT idea!!
Teresa says
I saw on another pos that for the plastic holders, you can get very thin washers and replace the plastic holders with the washers. It worked great. Love this look. Tks so much.
howtonestforless says
Thanks for the tip, Teresa!
Kristy says
I want to frame out a mirror but it has a small trim around it already. Do you think I would be able to frame on top or need to pull that frame down first?
howtonestforless says
Depends how thick it is and what it looks like. To be safe I’d probably take it down though!
sherry says
Beautiful! Thanks for the tutorial!
howtonestforless says
You’re welcome!
Courtney says
Hi! Are these 1×4’s around the mirror or what type of lumber did you use? Has the glue still held up well? Hoping to do this, this weekend!
howtonestforless says
Yes, just 1×4 boards. Glue held them up perfectly. No issues whatsoever!!
Dawn says
Just wanted to offer a tip. If you clamp the two side pieces together before you cut them, it will guarantee that they will be the exact same length (plus you will only need to cut once, not twice).
Kathy says
One side of my mirror is against a wall the other side,there is no wall it’s open space.How do I close the opening up top where the crown molding bows out?
Sarah says
Kathy, I have the same set up in my bathroom. Did you ever find a solution to “close” the area?
helen cook says
Crown molding corner kits
Sophia Rodriguez says
Love this, I want to frame the mirrors in our bathroom. As I was reading I thought, I want to pin this. Hope you add the “pin it” button to your blog.