I will show you how adding shiplap to built ins can be easy with this tutorial!
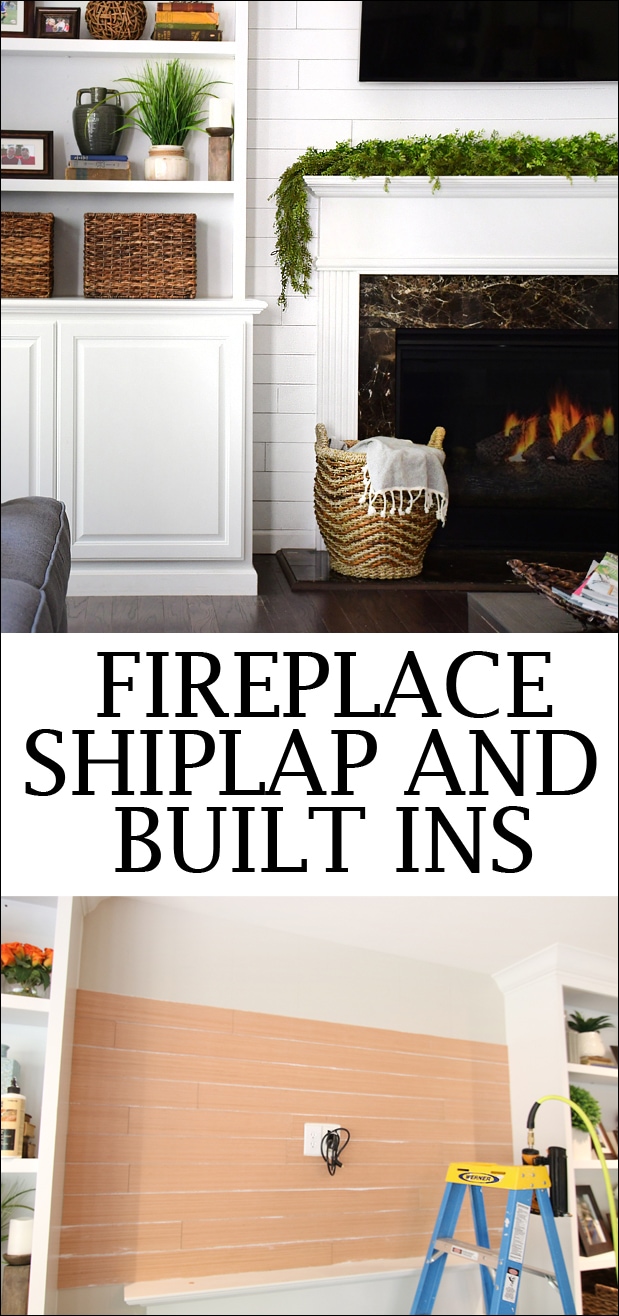
Last year we showed you guys our family room makeover. We added some beautiful new built ins, furnished the space, and made this a happy little corner in our new home. Well for some reason the space in between the built ins always seemed a little bland to us. It seemed like the TV stood out a bit too much and was definitely hung too low. This year we planned on adding shiplap to built ins, but then Ben had his long hospital stay and recovery due to his epilepsy and spinal cord surgery. So we called in the reinforcements….
Our friend Alex from River Valley Renovations swooped in and saved the day for us by adding shiplap to built ins. The best part? He knocked out this entire project while we were on vacation! Yep, we came home to this beauty…
Pretty, right?
And Alex was nice enough to shoot some awesome photos along the way so we can show you his process!
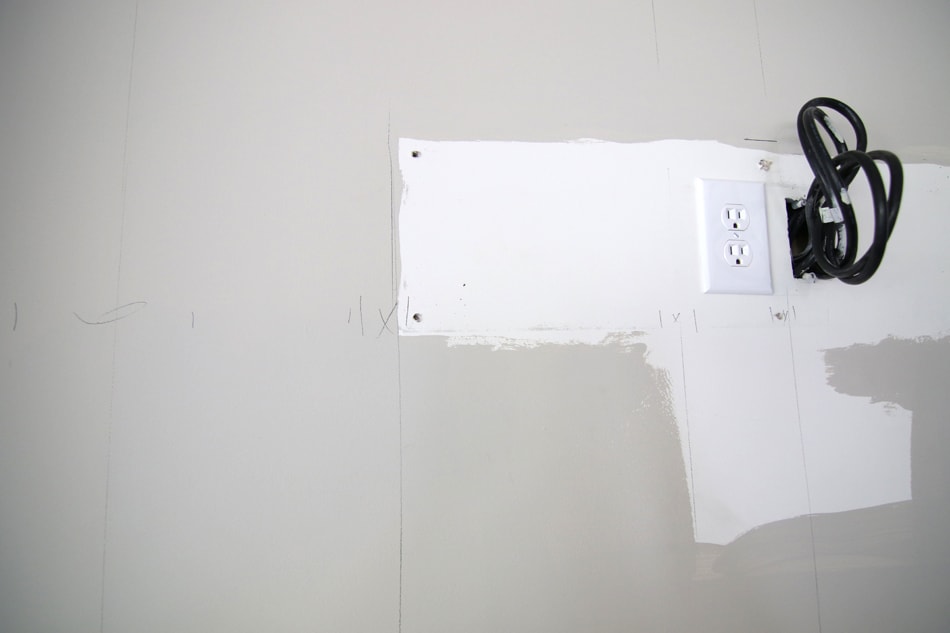
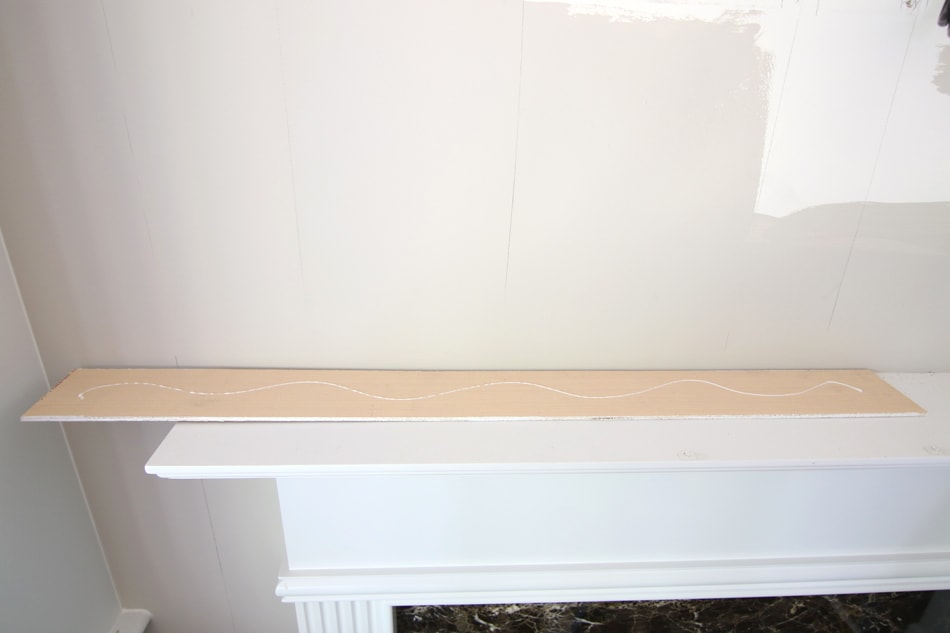
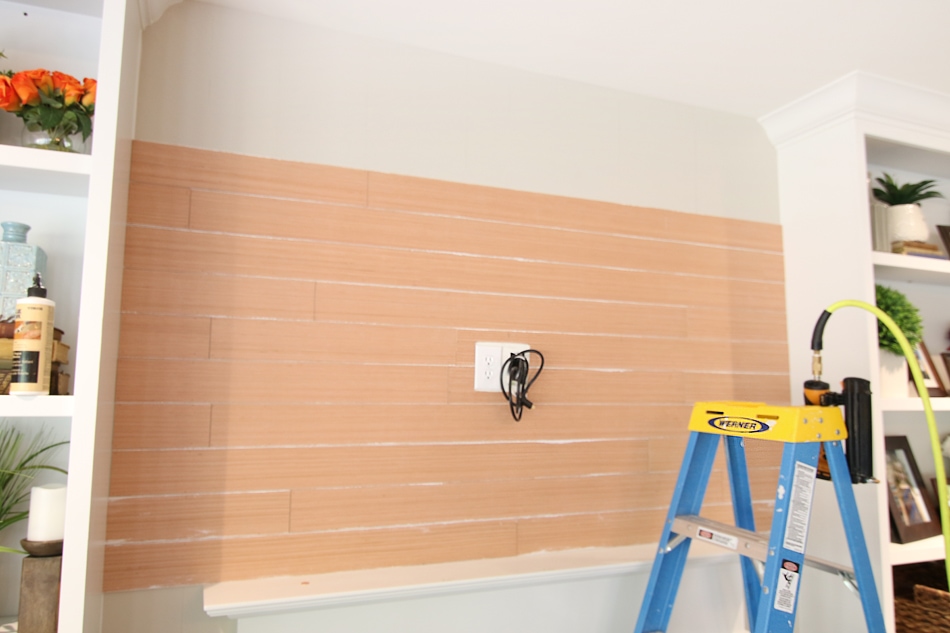
First thing River Valley Renovations did was take down our TV and move the outlet and HDMI cables up 6 inches so our TV would hang higher. He also measured out his wooden boards and cuts and marked up the wall with pencil for easy installation.
Once all of the boards were cut, Alex applied Blue Hawk flooring adhesive to the back of the boards and stuck them in place.
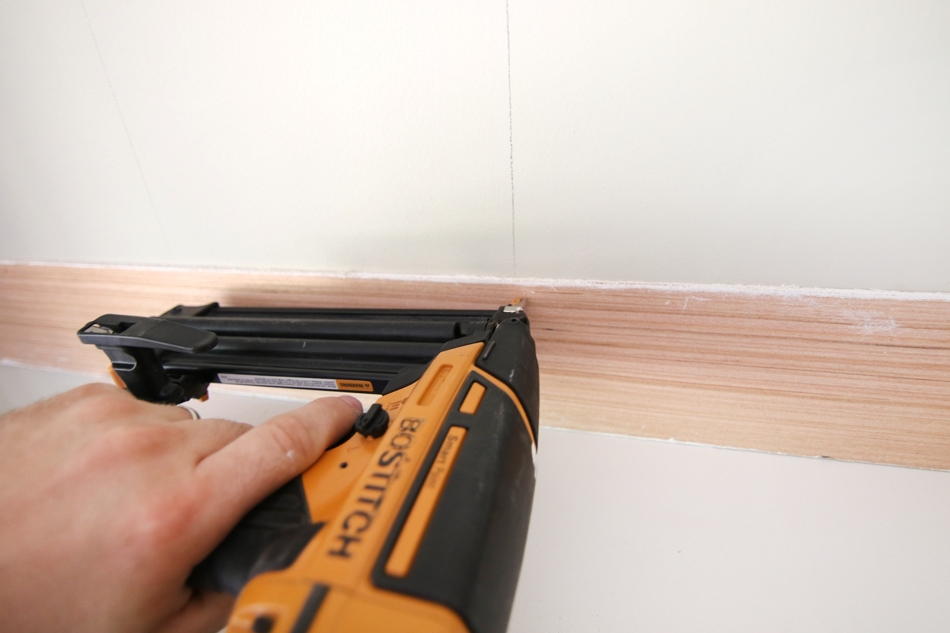
He then reinforced them into studs with his nail gun.
Smart tip: once you find your stud, draw a vertical line down your wall so you don’t have to keep checking!
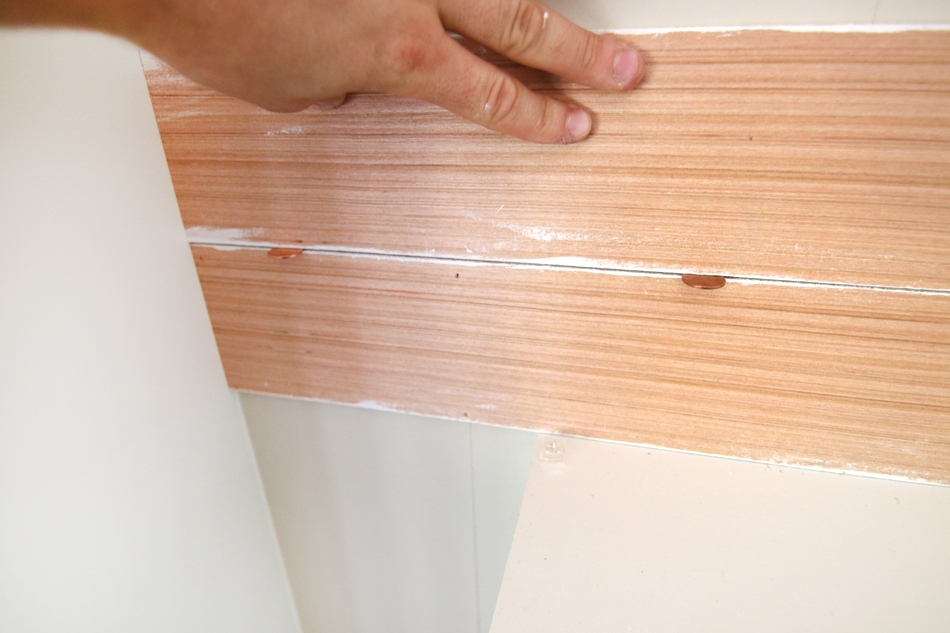
To space in between the boards Alex used a penny.
Keeps a nice and even look throughout!
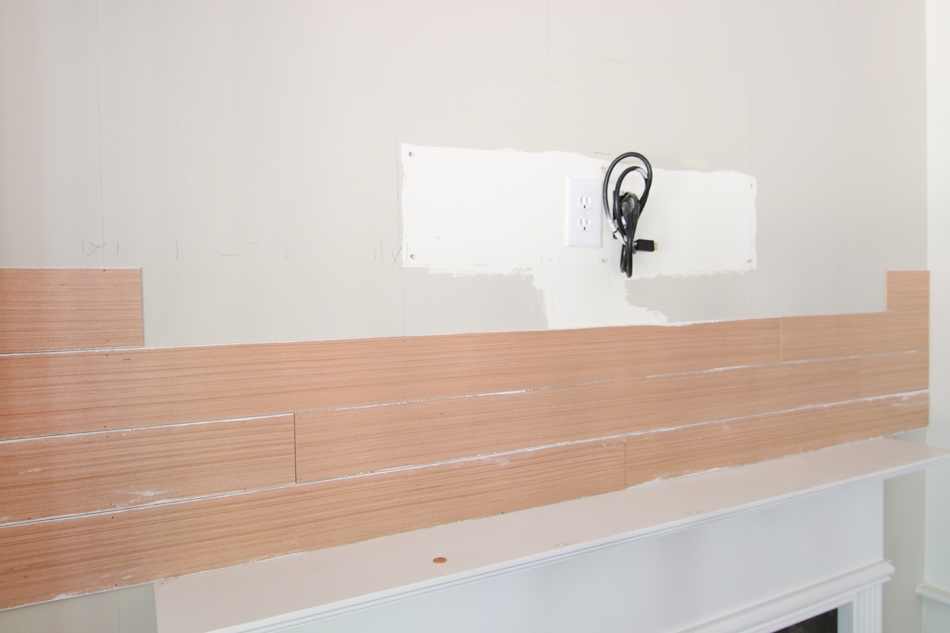
He varied the shiplap board cuts throughout which I think looks so much better than a static brick-type pattern.
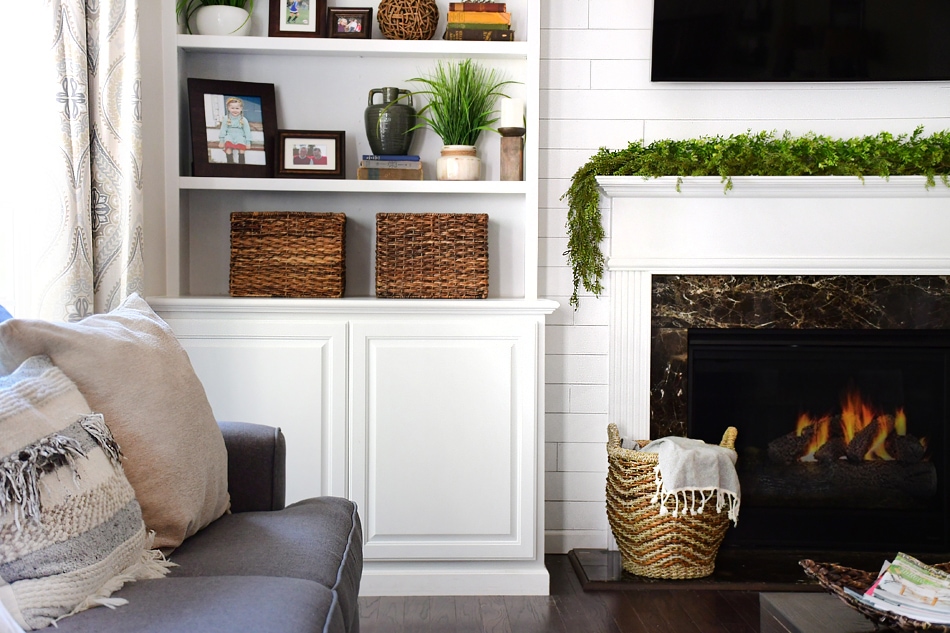
Once he got to the top, River Valley Renovations added a small piece of white trim at the ceiling.
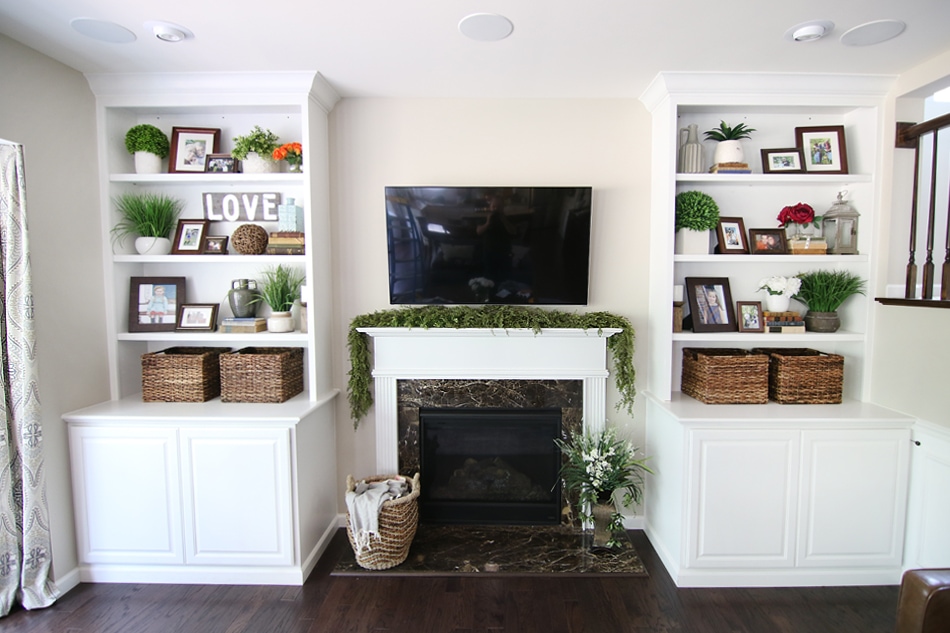
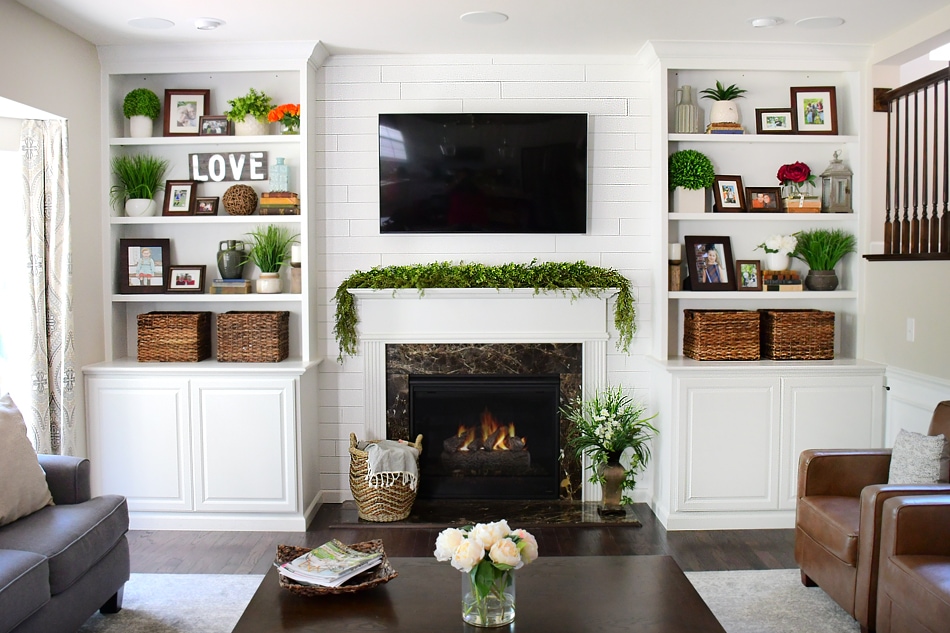
And after a nice coat of paint and some caulk, here’s what it looks like now!
Yep, I’m in love with adding shiplap to our built ins.
And it makes our family room so much brighter!
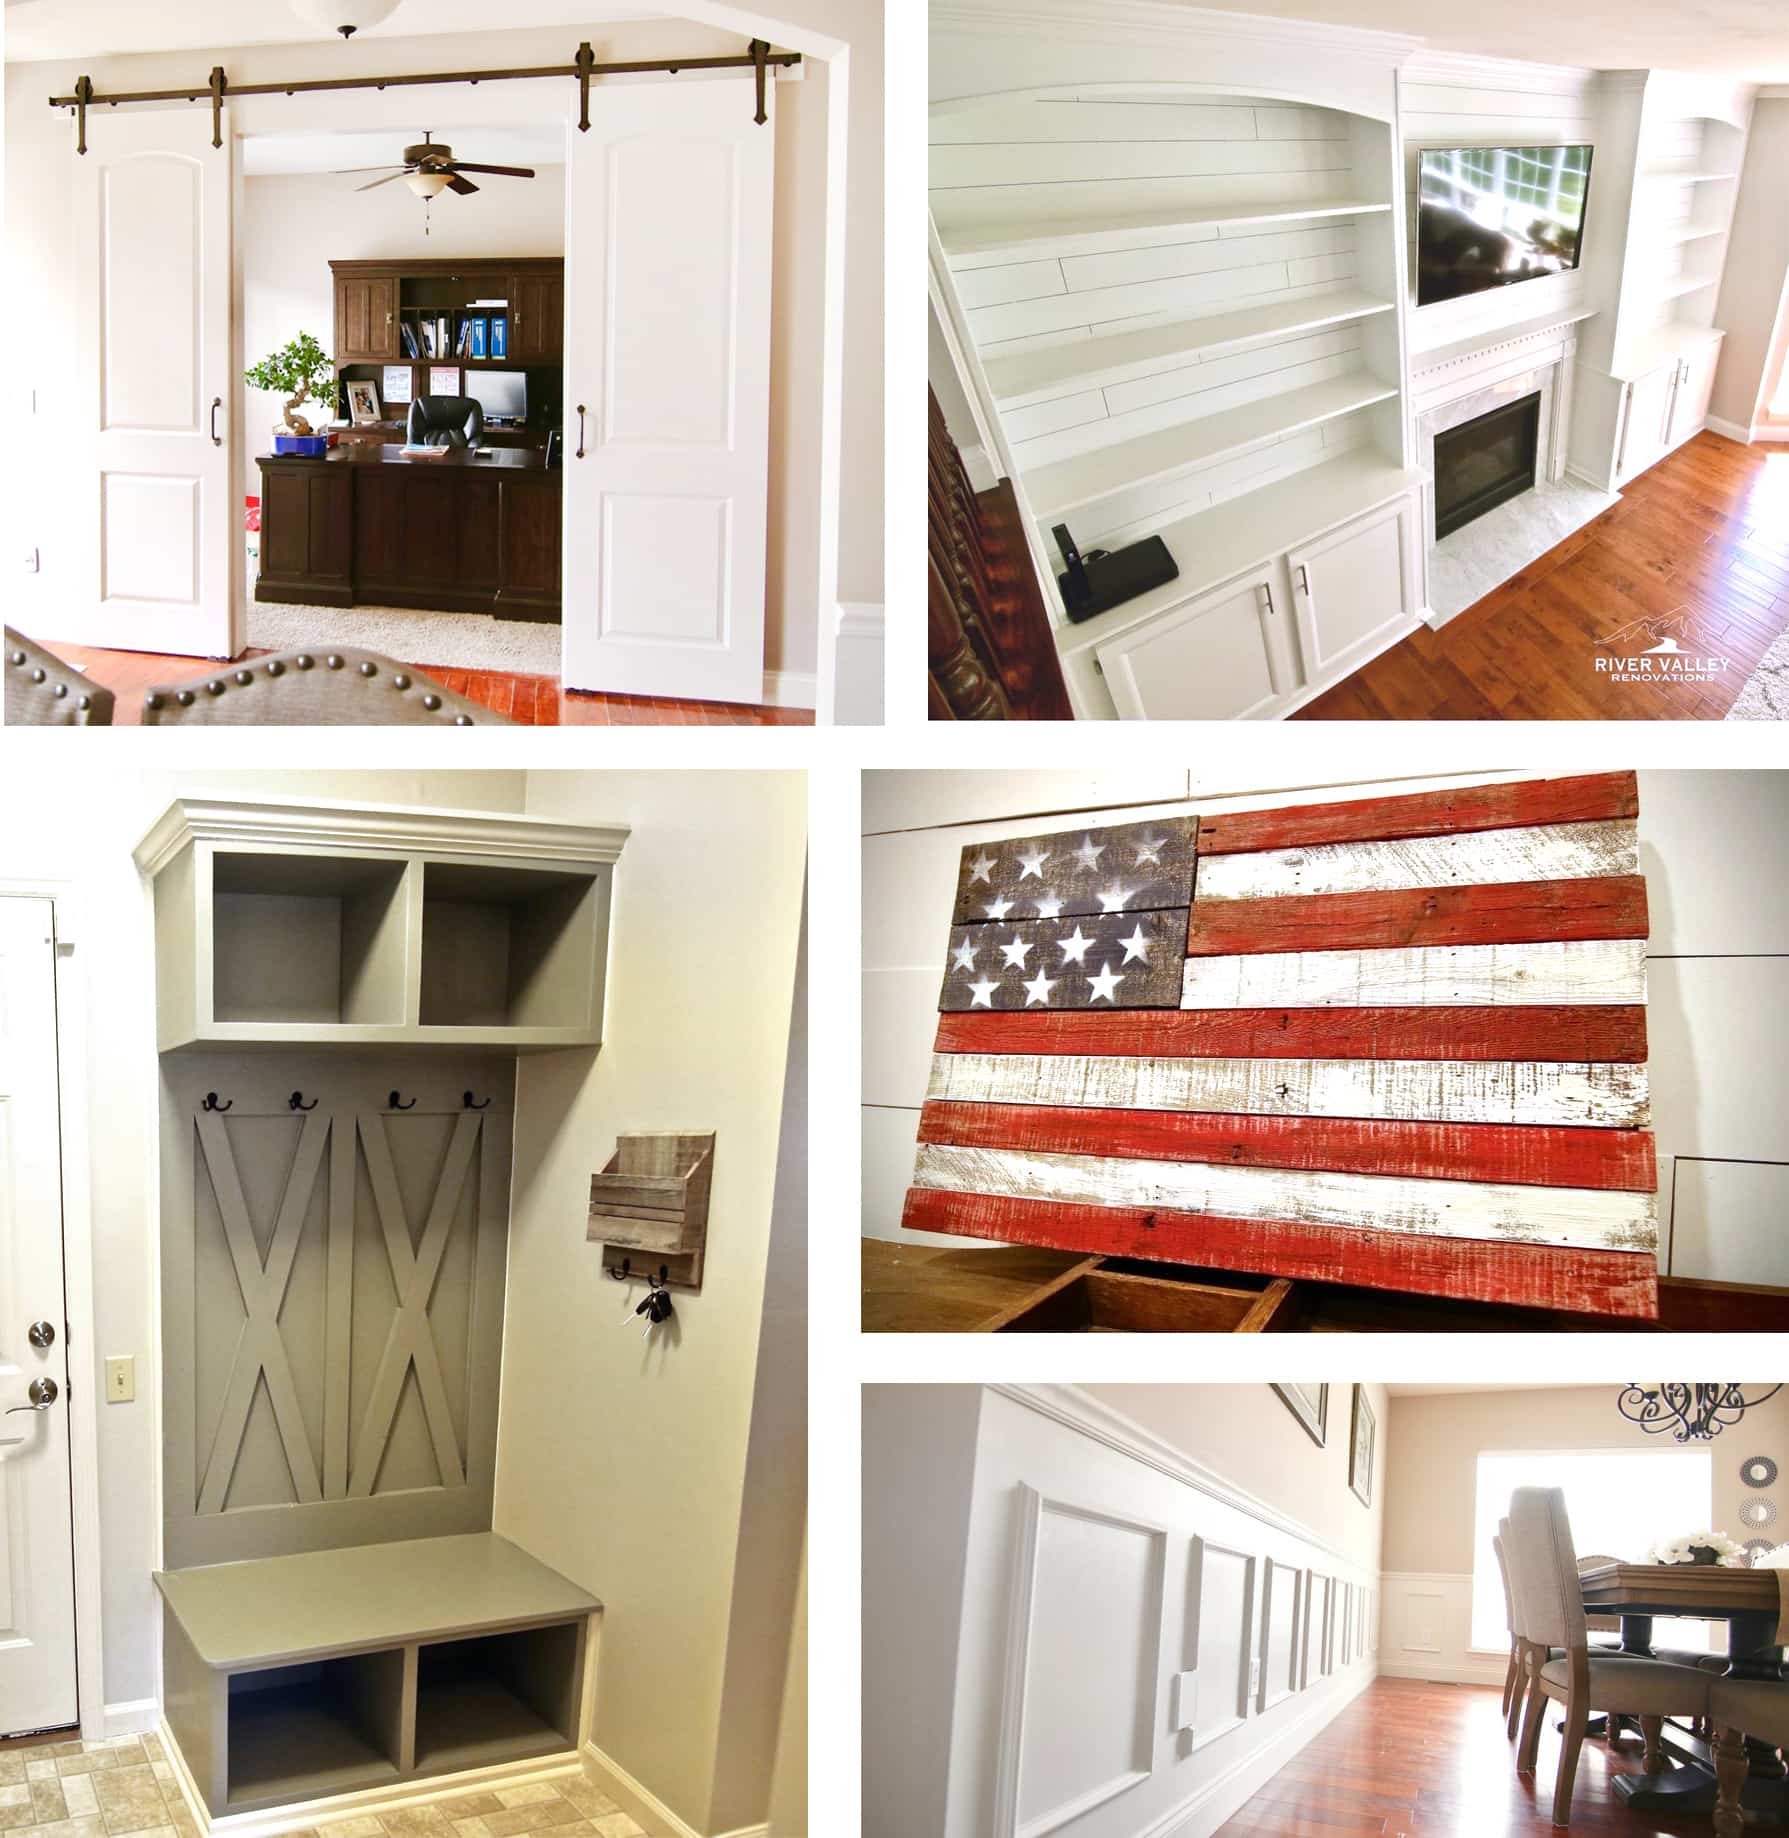
A huge shout out to Alex for getting this done for us. Seriously, this guy is amazing (and he didn’t even pay me to say that!). If you need someone in the St. Louis metro area, I can’t recommend him enough. Check out his website and make sure you LIKE his Facebook page! He’s always posting cool new DIY projects, hosting cool giveaways like the reclaimed barn wood American Flag below, and encourages his fans to find items they love on Pinterest and send his way to build for them (cause we all know we pin stuff and never get around to the actual DIY, so he offers to make it for you!!!).

Hope you guys enjoyed our new shiplap project, cause we sure do!
Stay tuned for next week because we’re going to give you a tour of spaces that we’ve tweaked in the past couple of months.
Stay tuned!

Jenny says
He did an awesome job! I want to hire him to do so much at my house! I’ll keep his information for when we’re ready.
howtonestforless says
Right?! I’m making a list of projects for my house 😉
Kim~madeinaday says
Wow, I love it! This came out fantastic! Sharing on FB & Twitter & Pinned! Thank you for sharing on Merry Monday! Hope to see ya next week!
Kim
howtonestforless says
Thank you so much Kim! I’m glad you love it and thanks for sharing it with your friends!!