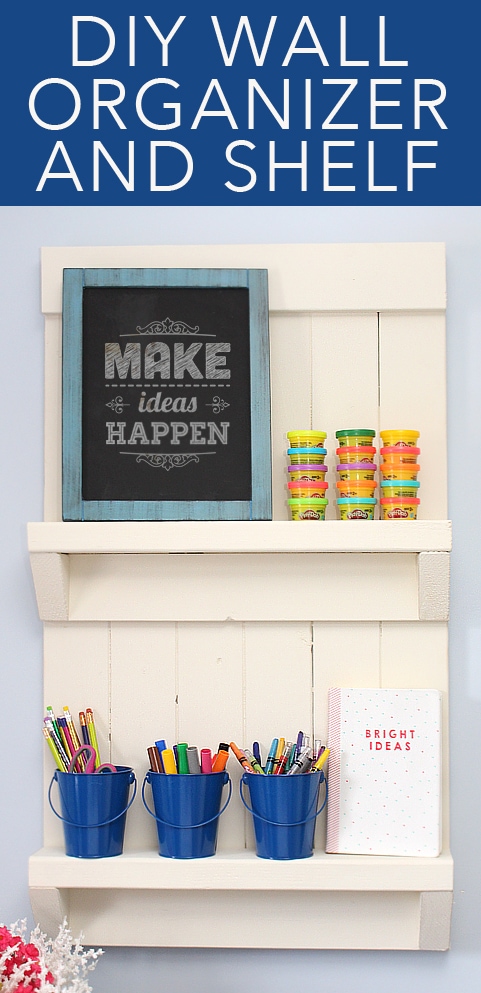
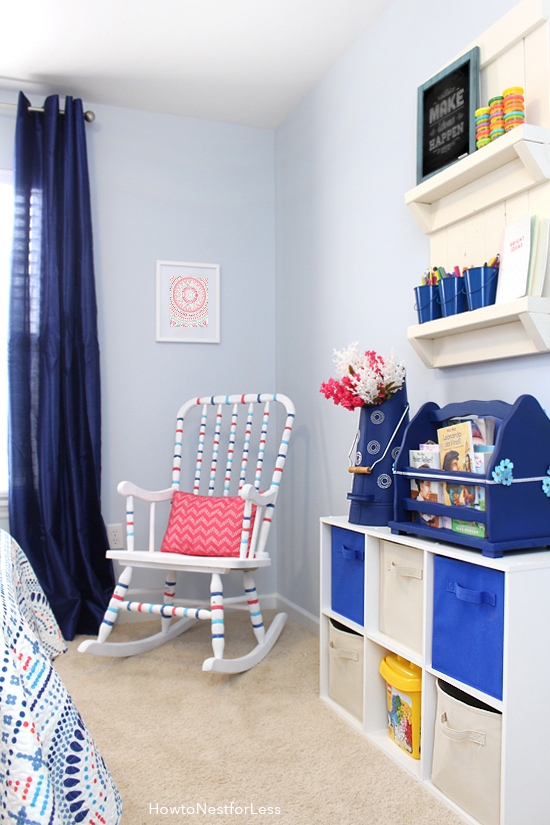
One of my favorite additions to the blue and coral bedroom is the DIY Wall Organizer + Shelf. This is basically a place for all of her art supplies and crafts, sitting right above her toy bins.
 I actually got this idea from U-Create. I’ve had this pinned for about 3 years and have been meaning to make it for a very long time. I figured this bedroom makeover was the perfect chance to cross this Pinterest project off my to do list.
 SUPPLIES:
- (4) 6ft 1×4 boards
- (1) 6ft 2×4 board
- saw
- tape measurer
- 2 inch wood screws
- paint
 DIRECTIONS:
Mark your 1x4s at 36 inch lengths. Cut 6 total (or adjust if you want a wider shelf system).
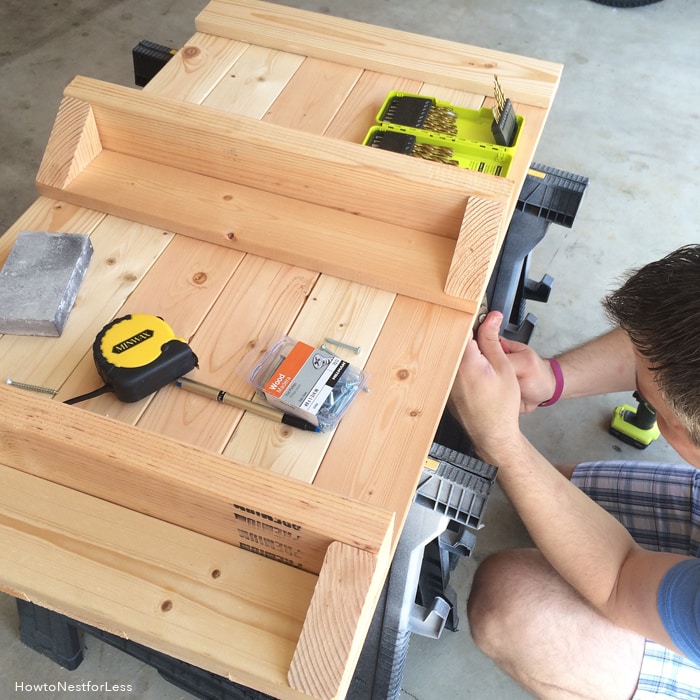
Lay your 6 boards out and measure the width. You’ll then want to measure for your 3 cross boards. Mine ended up being 21 inches, but make sure you measure exact as all 1x4s are not equal!
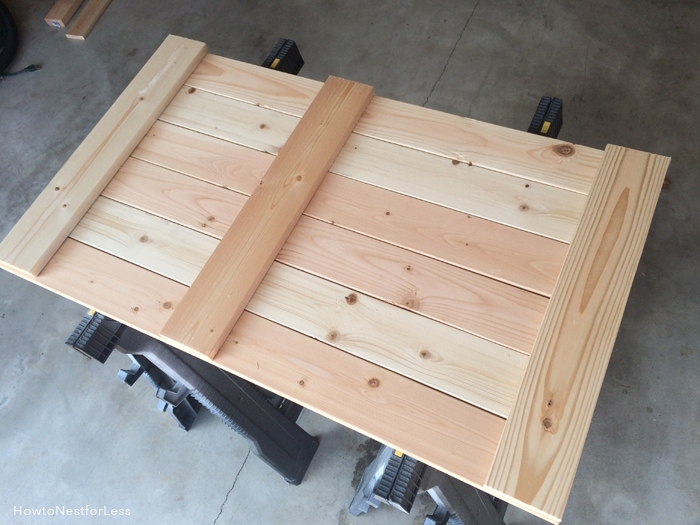 The photo above shows the FRONT of the wall organizer. To attach your cross boards you’ll want to do so from the underside or BACK of the wall organizer. This way your screws won’t show.
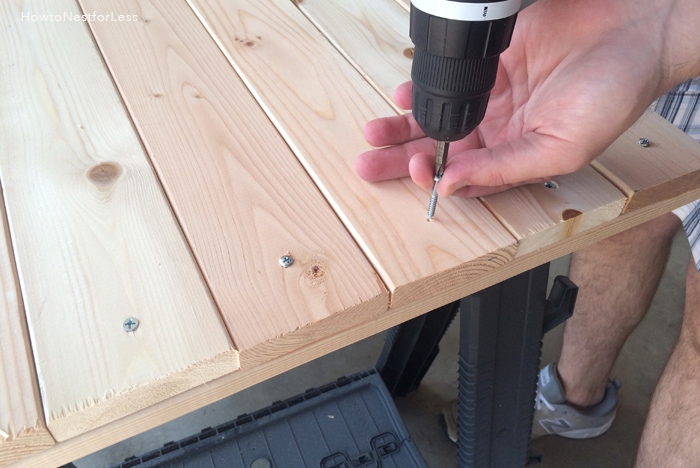 Once all 3 cross boards are screwed in place it’s time to measure and cut the 2×4. You’ll need (2) pieces at 21 inches, or the same width that you cut the 1×4 cross boards.
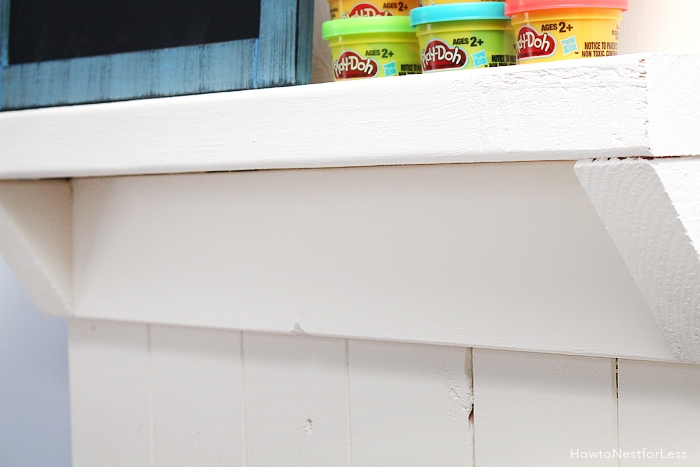
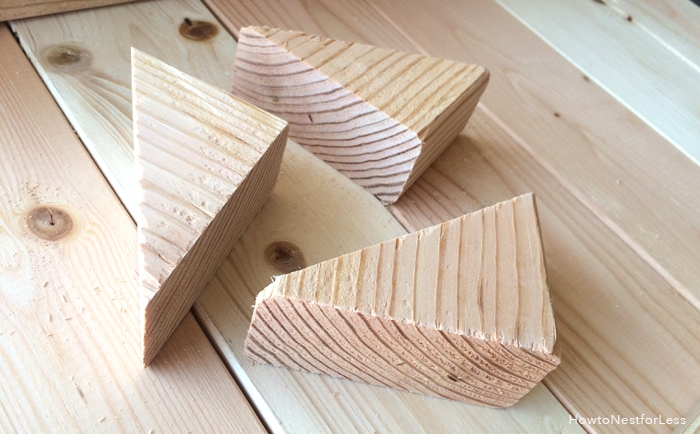 You’ll also need to cut for the support triangle wedges, but I recommend holding into place and measuring since they will not be clean 45 degree angles (the 1×4 board that is supporting the shelf causes this weirder angle).
 Again you’ll want to screw in the 2×4 shelves and the support wedges from the back side so the screws don’t show. And at this point your wall + shelf organizer should look like this…
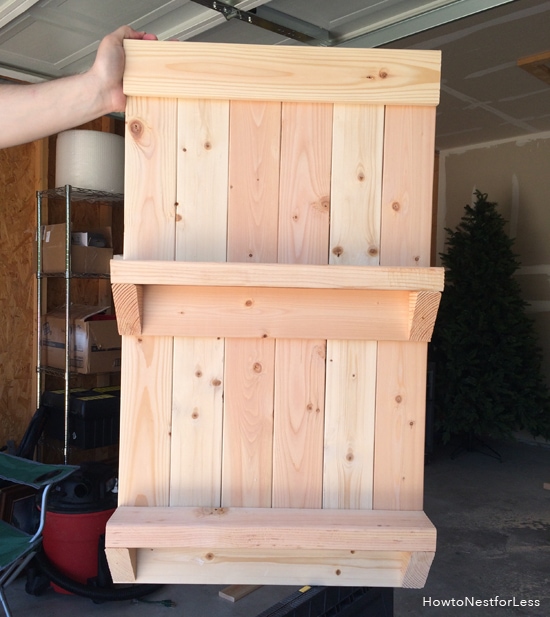 Totally crushing on it, right?
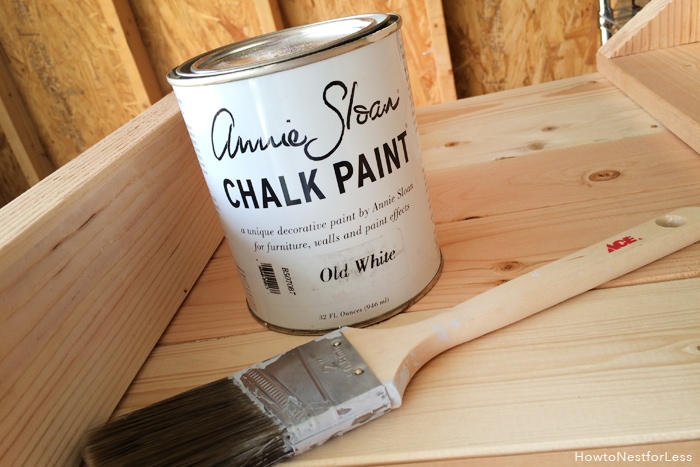
Next comes the fun part. Paint!
I gave the entire thing two coats of Annie Sloan chalk paint.
 Now for how to hang it… I decided to add D-rings to the back of the wall organizer.
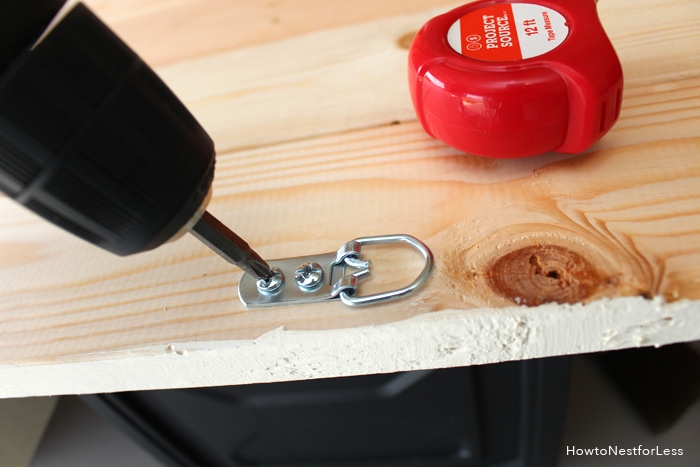
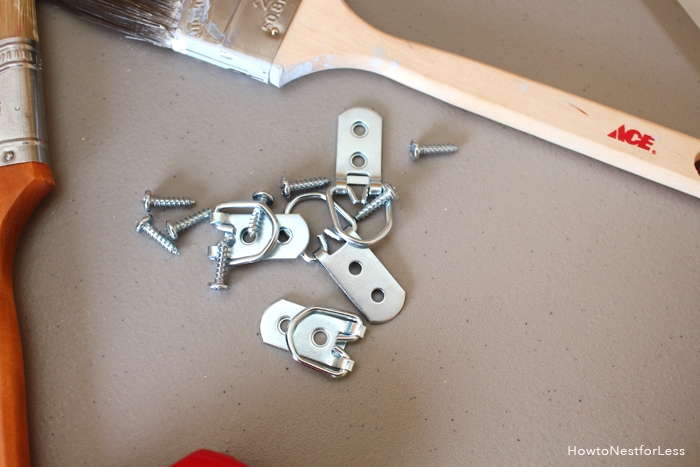 Super simple. Just measure equally on each side and screw the D-rings into place. Then to attach to your wall, find studs or use some big drywall anchors & screws (trust me, this baby is heavy).
 And tada… your new best friend.
Seriously, you’ll want to make like 10 of these.
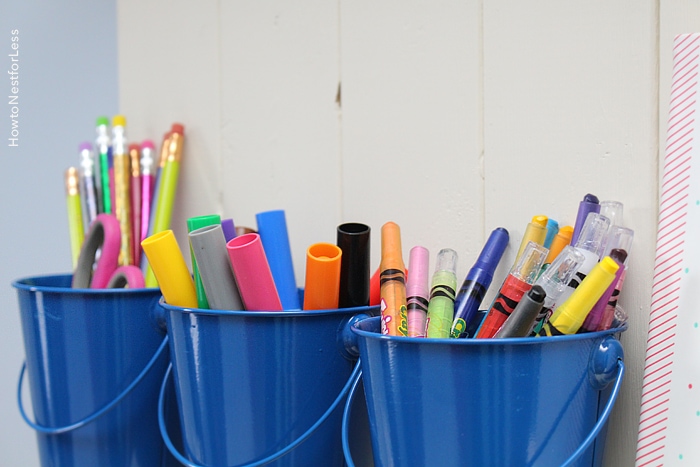
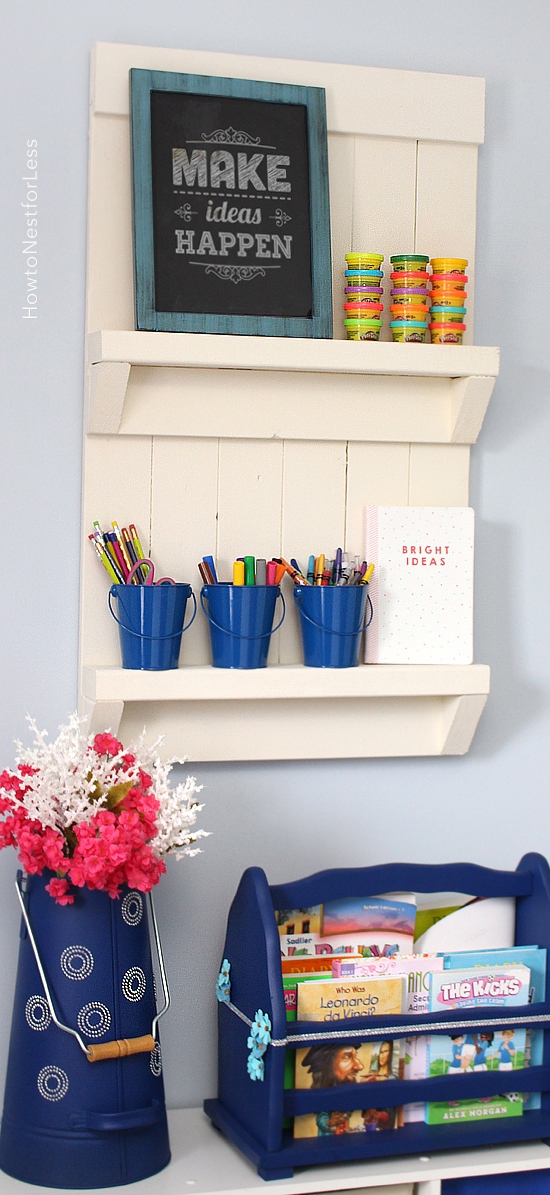
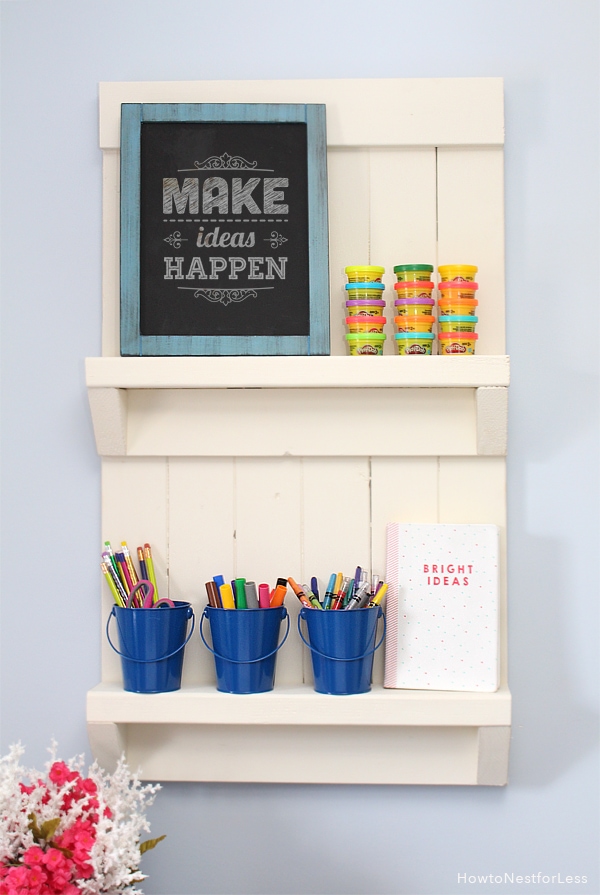 Ellie is obsessed with art supplies right now so I grabbed some little pails from Target to hold her pencils, markers, and crayons. There’s also her journal that she loves to color in.
 The top shelf holds some Playdoh and a cute little framed chalkboard sign. Then all of this sits above her toy organizer, book rack, and the little vase I made for her.
 I’m completely digging this though. And it feel oh-so-good to be building things again, even if it’s minor projects until I can build another basement workshop in the new house. I think about two more months… we’re getting close!

Michelle says
Well done! It’s a perfect addition to the room. (Is it always that neat and organized?:)
howtonestforless says
Thanks Michelle! And HA, I wish 😉
Elizabeth @ Pineapples and Polka Dots says
This is such a great tutorial and project! Thanks so much for sharing how you built and styled these shelves. Also, those little pails- so cute!
howtonestforless says
Thanks Elizabeth!