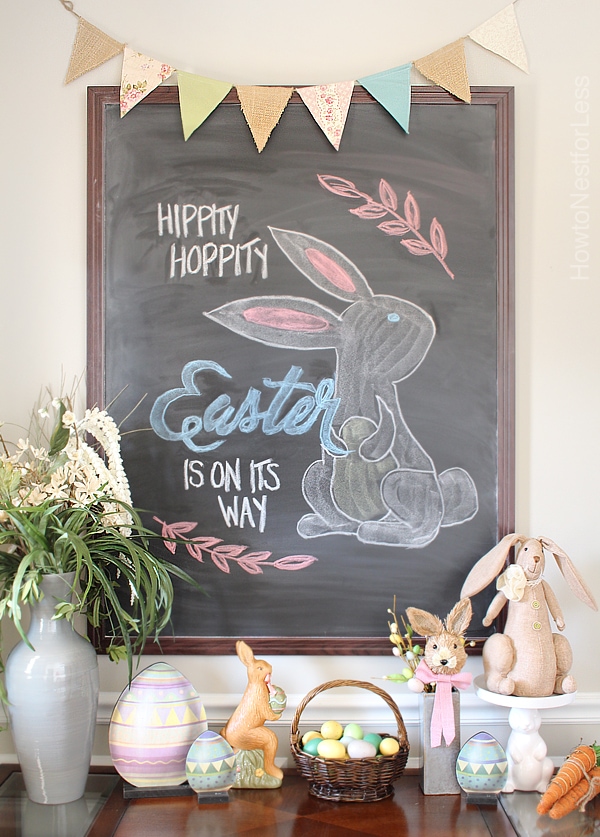
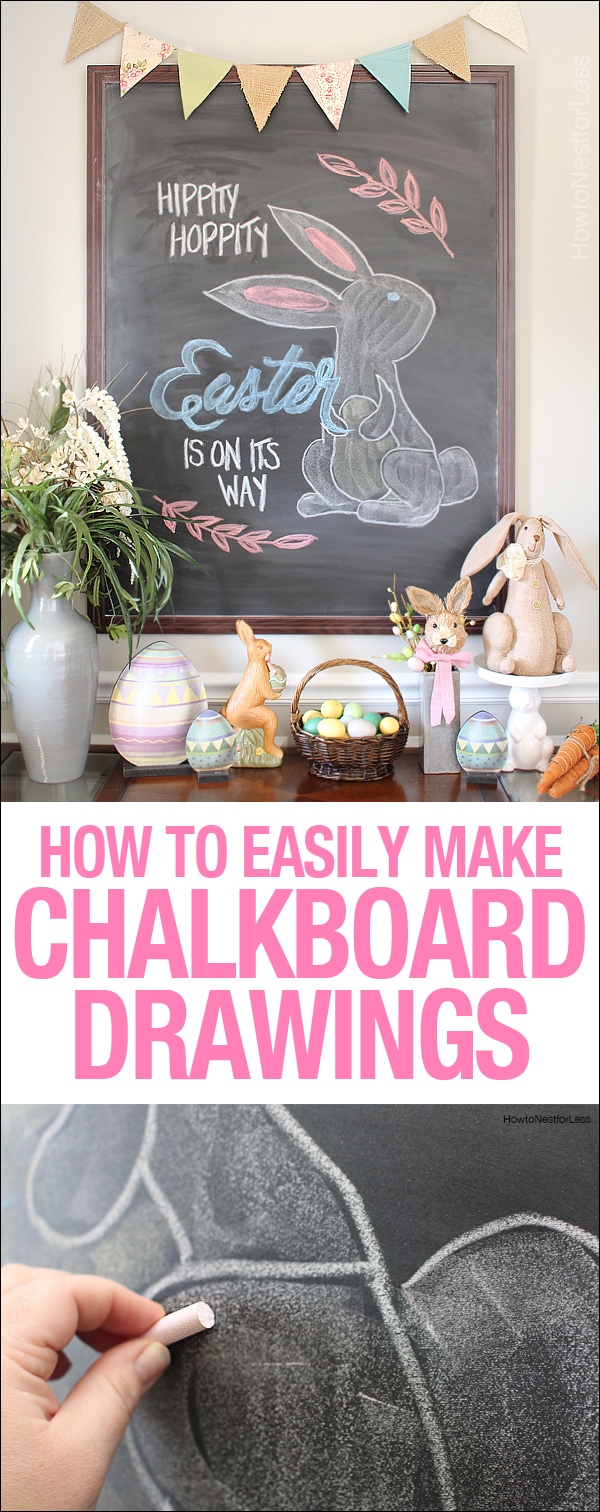
On Monday I gave you guys a little tour of my home with all of our Easter decorations in place. I think my favorite space was my foyer and mostly because of the new chalkboard drawing I created. So today I thought I would share with you guys how I easily made this happen!
And if you haven’t guessed yet… a projector. But the good news? It only costs $30! And it will be a good investment because I’ll make it easy for you every holiday season and provide free printables to trace. You know, cause I’m helpful like that.
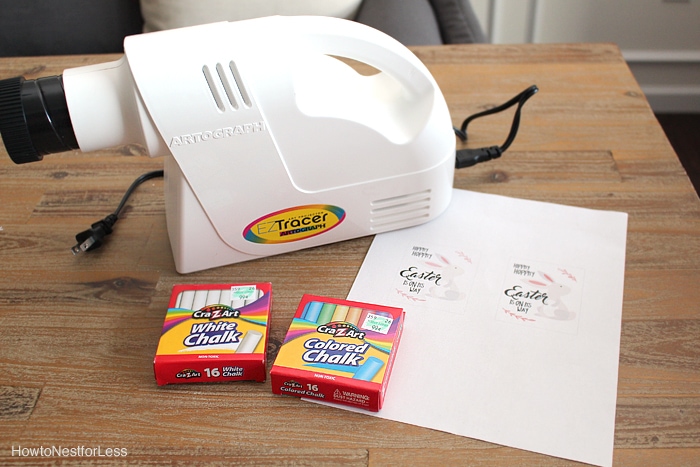
So the only materials you will need is:
- chalkboard
- projector
- chalk
- printable (at bottom of post)
- rag
To get started you will want to prep your chalkboard. I used the side of a piece of white chalk and covered the entire board in rows. Then I wiped it down with my rag from side to side, from top to bottom in even strokes. This will provide a good backdrop for your chalkboard artwork.
Print out your desired artwork ahead of time. Since this particular projector has about a 3.5 inch square copy size, I printed out my Easter printable about 2×3 inches.
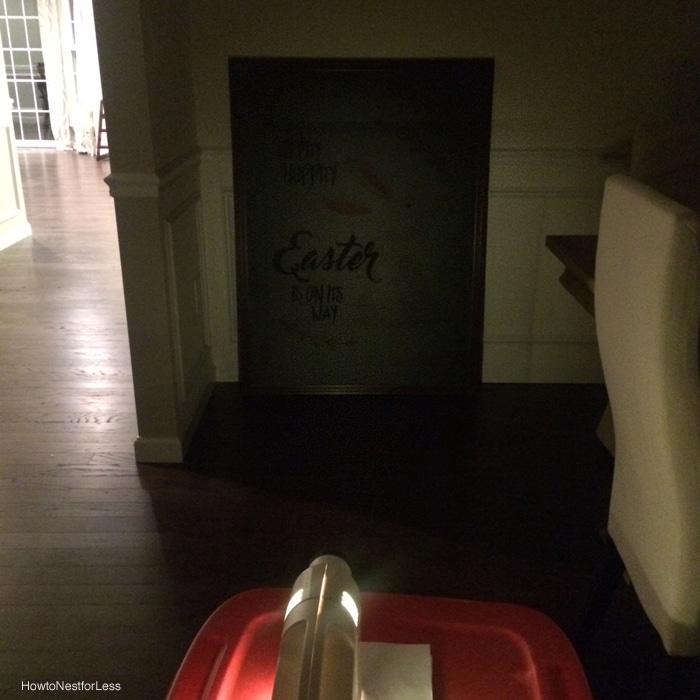
Next set up your projector in a dark room. I put mine on top of a big plastic storage bin for the perfect height. I tested out the printable under the light. You might notice some parts are hard to see. To help you better see the outlines in the dark, trace around the printable with a black pen (I did this around my bunny and the pink leaves).
I would suggest picking one part of the printable and trace it out on the chalkboard. I chose to work on the bunny first, outlining the entire thing. Don’t worry if it doesn’t look completely fluid and smooth… when you fill it it it will look a little better. If you mess up completely, use your rag to erase in the same side to side motion.
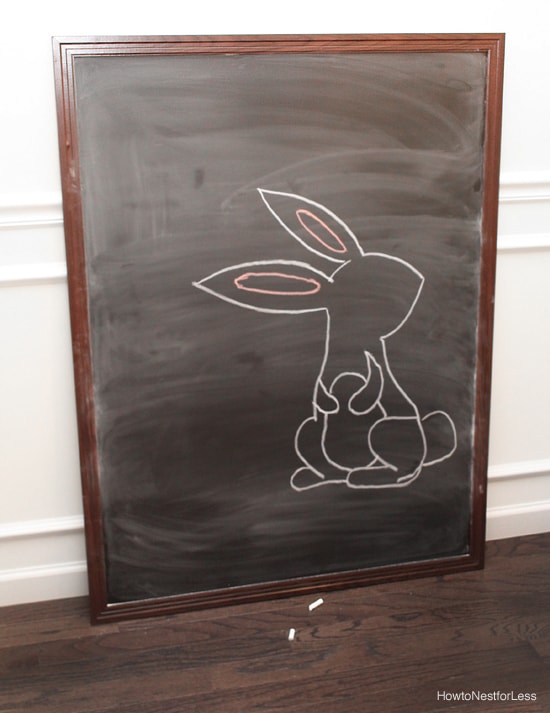
Once you have it outlined to your liking, fill in the bunny with side of a piece of chalk. I didn’t worry about getting right up to the edge of the outline in most parts.
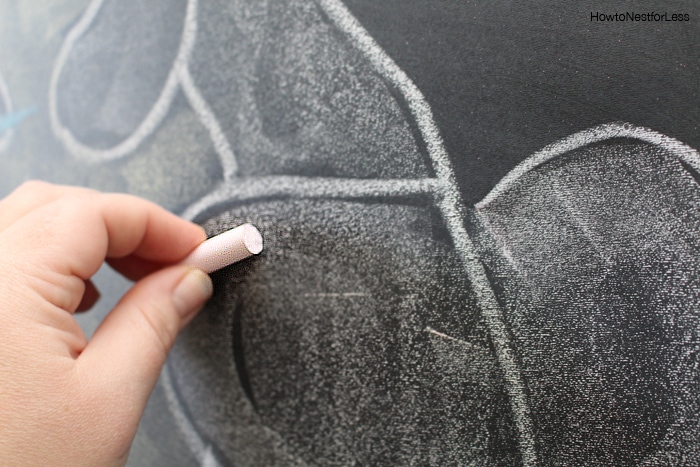
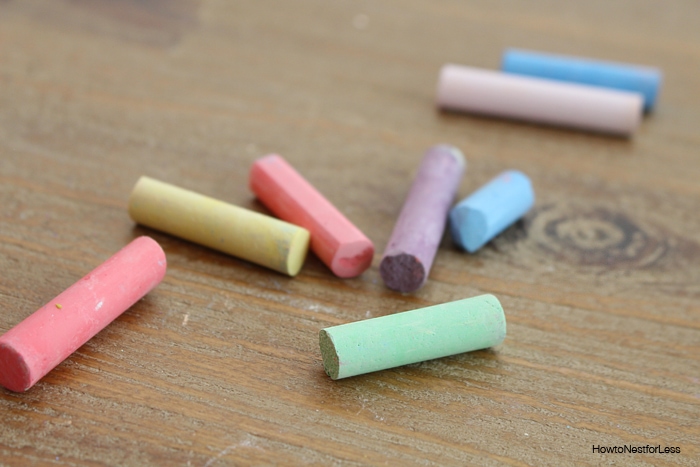
Also a little trick: break your pieces of chalk in half.
Much easier to work with the small pieces!
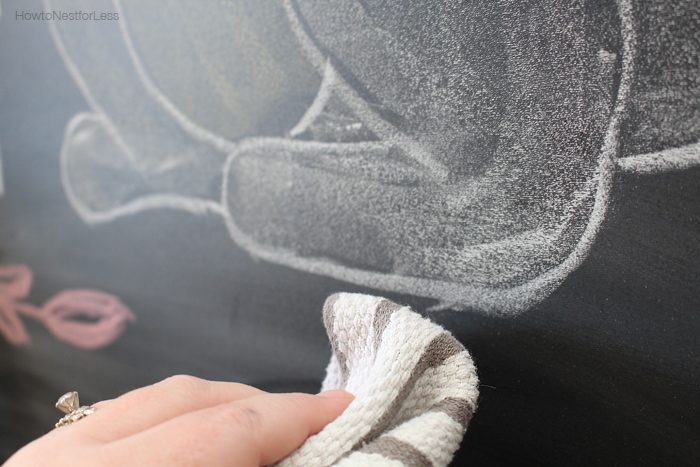
If you go outside the lines a bit or make a mistake, again just use your rag. Do NOT use your fingers! The oil from your hands will make a weird shiny spot on the chalkboard. You want to keep that chalky background so use the rag.
After the bunny I moved to the lettering. The easiest way for me to do the word EASTER was to outline it, then shade the insides.
This was my very first attempt at chalkboard art and I’m pretty stoked with how well it turned out! I can’t wait to change up this space for every holiday.

OK, now for the free printable to trace!
Just click on the file to open in a new window.
Then right click to save it to your desktop.
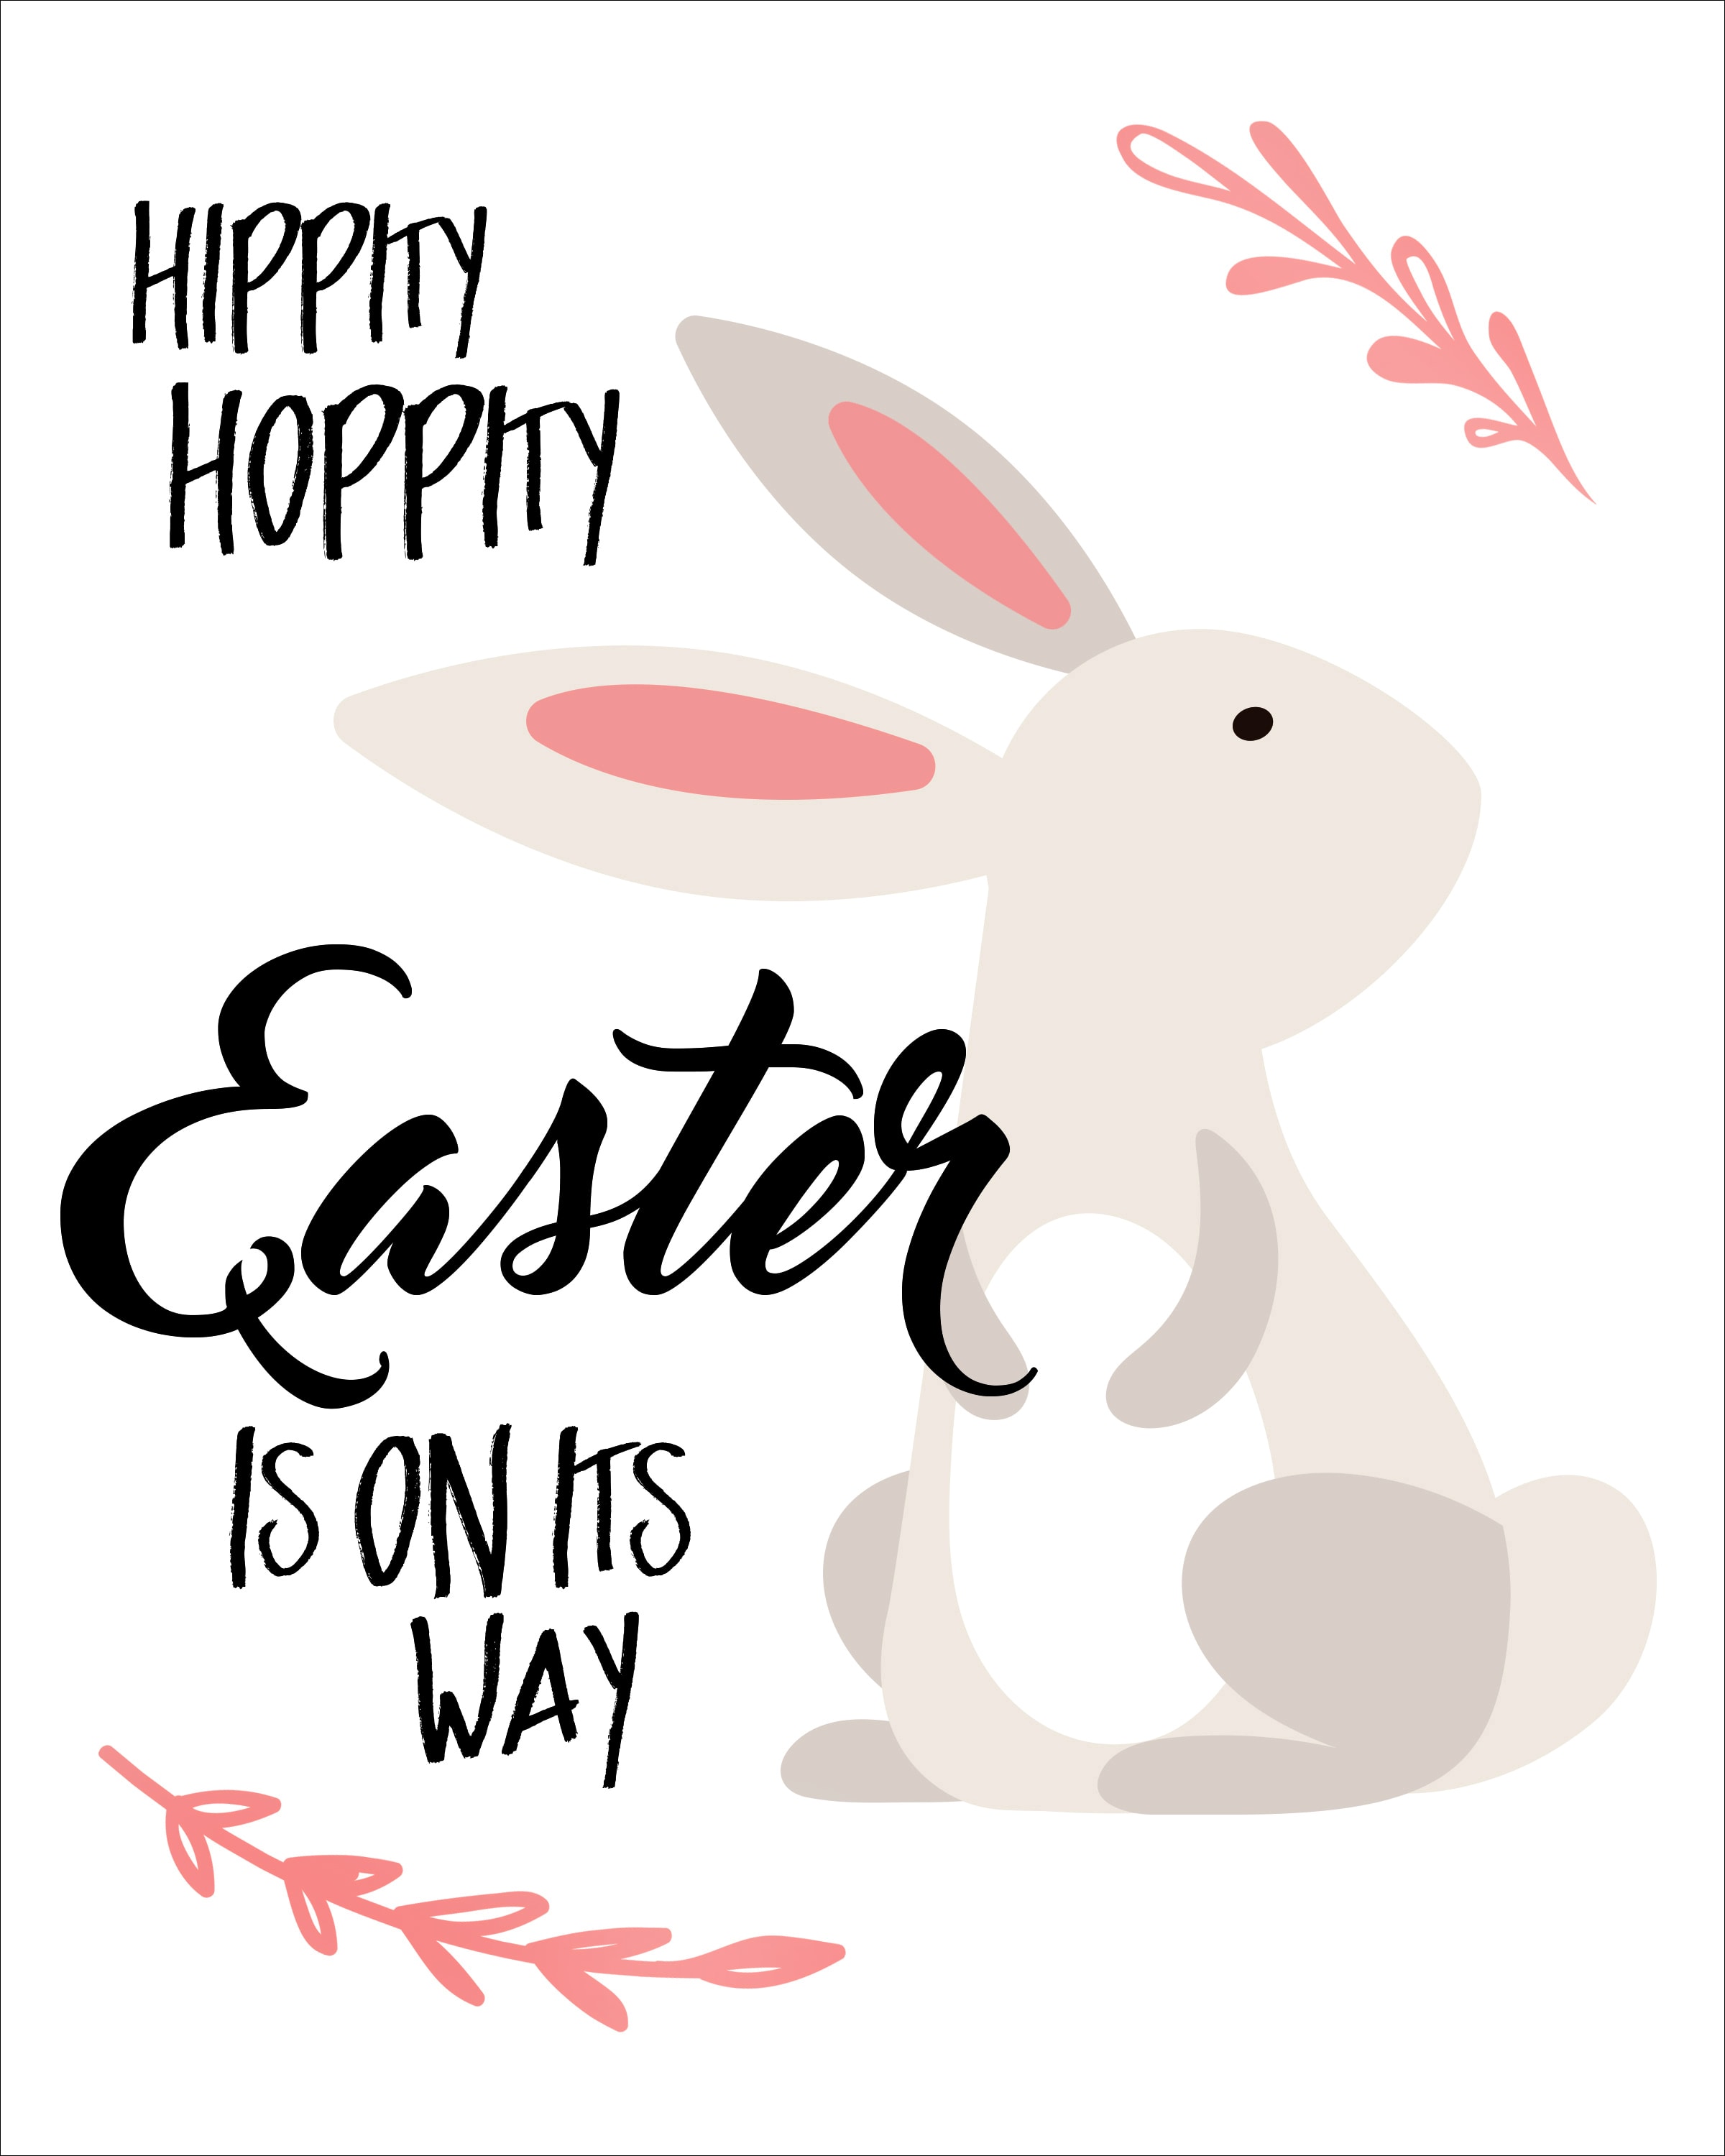
And if you’re not really interested in making this chalkboard art, just frame the printable in an 8×10 inch frame.
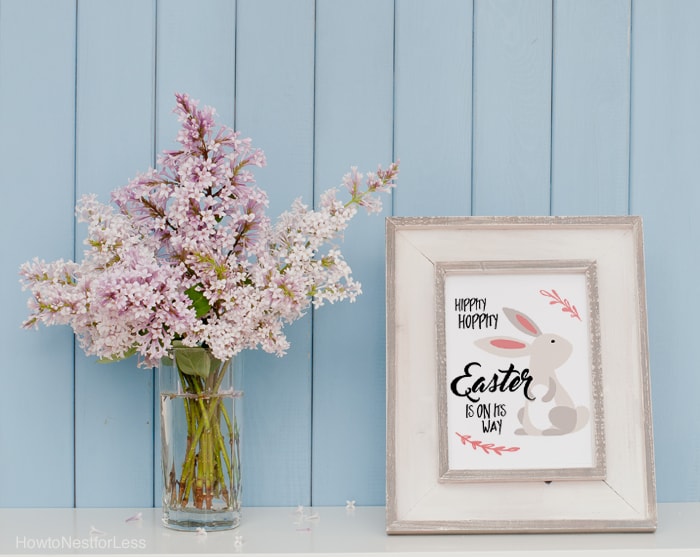
Hope you enjoy!
And also remember that you can probably use a bunch of my free printables for your chalkboard art. This one that I have in my kitchen would be a great one to trace!

Wendie says
You really know how to find and use the right tools! Darling projects.
Erin @ Stay At Home Yogi says
I can’t decide if I like the printable or the chalk version better! So adorable and now I need a projector! 🙂
Treva says
This is a darling Easter project to give to give lots of smiles.
Thank you
Cassie @ Little Red Window says
Totally adorable! Thanks for sharing with us at The DIY Collective Link Party! Hope you come back and join us again next thursday! xoxo, Cassie @ Little Red Window
Mary Beth|Cupcakes and Crinoline says
What have you done to me??? 🙂 I came here to see your adorable Easter Chalkboard tutorial and to thank you for sharing it at Project Inspire{d} and now I have a projector on my Amazon wishlist. 😉
howtonestforless says
hah! trust me, you’ll love it 😉
Maria @ Pastels & Macarons says
This is too darn cute! thanks for sharing at The Creative Corner Linkup! I’m featuring you tonight as I love this so much! Pop over to see the feature and to share some more amazing projects with us 🙂 xx
howtonestforless says
Thank you so much!