I will show you an easy way to update your floor with Flor carpet tiles!
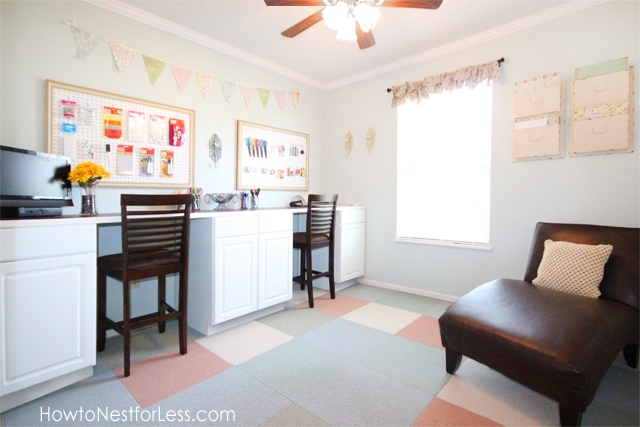
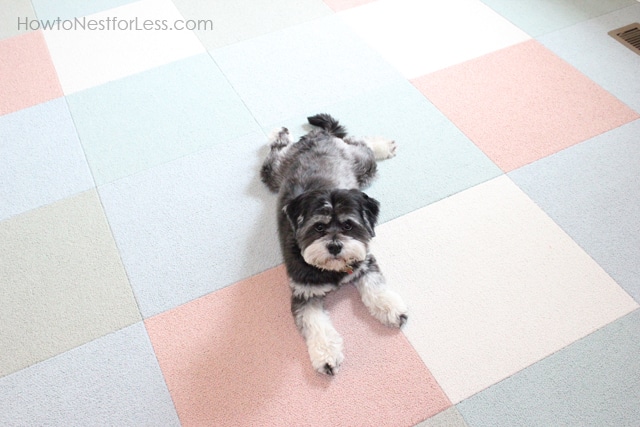
Yesterday, I revealed my craft room makeover and I’m so elated to have the room complete and ready to use! One of my favorite parts of the craft room makeover is the new Flor carpet tiles we installed ourselves!
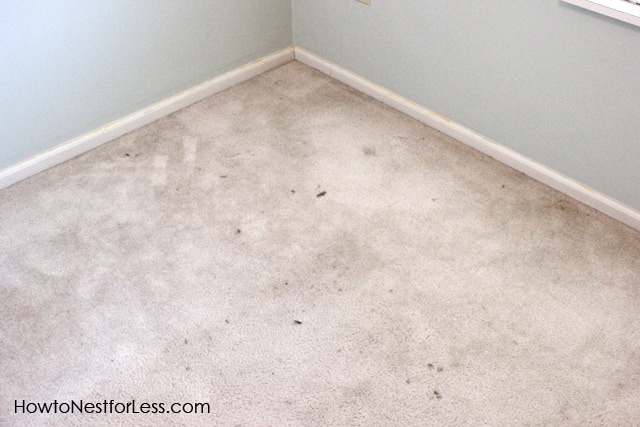
 We used to have plain old carpeting in this extra bedroom, but through the years it’s become worn out and stained (mostly from the exercise equipment that left oil marks everywhere).
 It was time to upgrade to something new, but I wanted something exciting and fun! Then I thought of Flor® carpet tiles. It would be a fun way to add a pattern and color to the craft room!
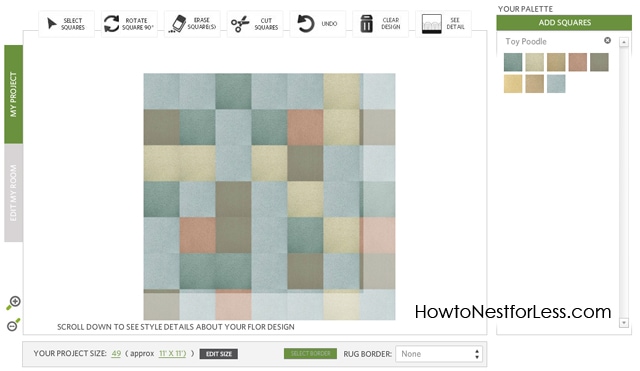
Each Flor tile is 19.7 x 19.7 inches square. They have tons of colors and plushness to choose from. I used their FLORbuilder Design Tool to layout the composition of the Flor tiles I selected.
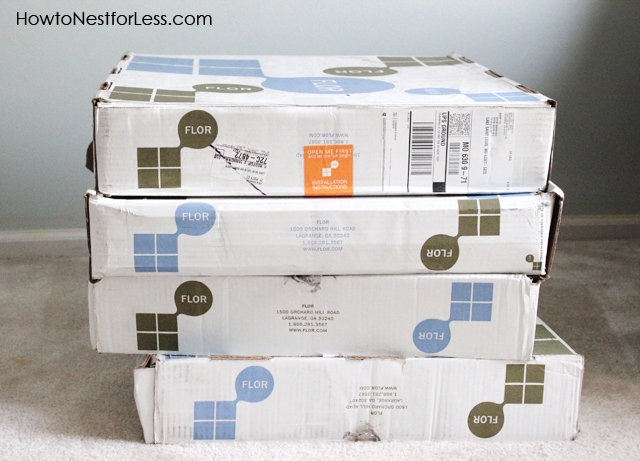
 The Flor carpet tile boxes arrived in a few short days. They actually label which one to open first!
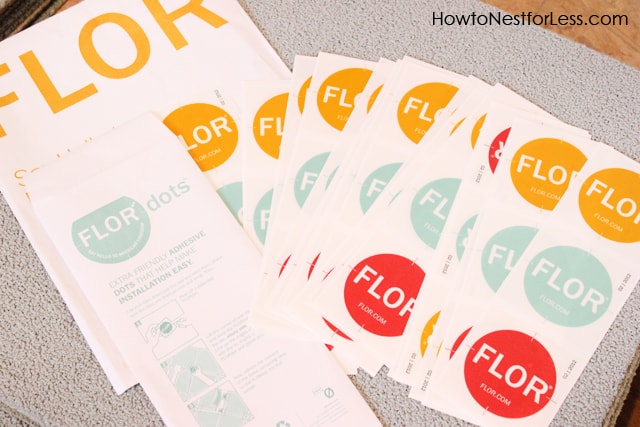
 Inside I found some directions and Flor dots (I’ll get to those in a bit!).
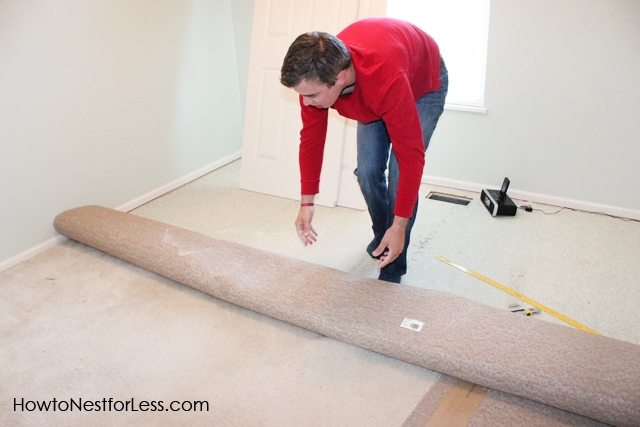
 You need a hard smooth surface for your Flor tiles so my hubby and I started our installation by ripping up our old carpet and padding.
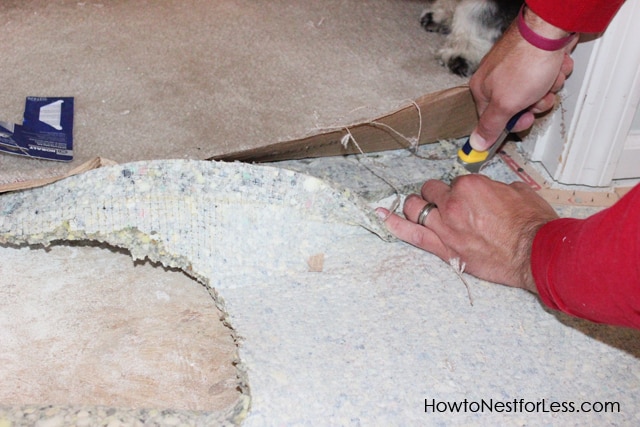
 Make sure you cut an even line across the carpeting and padding at the doorway where your old carpet will meet your new Flor tiles.
 We also had to remove all staples and the nail strip around the perimeter of the room. Helpful tip: use a crowbar to easily pry up the tack strip.
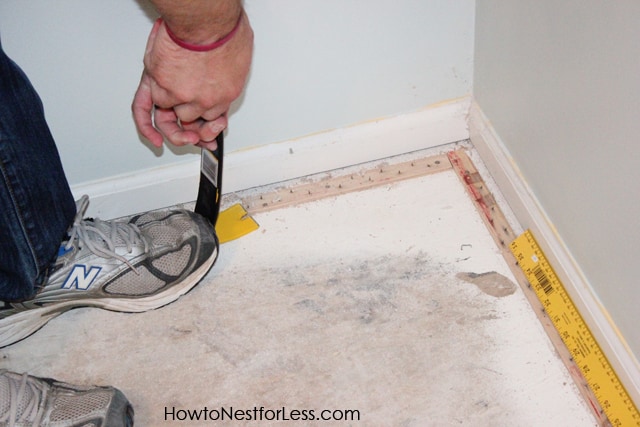 Sweep up any dust & dirt and you’re ready to begin laying down your new carpet tiles. I laid out my pattern, but did not adhere anything to the floor yet. I just wanted to get everything measured and the Flor tiles cut to fit.
To cut any tiles, just flip the tile over and use a metal straight edge and utility knife. Just two or three swipes with the knife and it was trimmed. Super simple!
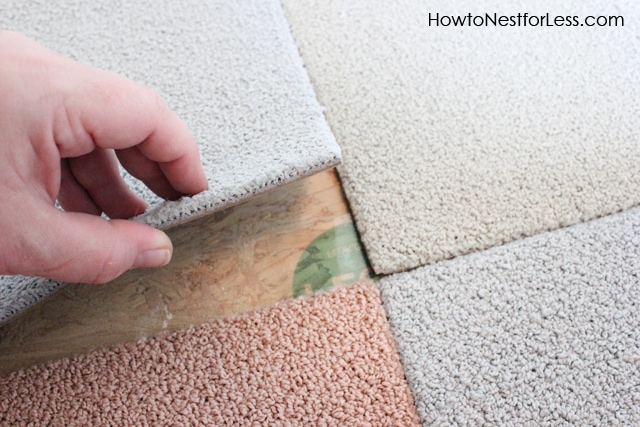
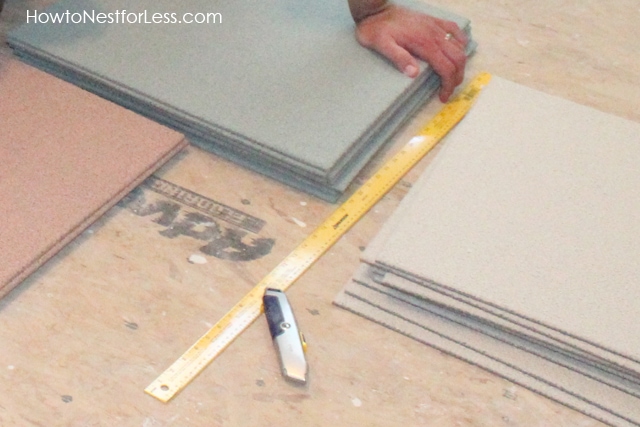 Once you have all of your Flor carpet tiles in your desired pattern, you can start adding your Flor dots. Just put the Flor dots sticky side up and the carpet goes right on top. Love this since the sticky stuff will be attached to the carpet, not to the floor below.
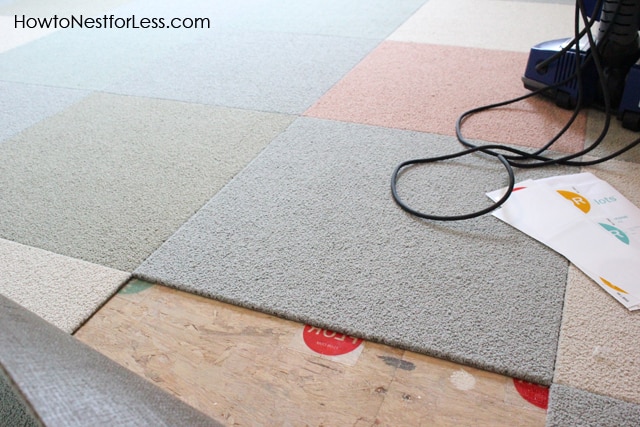 Place a Flor dot in the corner of 4 carpet tiles, or put halfway in the middle to connect 2 carpet tiles. No glue or nails needed; the carpet actually will not shift or budge… I promise!
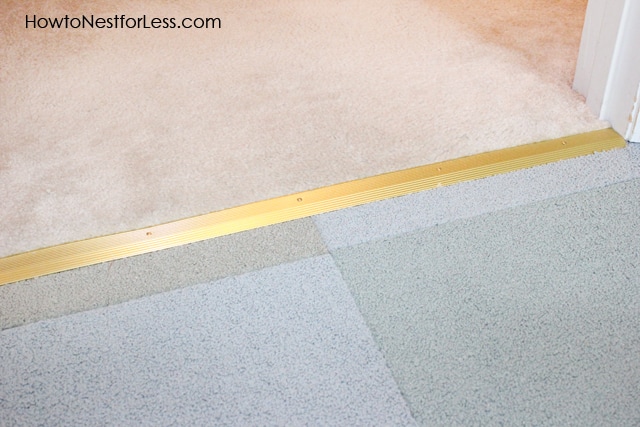
 To fix the doorway where the carpet meets the new Flor tiles, I added a metal carpet plate. Just use a hacksaw to trim to size, nail it in place and you’re good to go!
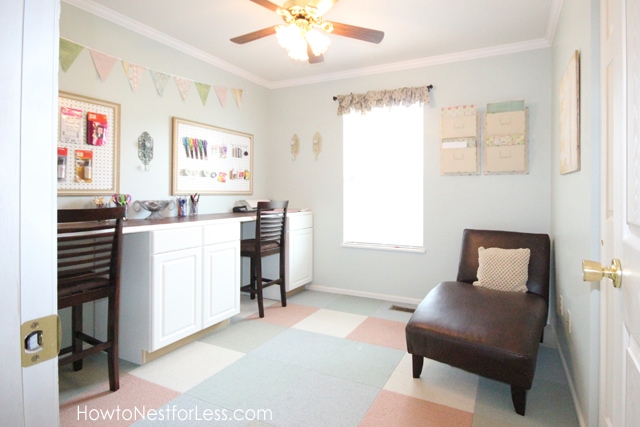
 So here’s before the furniture…
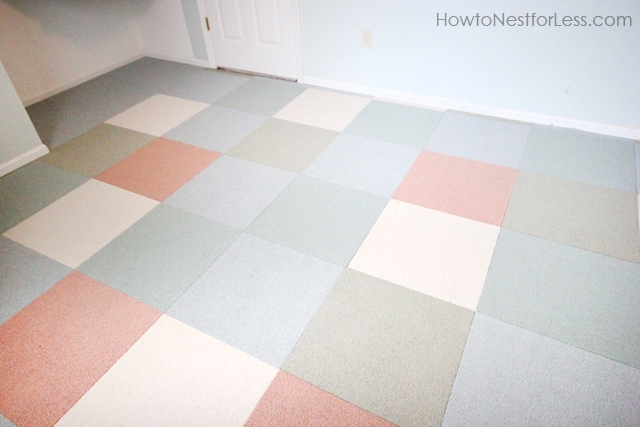
 AND HERE’S AFTER!
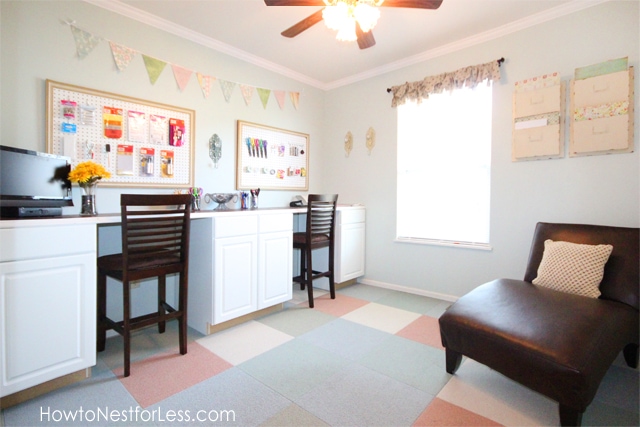
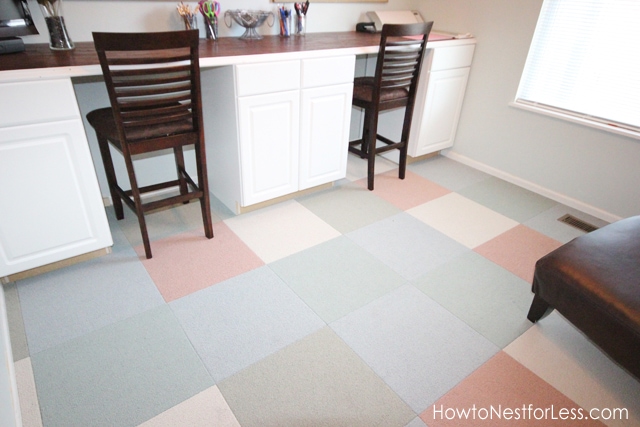 The entire process of tearing up our old carpet, removing all the staples & tacks plus installing the Flor carpet tiles was about 6 hours. Not bad at all! Plus once my hubby helped me rip up all the carpeting, I did the rest myself (cut the carpet tiles, laid the pattern and adhered with Flor dots).
I have to say I AM IN LOVE! I love the look, and if my 4 year old spills something, they’re easy enough to peel up and clean (or replace entirely if necessary).
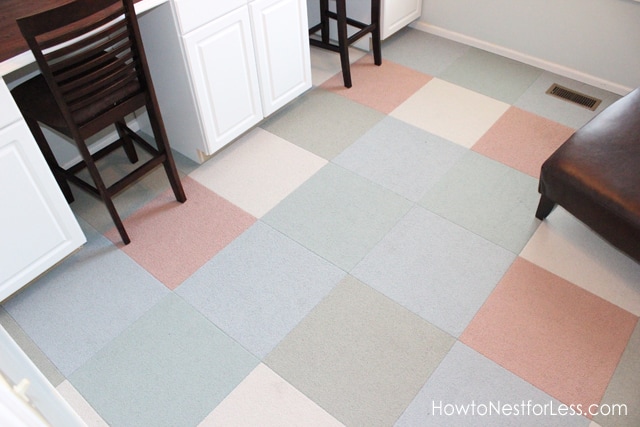 One last note: we did not have to remove our baseboards during this process. The Flor tiles fit perfectly underneath and did not leave a gap. If you try Flor tiles though, you might need to remove your baseboards and reinstall after the flooring is down!
SO, WHAT DO YOU THINK?
Pretty cute, huh? And if you don’t want to do an entire room in Flor carpet tiles, you can also create an area rug! There are tons of color selections and even patterns. I’m thinking I should create an area rug for my kitchen next!
 See the entire craft room makeover by clicking here.
How to Nest for Less received no payment or other compensation for the review of Flor® carpet tiles other than the actual product to review. All opinions are my own.

Laura @ [email protected] says
Erin,
I like it! Even though I’ve never had a FLOR floor, I’ve been a fan of them for years, I love how easy it is to install and clean. I actually have it on my list of materials for my basement finishing. And I’ve considered making an area rug for my new family room.
Thanks for sharing,
Laura
howtonestforless says
Laura, I had never used Flor before, but I’m seriously in LOVE. So many color options and the online Flor builder is fantastic to use to create the look you want. And seriously a breeze to install! I was super nervous about ripping up the old carpeting, but so glad we did!
northern cottage says
NICE – it’s like a brand new room with just this one change – go girl!
howtonestforless says
Thank you!!! I love having the color on the floor for a change instead of the walls. HUGE difference!!
Bonnie and Trish @ Uncommon says
looks amazing Erin!! love the colors and patterns you chose! 🙂
howtonestforless says
Thanks girls! See you soon!!
Hilani-Handmade by Hilani says
I love it! turned out so nice!! Congrats, and enjoy! 🙂
howtonestforless says
Thanks Hilani!
Peggy @The Decorating Files says
Your craft room looks beautiful. What a great place to work in! Love the pattern and colors you chose for the Flor tiles.
howtonestforless says
Thanks so much Peggy! I’m lovin’ the pop of color in the new floor 😉
Dana says
Genius. I LOVE it!
howtonestforless says
Thanks Dana! Now you need to come over & craft sometime 😉
Ben Hankins says
This was surprisingly easy and the end result looks amazing (especially in person)! Great job babe!
howtonestforless says
THanks dollface 😉
binhtheredonethat says
I love your room makeover, especially the carpet and was going to ask about it. Thanks for sharing your awesome diy.
Tanya says
Erin, your craft room (and the floor too!) is so pretty! What a great space to relax and create, thank you for sharing and thank you so much for hosting each week too 🙂
Hugs, Tanya
Shirley says
Can’t wait to see the kitchen rug too. Thanks for sharing, it is beautiful.
Kendra says
I love these tiles. My husband and I are hoping to turn our crawlspace into a basement this year and these would be great for the floor in there! I found your blog via the blog hop and am definitely going to return!
Jessika says
so pretty!
I am LOVD says
Oh, a craft room to be envied, girl!!! I bet the stuff coming out of that room will be just as pretty as the room itself!
Leighann says
That is too cool! I haven’t ever heard of this, or seen it (that I know of). That’s pretty impressive how easy it is to install. Nice!
howtonestforless says
Thanks Leighann. LOVE the stuff!
Emily says
I( love it! especially the colors 🙂
howtonestforless says
THanks Emily!
Vanessa says
Erin!!! This is so fantastic! The entire room is just awesome and this is such great timing because I have been thinking about doing carpet tiles in our playroom. You’ve given me the extra boost I needed to go for it! Thanks so much for sharing this at Inspiration Friday this week! 🙂
Vanessa
P.S. Have you thought about sharing this at http://www.hometalk.com? I think that especially this post in particular would really resonate over there. They are looking for quality projects with great photos and yours more than qualify. 🙂 Let me know if you do!
howtonestforless says
Thanks again Vanessa! I shared it today over at HomeTalk 🙂
Cara says
Yup, you can tell you are a professional graphic artist. Everything looks fabulous!
howtonestforless says
HAHA! You’re too sweet Cara!
Erin says
What a cute and what seems like quick update! I’m loving it! Thanks for linking up and sharing with us @ Toot Your Horn Tuesday party.
Erin
sheri says
This looks really great!! Can the carpet tiles be placed directly on hardwood floors instead of using area rugs? Would it damage the hardwood when removed?
howtonestforless says
Hey Sheri! Yes, you can use carpet tiles as an area rug. No glue or adhesive (or Flor dots) are ever used to adhere the tiles to the floor, only to each other! Great solution for an area rug.
Peggy says
I decided to wait a fair amount of time after you posted about these to comment… so what do you think of them after they’ve been in use for a while? How are they holding up? Does this room get a fair amount of traffic? I’m curious as we need to remove the carpeting out of our son’s room…. allergies and years old carpet do NOT mix! Plus creamy white with teenage boys and a HUGE black dog… umm yeah, I don’t think so! I’d be interested in hearing what you think. Feel free to e-mail me if you would rather. Thanks a ton!
howtonestforless says
Hi Peggy! I can’t believe we installed these carpet tiles way back in the beginning of June. 9 months later and I’m still completely over the moon with them! We haven’t had any problem with wear & tear, even though the room gets a lot of foot traffic (it’s our home office, playroom and craft room). Very easy to vacuum and clean. No problems thus far with any of the carpet tiles coming up either. The only thing I noticed at first with the room was the sound. I guess since I’ve never had hardwood flooring before I didn’t know there would be a sound difference with a harder flooring. But I’m used to it now and 100% happy with our decision… even 9 months later! I would get a couple extra tiles though. I haven’t had to use them as of yet, but knowing I have a couple extras in storage puts my mind at ease if my daughter (or husband!) stain the carpet 🙂
Heather says
This looks great Erin! I love it! Could you please e-mail me which colors you used for this floor?
howtonestforless says
Just emailed you!
Carissa Bonham says
Thanks for this tutorial. My husband and I want to replace our gross living room carpet with Flor tiles and were trying to figure out if anyone ever to rips up their carpet to do that orfif we were crazy. Glad to see that it worked out well.for you and that you didn’t even need to adjust your baseboards. Fingers crossed ours will work that way, too!
howtonestforless says
Good luck to you!!
carpet calgary says
Hey there. Carpet tiles installation is actually less complicated as compared to installation of carpet rolls. However, if you have to replace your old carpet with new carpet, then that “ripping out” part is very difficult and time consuming.