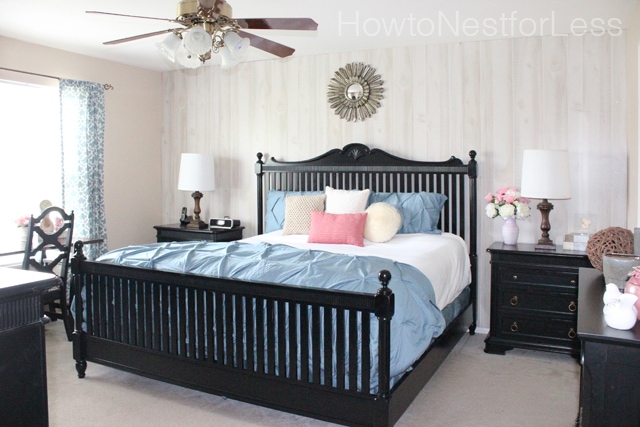
Yesterday I unveiled our master bedroom makeover!
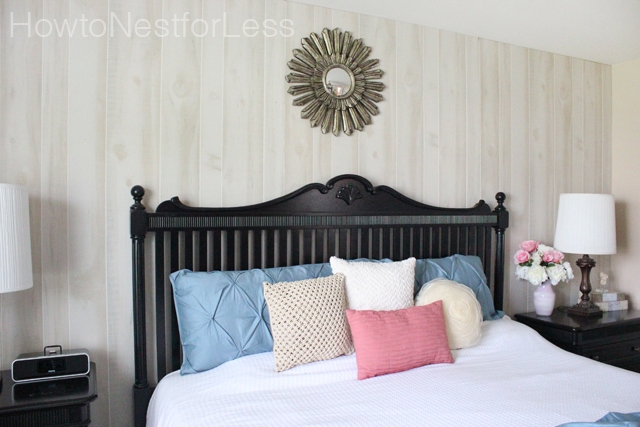
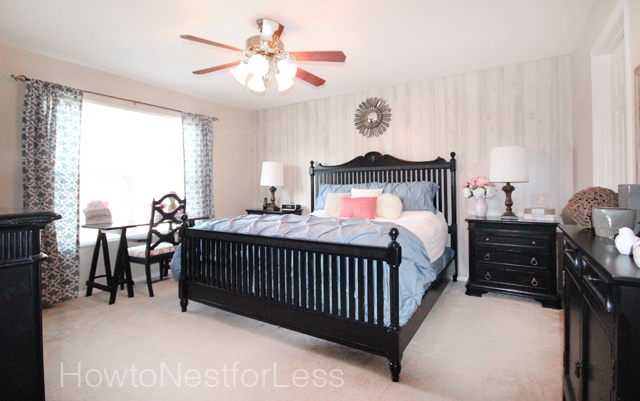 My favorite part of the room is definitely our accent wall. I found these 4x8ft sheets of this cedar MDF wall paneling for only $14.96 per sheet.
This paneling had the exact look I was going for: whitewashed wood with neutral tones of white, gray and tan.
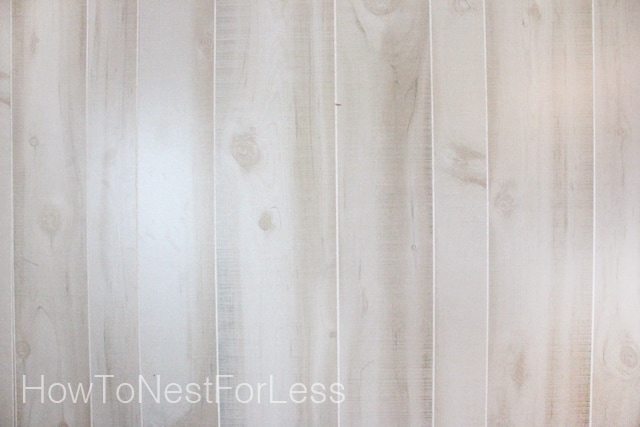 So first thing I did was measure my accent wall (where the headboard of my bed would go). I have 8 foot ceilings, but I subtracted 2 inches for my baseboards. After I measured, I knew I would need 4 sheets total: (3) 4 foot wide by 7’10 inches tall and (1) 3 feet wide by 7’10 inches tall.
Now it’s time for installation. All you have to do is nail this paneling into the walls with white 2.5 inch finishing nails… yep, that’s it! BUT you’re going to want to use a stud finder. The nails will have to go through the studs to keep the panels secure.
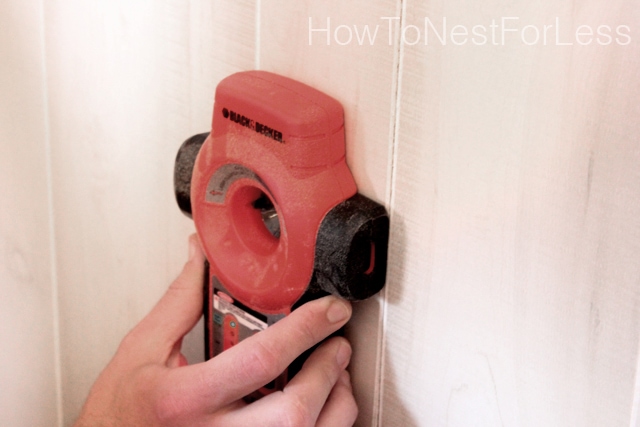 The paneling is thin enough that it will bend a little bit to slip into place between the floor and ceiling. Make sure it’s a snug fit so you don’t have too many gaps to fill in later!
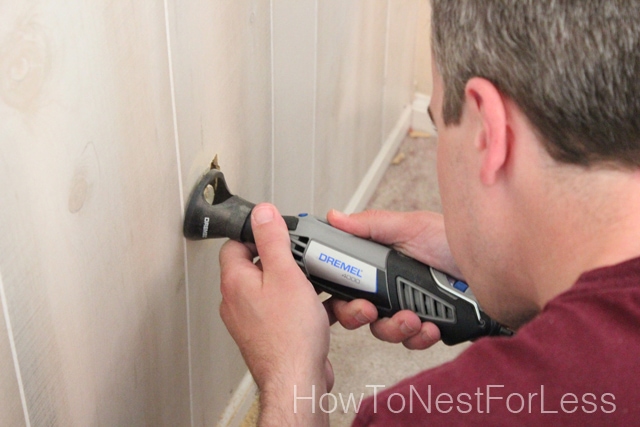
Make sure you also measure for the electrical outlets before you adhere the paneling to the wall. We used our Dremel to cut out the holes for the outlets and it was super simple.
 Now if you have the panels nailed to the wall but the edges aren’t flat against the wall, you can use a little tip I learned from Perfectly Imperfect’s blog, use a hot glue gun to adhere the edges to the wall. LOVED this tip!! (and she actually installed the exact same paneling, check it out!).
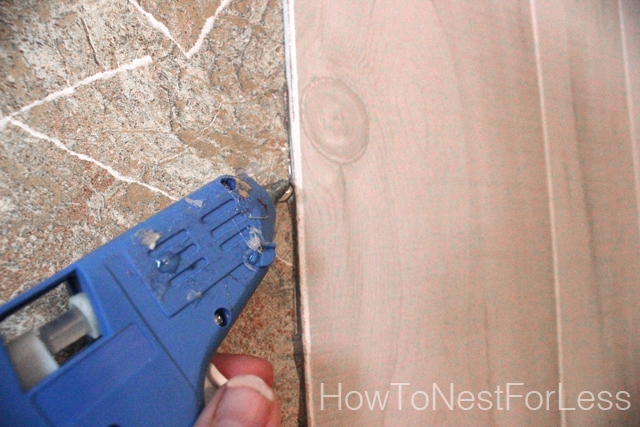 Once you have all the paneling up, you can use some white caulk to fill in the gaps between the paneling boards if they’re noticeable. And that’s it!! Super simple installation and a dramatic finish!
 Make sure you tune in tomorrow to see my shopping list for everything we purchased for our master bedroom makeover! I got some great steals that I want to share with you!

Shaunna says
Looks GREAT! So glad the tip helped!! Thanks so much for the shout-out!
🙂
shaunna
howtonestforless says
Thanks Shaunna! I actually didn’t even find your tip until I was searching the internet to find out how to fix the edges during the installation. So funny to see you used the exact same paneling. And SO GLAD I found your tip!! Definite life saver 🙂
Melissa says
This is so cute! I love that wood paneling doesn’t have to be *wood paneling*! Anything can be pretty when done right and this is definitely done right. I love that extra little something it gives. I’m going to store this away for the future.
howtonestforless says
THanks Melissa!! I appreciate it.
Jan says
Any chance you could provide the brand and name of that paneling?
howtonestforless says
Here is a link to the product from Lowe’s:
http://www.lowes.com/pd/48-in-x-8-ft-Recessed-White-Cedar-MDF-Wall-Panel/50106844
Melissa @ Loving this {crazy} life! says
Ooooh, this was probably one of my favorite elements of the room. Thanks for sharing your How To! Looks wonderful!
howtonestforless says
Thanks Melissa! Have a great weekend.
Shiloh says
Your room looks fantastic! You did an awesome job.:)
howtonestforless says
Thanks so much Shiloh 🙂
Kim (The Money Pit) says
That is so pretty.. not your grandma’s paneling! I love how it came out!
howtonestforless says
LOL, thanks Kim!
ashley s says
i like this alot. my husband is wanting to cover my house completely in wood paneling, like every single wall in the house. im definitely not for the idea but i like how you done it on just one accent wall, very very nice!
howtonestforless says
Ha! I don’t know about every wall in the house, but I guess if it’s light enough it could look awesome!! THanks 🙂
Jill Wilhelm says
I love the wall! And 60 bucks! What a deal for such a dramatic wall! great job Erin. Oh and I love todays printables
Amy says
How did you whitewash the paneling? I wonder if I can do the same with wood paneling in my house. It’s a lot of it and I am looking to whitewash it without having to sand all the walls.
howtonestforless says
The paneling came as-is from Lowe’s with the whitewash design. I would suggest maybe using a watered down Annie Sloan Chalk paint to white wash? Then you wont have to sand before painting.