I will show you how hand painted flower wine glasses are easy to make even if you have no art skills!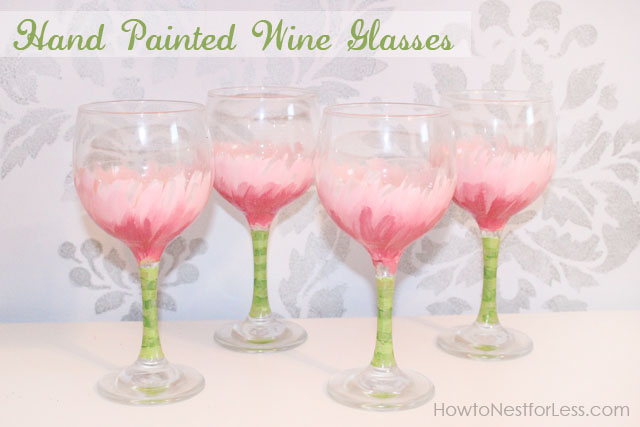

I always love having a momento for special occasions like wedding showers and birthdays. One of my favorite things to make is painted wine glasses for each of my special guests. I have an upcoming Summer Girls Retreat with some of my best friends and Plaid was nice enough to send me a bunch of great supplies to complete my hand painted flower wine glasses!
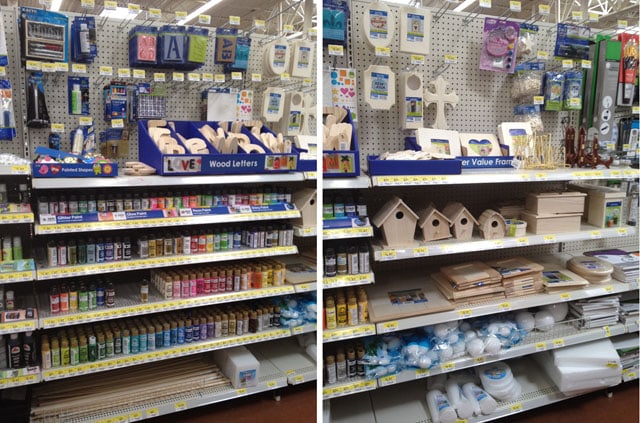
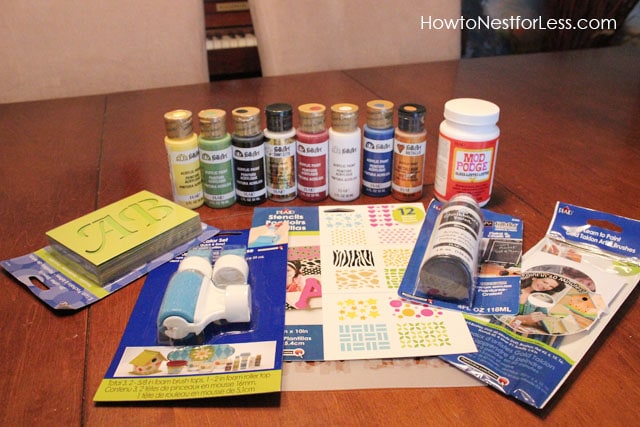 To get the rest of my supplies I headed to Walmart. I was shocked at how many Plaid Crafts products were available in their aisles!
 Items you’ll need:
- Plaid Folk Art acrylic paint
- Plaid paintbrushes (variety pack)
- Wine glasses (4 pack for $5 from Walmart)
- Mod Podge acrylic sealer spray (non-waterbase)
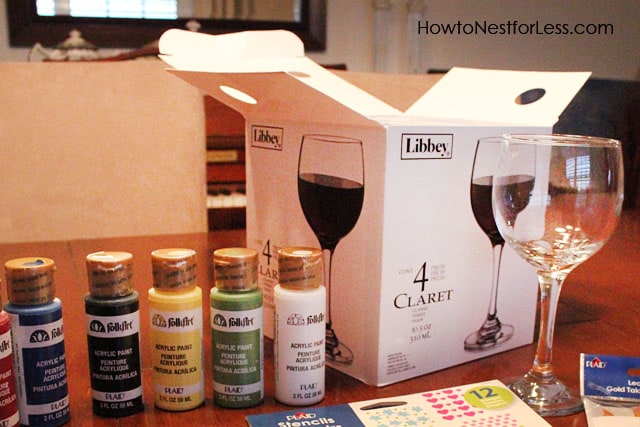 To begin, choose your paint colors for the wine glass and put a little dollop of each color on a palette or paper plate. Turn your wine glass upside down to it is easier to handle.
Using a smaller Plaid paintbrush, paint the small center of the flower with short strokes on the outside of the wine glass.
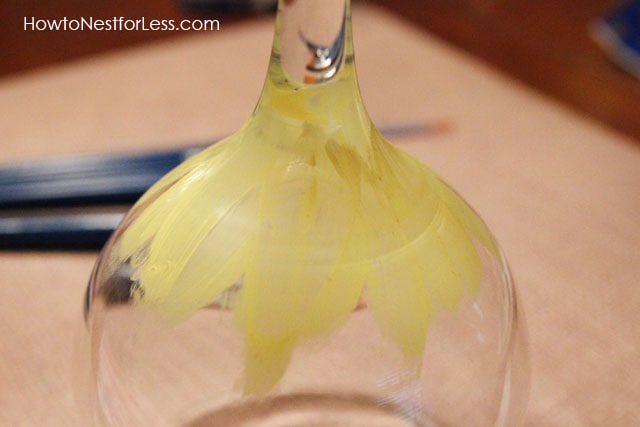
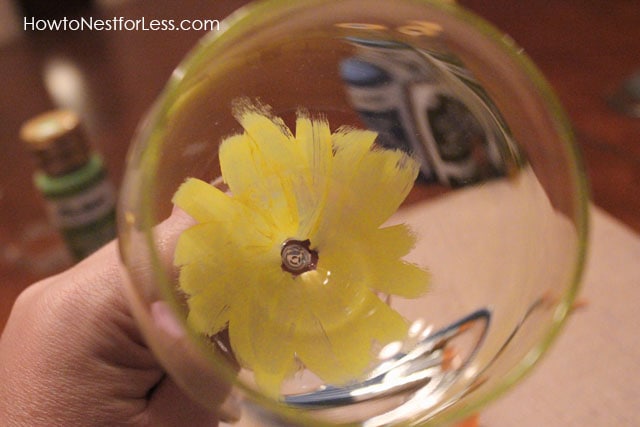 Now you’re ready to start layering colors. Starting about halfway up the yellow center, start painting small brush strokes with your second light based color (I chose light pink). It’s ok if your paint strokes are uneven; it will help your flowers look whimsical!
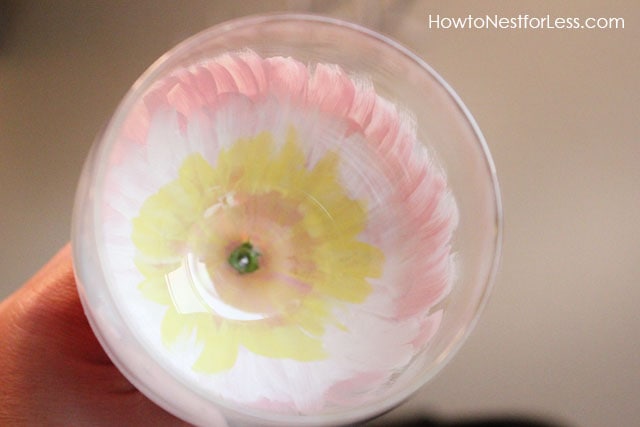 Now start adding the darker tones to the base of the flower to give it some depth. I also added green and yellow tones to the stem of the wine glass in horizontal stripes for an eclectic vibe!
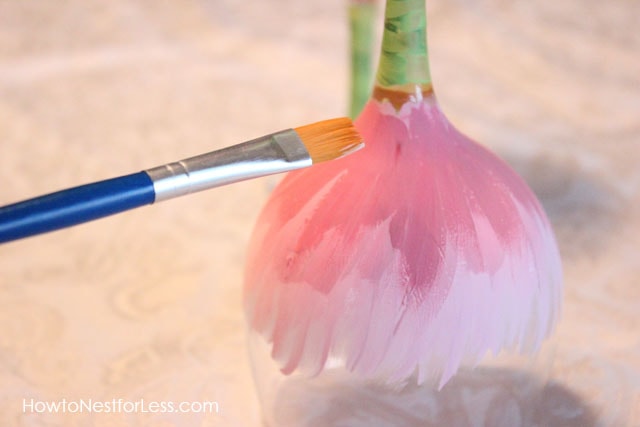 Since Plaid Folk Art paints are acrylic, you’ll need to seal the paint to the glass so it doesn’t chip or flake off. I used Mod Podge acrylic sealer spray. To easily apply this to the wine glasses, I sprayed some of it into a small cup and applied to the glass with a paintbrush just over the painted areas. Let dry for 24-48 hours before use.
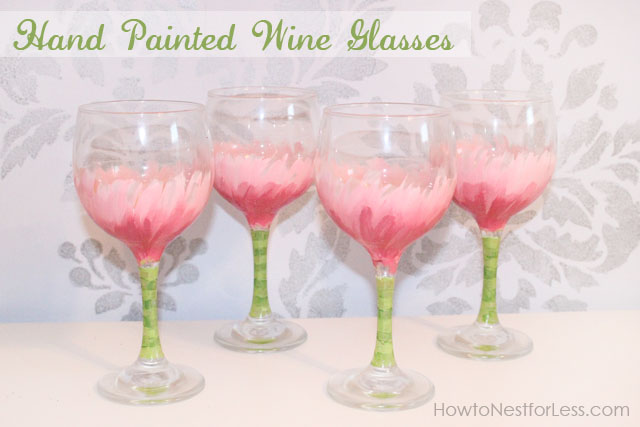 And that’s it! Beautiful and exquisite hand painted wine glasses for just a couple of bucks!
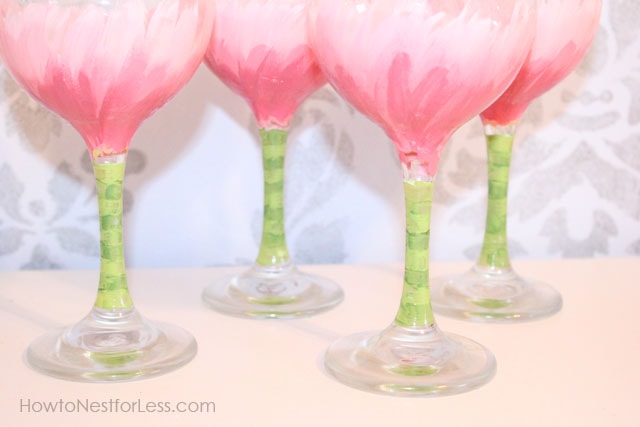
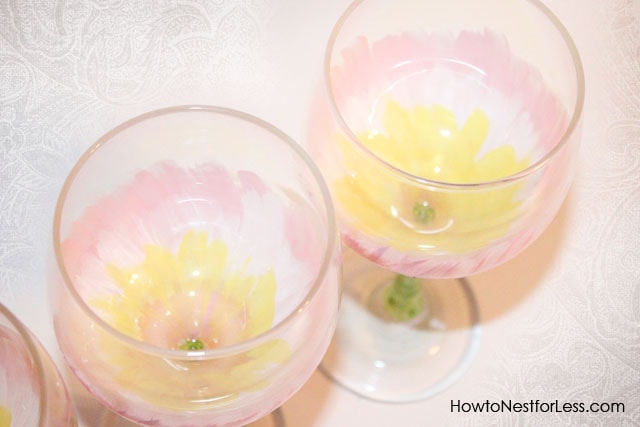
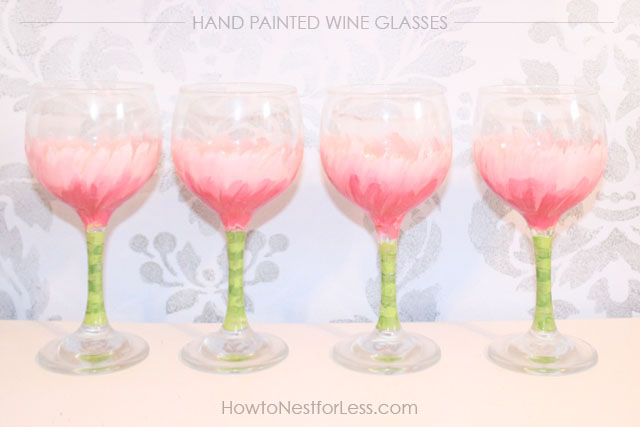 Please remember that these wine glasses are not dishwasher safe. Hand wash only.
All of the Plaid supplies I used can be found at Walmart, including the wine glasses. LOVE getting all of my shopping done in one place!
I created another little project Handmade Wine Glass Charms to go along with these wine glasses that I’ll be sharing TOMORROW! Stay tuned 🙂
To stay up-to-date with all of Plaid’s available products and projects, you can find them here:
- Plaid Crafts on Pinterest: http://pinterest.com/plaidcrafts
- Plaid on Facebook: http://www.facebook.com/InspiredByPlaid
- Plaid on Twitter: http://twitter.com/plaidcrafts/
- Wal-mart Crafts on Pinterest http://pinterest.com/walmart/
I wrote this post as part of a paid campaign with Plaid Crafts and Blueprint Social. The opinions in this post are my own.

Claire says
That’s really beautifully done, I’ll follow the idea. Thanks for sharing.
howtonestforless says
Thank you Claire!
Diane@InMyOwnStyle says
Hi Erin –
These are just delightful – so bright and cheery – perfect for setting a summer time table or having the girls over for a wine and cheese party. They look like something you could buy at Bloomingdales or Neimans.
My best- Diane
howtonestforless says
Aww, thanks so much Diane! You’re too sweet!
Brittany aka Pretty Handy Girl says
Those came out beautiful! They would make a great gift.
howtonestforless says
Thanks Brittany!
[email protected] says
Great job! They turned out so pretty!
howtonestforless says
THanks Ginger!
Debbie~refreshrestyle says
Erin, these are beautiful! Love them 🙂
howtonestforless says
Thanks so much Debbie!
Mod Podge Amy says
These are SOOO pretty! I feel like I could do them!
howtonestforless says
You CAN do them! Super easy, I promise! And if you mess up, just wipe away and start over 🙂
Mariangela says
they are so pretty ! swoon….
howtonestforless says
Aww, thanks Mariangela!
Lindsey says
Cute! I love this to save a couple of dollars, dollar tree sells different sized and styles of wine glasses and other glasses as well!
howtonestforless says
Good idea about the Dollar Tree!! I’ll check them out, too!
Hilary says
These are so darling! They would make an awesome 21st Birthday gift 🙂
howtonestforless says
Thanks Hilary! Great idea, too 🙂
condoblues says
I love this idea! The stems of the wine glasses remind me of Truffala trees.
kristin says
These are so pretty, looks better then the ones you buy at the store. I tried making these last year for my girlfriends birthday and they were a total bust, Now I know who to go to 🙂 Thanks for linking up. I just featured them on my fb.
XO
Kristin
howtonestforless says
Thank you so much! I appreciate it 😉
Midsommarflicka says
These are really beautiful! The colors are gorgeous… I could try that at some time in the future – I will let you know if I get it 🙂
Annie says
Beautiful job! I did not know there is Mod Podge acrylic sealer. Learned something new 🙂
howtonestforless says
Thanks Annie! Yep, the sealer is great 🙂 They have a bunch of new products out now (I think available at Michael’s).
ashley s says
these are so beautiful. very creative
howtonestforless says
Thanks Ashley~
cheryl johnson says
luv these glasses, have to make some for myself …do you have any ideas what i might paint for favors for a “tiffany themed bridal shower” i am doing for my daughter…you are a very talented young lady!
howtonestforless says
Oooh, for a Tiffany’s bridal shower? You could paint the glasses with Tiffany blue flowers. Or a ribbon motif (like the blue box with white ribbon). Or diamond rings! That sounds lovely!!! Send me a pic when they’re complete 😉
Erin @ Making Memories says
These are absolutely beautiful! Amazing job!
howtonestforless says
Thanks so much Erin!
Maureen says
These are lovely and would make great gifts! I will be trying this as soon as I can get to Walmart for supplies! Thanks for the very clear tutorial and the good pictures, makes it so much easier to follow!
howtonestforless says
Thanks Maureen! I always hate it when people don’t give clear tutorials with photos 😉
Tawnya says
Nice!
Karen Whitney says
These glasses are so darn cute! I love the impressionistic look of the petals! It’s my dream to have someone send me supplies to I can use them for projects on my blog 😉
howtonestforless says
Thanks Karen! It is fantastic to try new products from brands and share with my readers. Keep truckin’ along gaining followers and I bet they’ll be contacting you in no time! 🙂
Debbie says
What a cute idea! Thanks so much for sharing with us at Toot Your Horn Tuesday 🙂
Katy says
Erin, thank you so much for sharing this!
Tracilynne says
Hi Erin,
These are lovely! I, too, enjoy painting wine glasses and have a question…
When you applied the acrylic sealer, did you paint it slightly beyond the paint edges? I would think that if you didn’t, the paint could still lift. I currently use the enamels that you bake on, but red, for whatever reason, likes to feather, which ruins some of my designs. I’m hoping your method could be an alternative solution. Thanks very much!!! 🙂
Yvonne says
totally beautiful, very clever, I wish we had a Walmart.
JoAnn says
Are you blending colors at all? Mine look solid at the bottom and it seems like yours have some shading. I’m not sure how to do that.
howtonestforless says
Yes, I blended the colors. Let the first coat dry, and then slightly overlap the second coat so it almost creates a gradient. Hope that helps!
Casi McAllister says
Hi! I hope the blog is still going for my question! Did you seal entire glass? And is it safe to drink from being sealed all the way? Or did you tape off top and seal below that line for food use? Thanks so much! These are beautiful!
howtonestforless says
They’re painting on the outside of the glass so it’s perfectly safe to drink from!