• Home
  • Projects
    • Room Makeovers
    • DIY Home Improvements
    • Decorating Ideas
    • Organization
    • Furniture Makeovers
    • Crafts
  • Holidays
    • Winter
    • Spring
    • Summer
    • Fall
  • Printables
  • Recipes

How to Nest for Less™

Thanksgiving Stenciled Cutting Board

in Holidays, Signs on

Sharing is caring!

332 shares
  • Share
  • Tweet

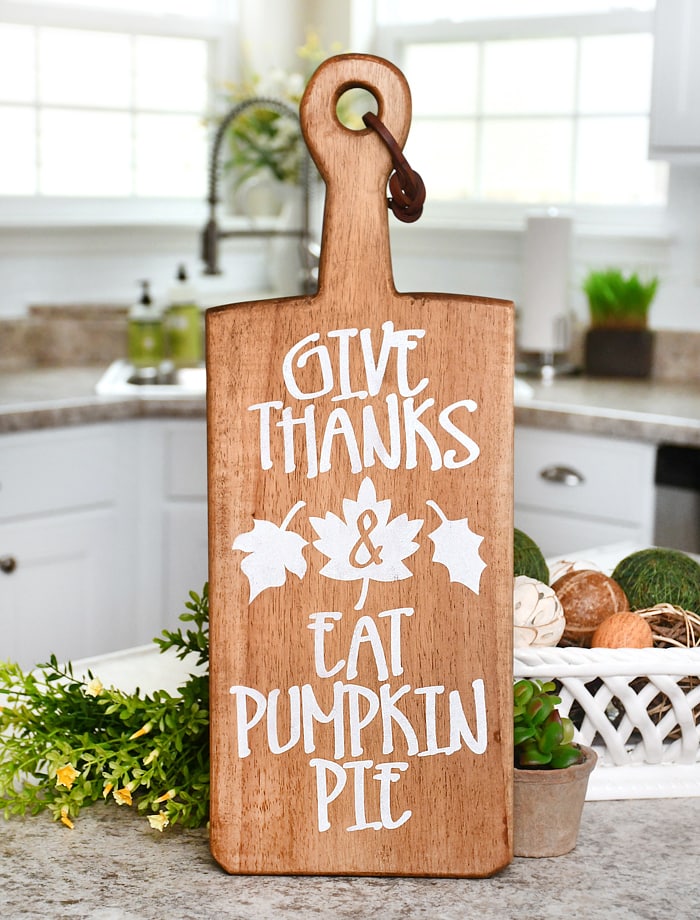
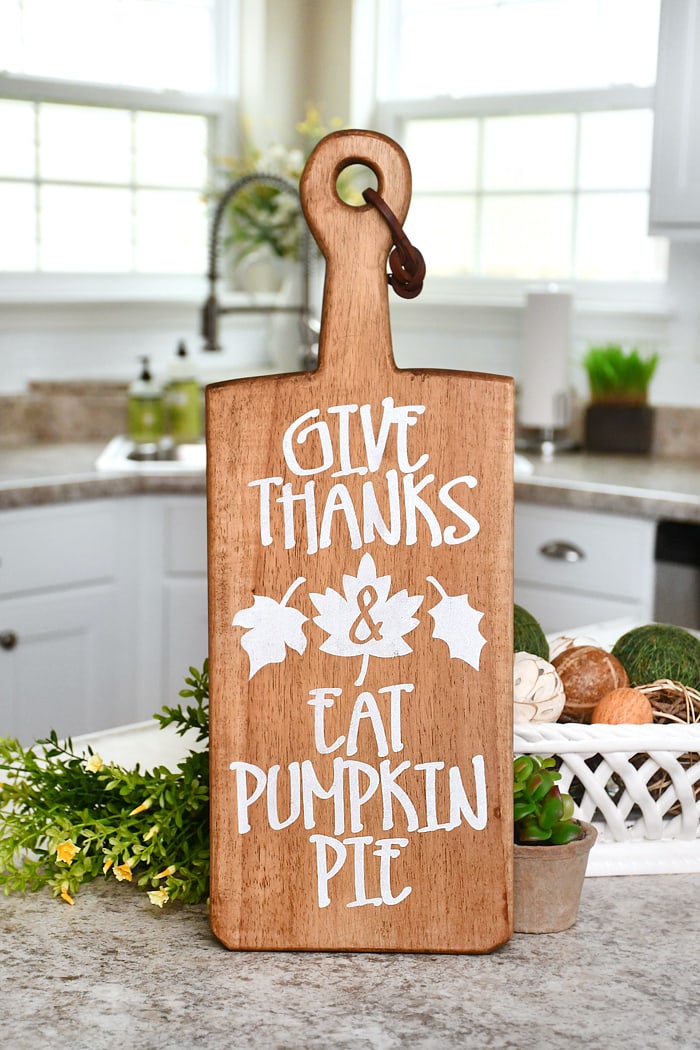
This easy Thanksgiving stenciled cutting board will definitely impress your guests!

Give thanks and eat pumpkin pie cutting board stenciled.

Yes, I’ve already got Thanksgiving on my mind. I’m ready for a glorious four day weekend filled with family, friends, good food and football. This past weekend to get in the Thanksgiving mood, I spent some time working on a couple holiday crafts including an adorable new Thanksgiving stenciled cutting board… and I have to say, I’m in love with how easy this project was and the final result!

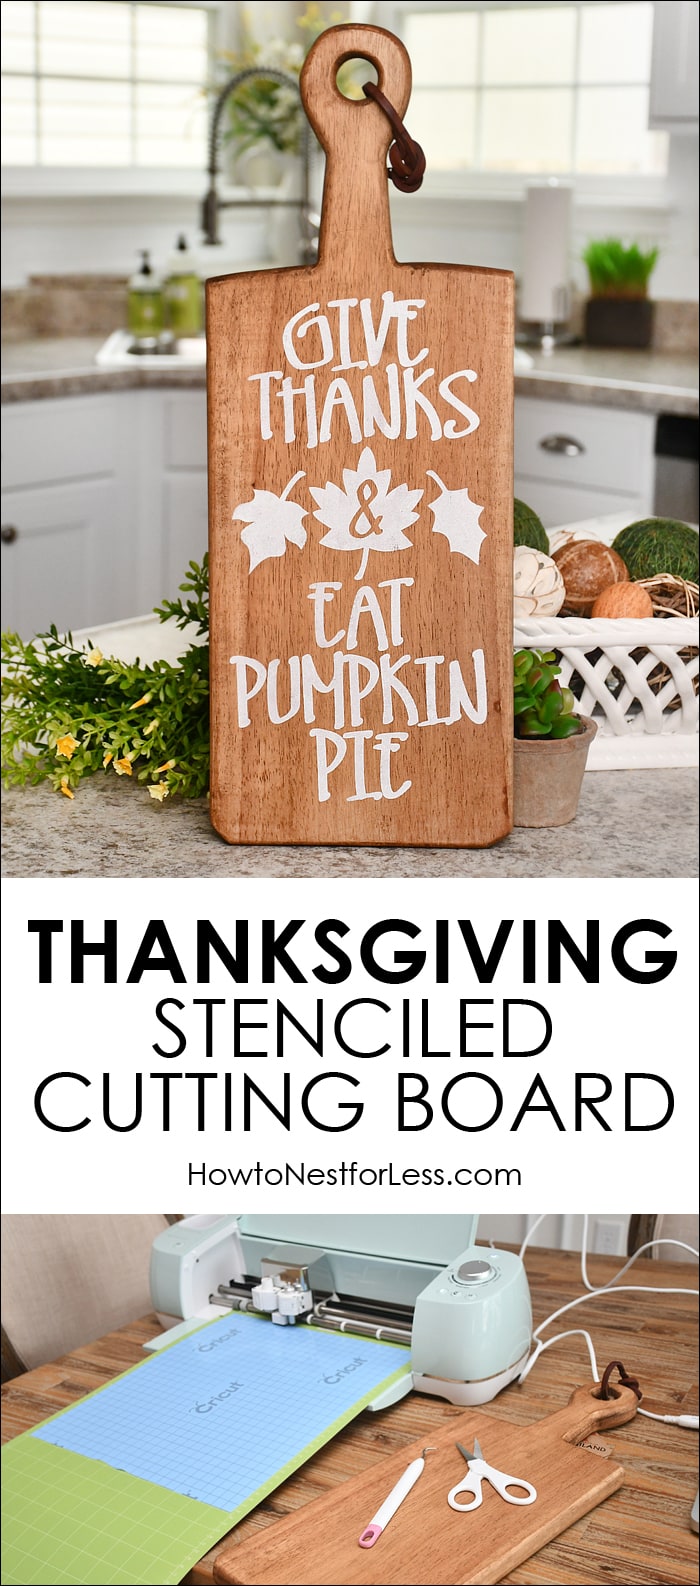
The Cutting Board Tutorial

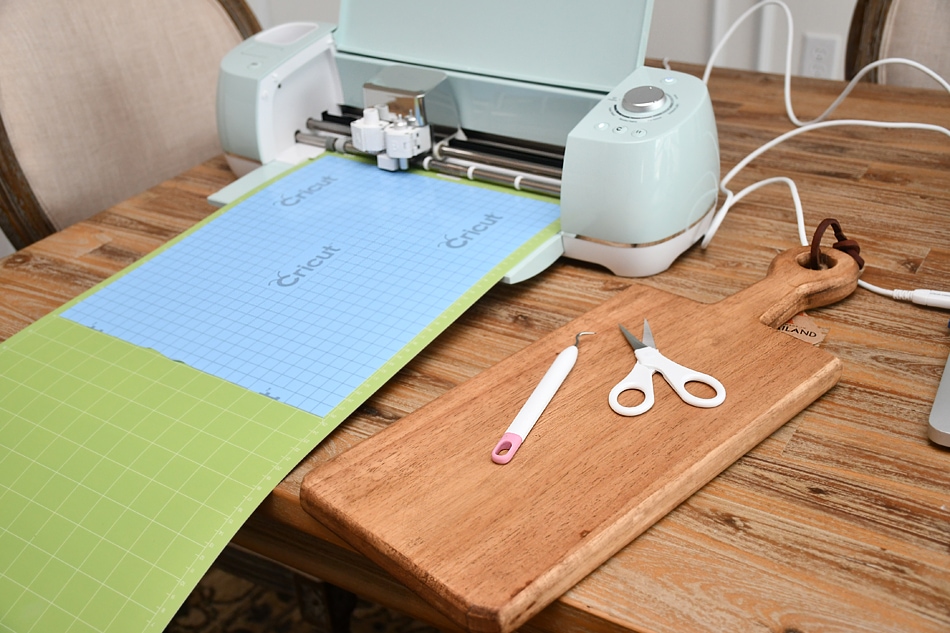
So this cutting board project was super simple if you have a Cricut machine. I purchased mine in early September and have been having a ball creating various projects ever since!

For this project all I needed was a paddle cutting board, Cricut stencil vinyl, white acrylic paint, and my design for the Thanksgiving stenciled cutting board.

A cutting and stenciling machine with scissors beside it.

If you want to make one of these for yourself,
click HERE to download the free stencil artwork.
My cutting board had a main surface area of about 7.4 x 14 inches.
I purchased it from HomeGoods for $14.Give thanks & eat pumpkin pie free stencil.

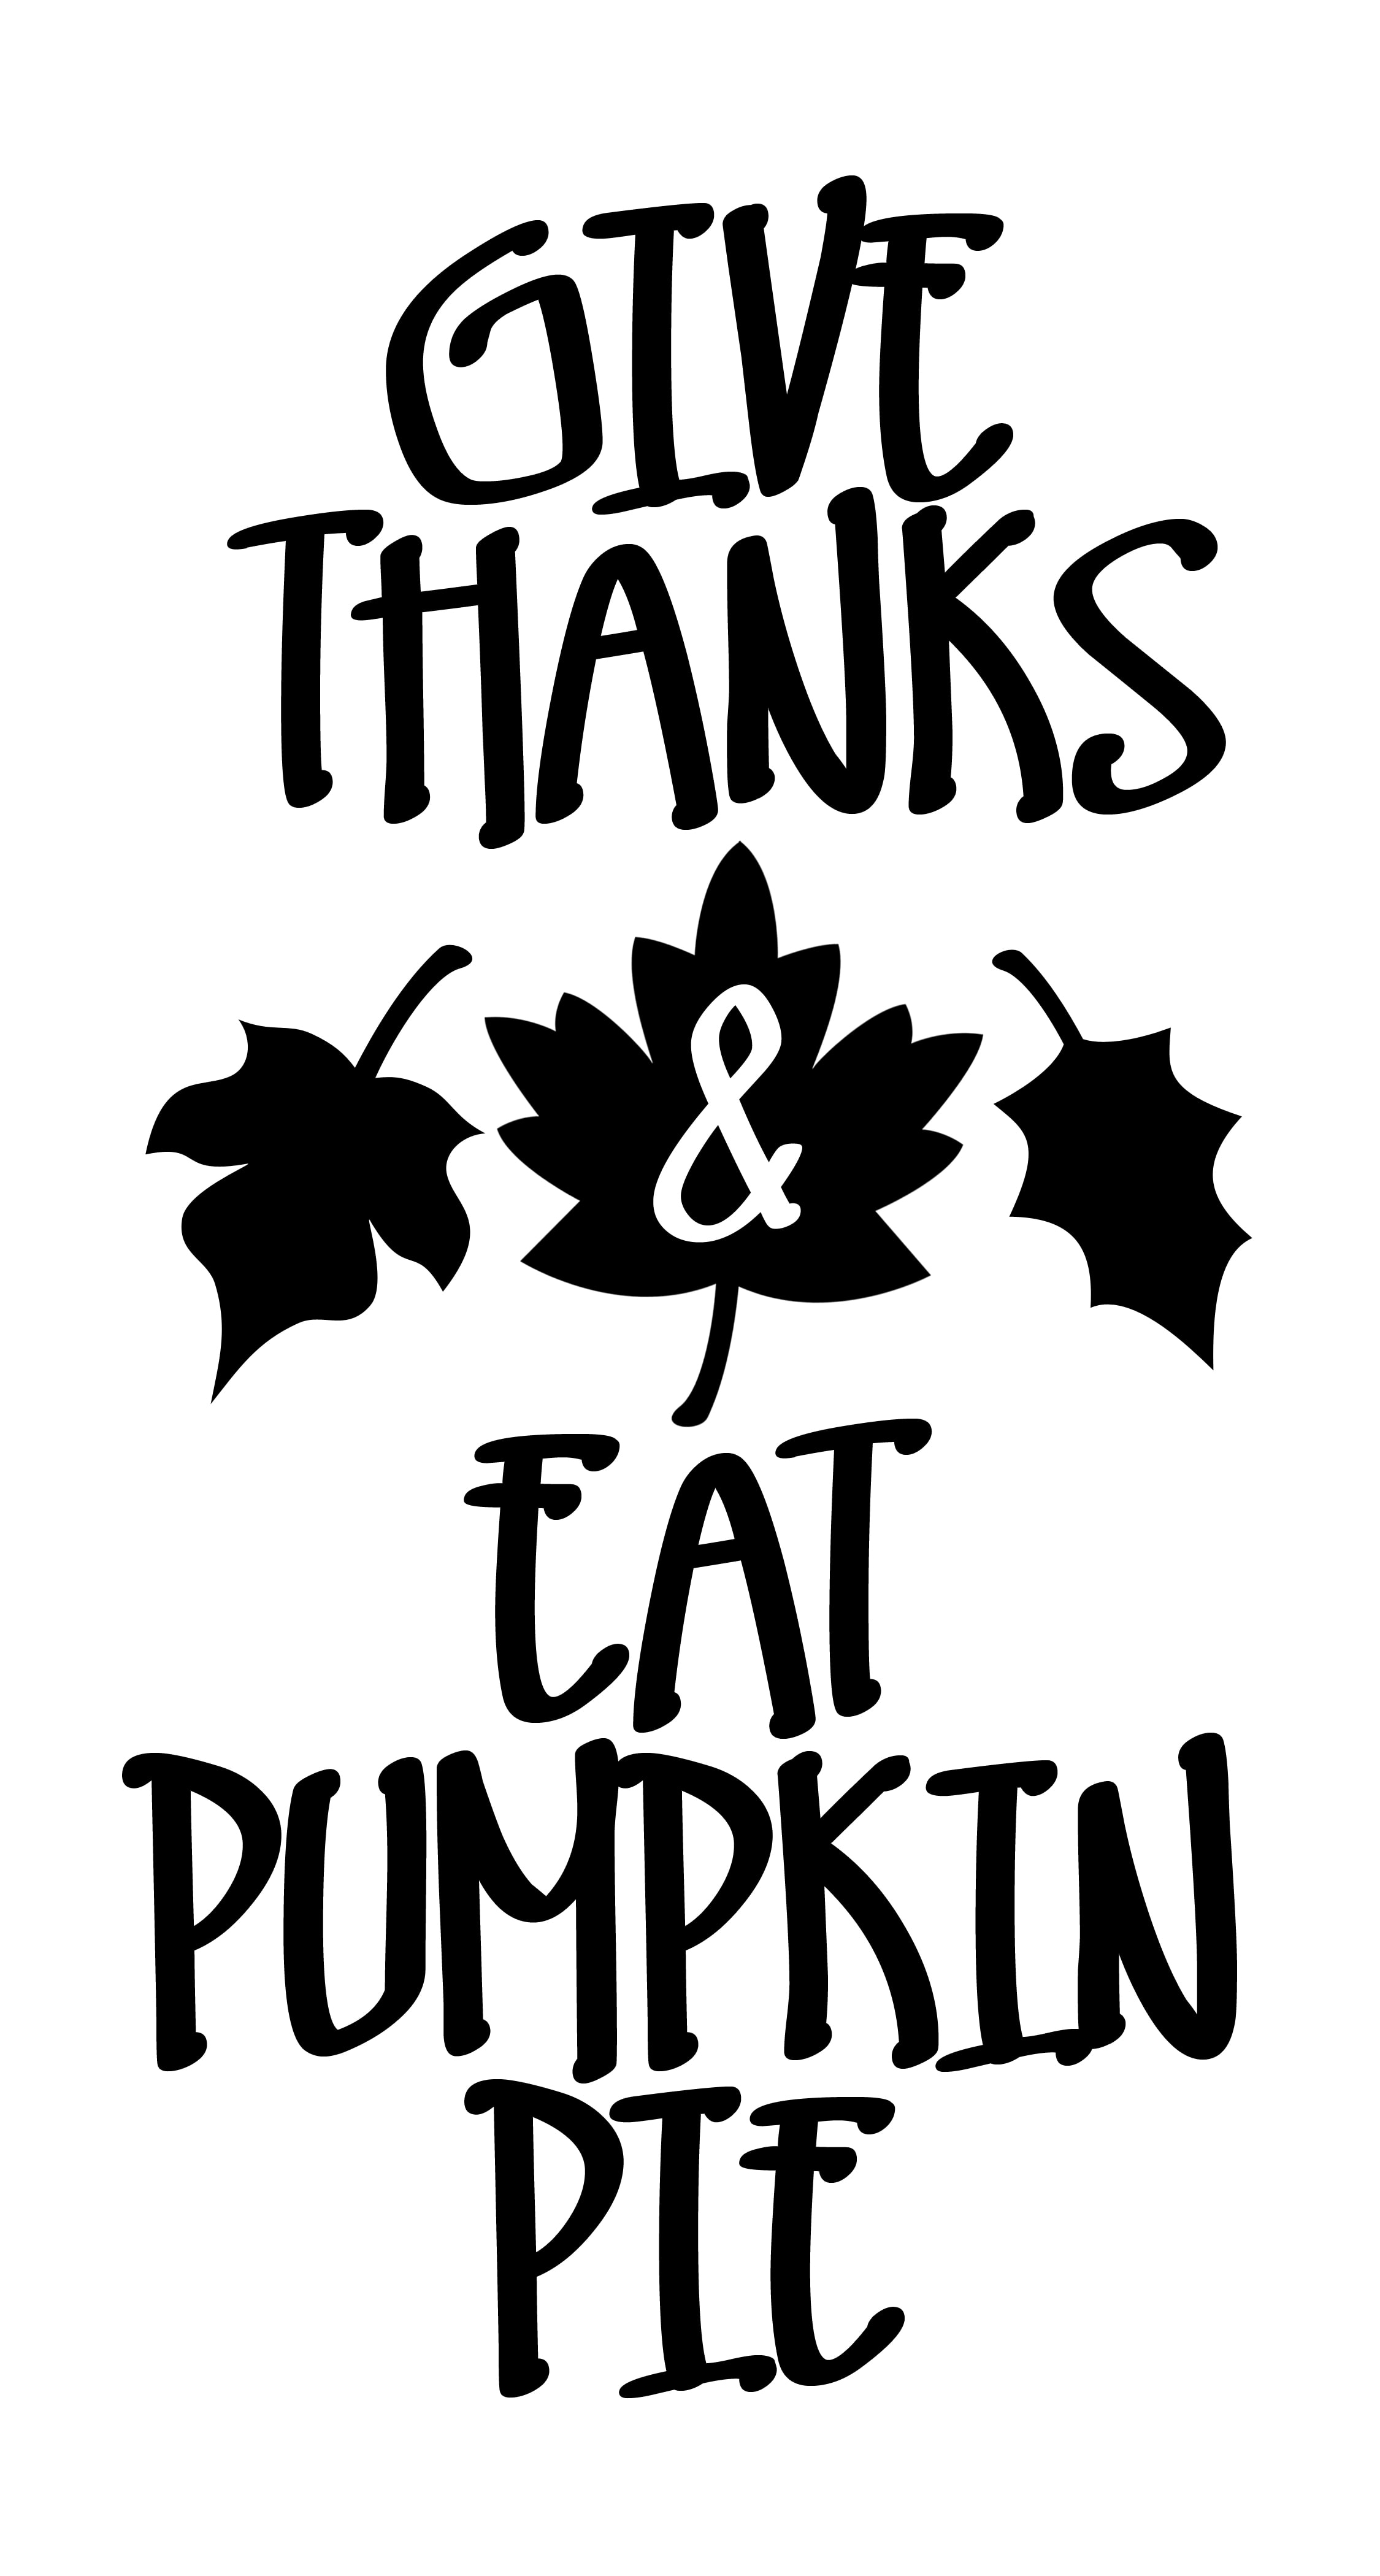
Next you’ll want to cut out the design on your Cricut machine.
Remove the negative space for your stencil. 

Cutting out the stencil.

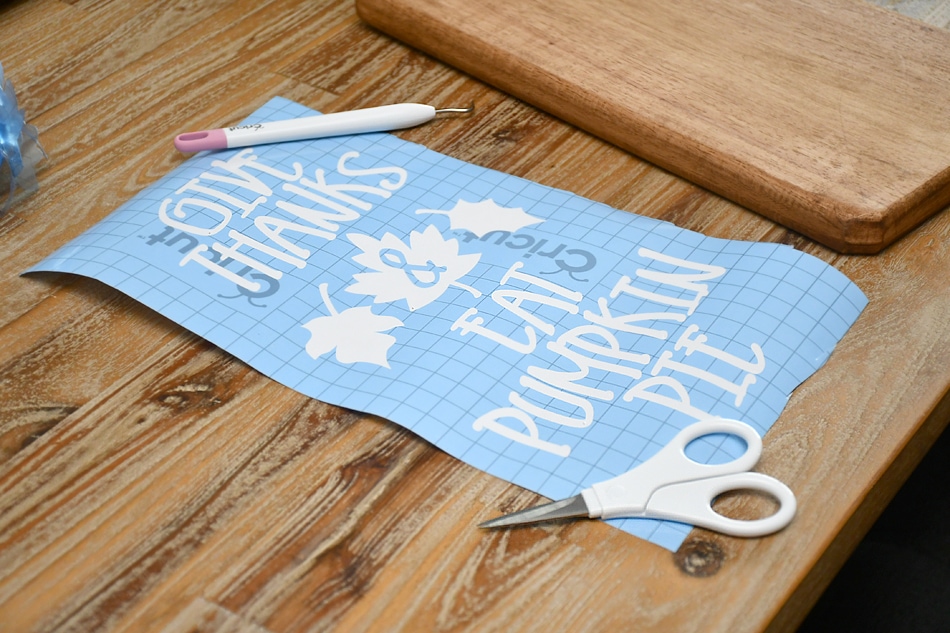
Next you’ll want to put contact paper or Cricut transfer paper over your entire stencil vinyl. I prefer just cheap contact paper since it’s not as sticky and it’s pretty cheap. Center your design on the cutting board and remove the contact paper.

Get your white acrylic paint ready. You’ll only need a little bit! In fact I bet I used half of what you see below. The stencil, white paint and a brush on the counter.

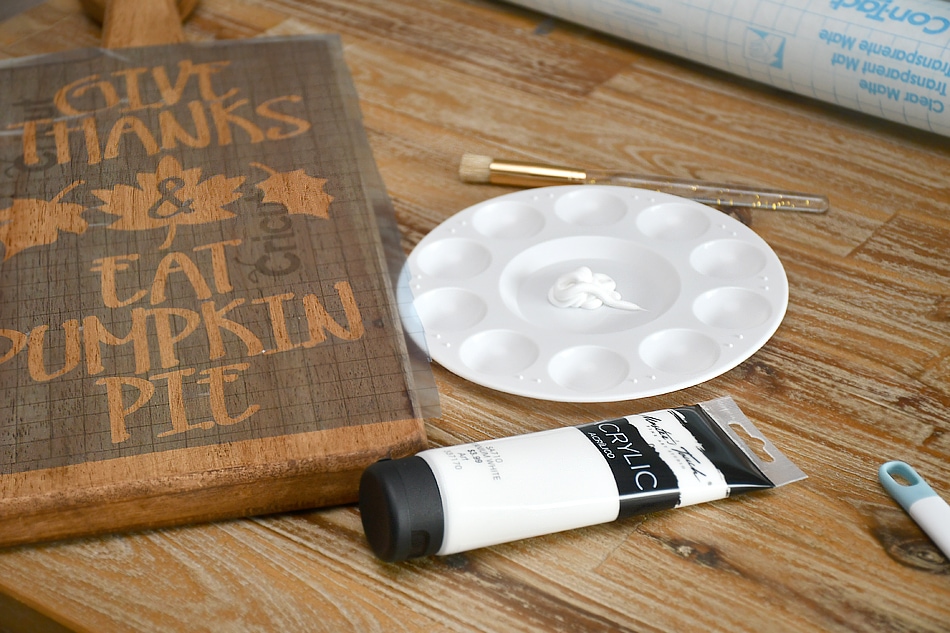
Put a little white paint on  your brush and offset the extra. Then just tap, tap, tap the paint all over the stencil.

Stenciling the white paint with a brush on the cutting board.

Give it just a few minutes to dry and then peel the stencil vinyl off. And there you have it… a gorgeous Thanksgiving stenciled cutting board!

The stenciled cutting board standing up on the counter.

Now if you want to make it food safe, I would suggest putting a coat of lacquer or shellac, but you will have to wait until it is fully cured before it is food safe (usually about 30 days).

This Thanksgiving stenciled cutting board would also be a great gift for the hostess!

ENJOY!

Thanksgiving stenciled cutting board poster.

popular-projects
« Italian Beef Crockpot Recipe
DIY Thanksgiving Decorative Plate »

Comments

  1. Savvy Southern Chic says

    at

    Love this idea! Easy and cute kitchen decor!

    • howtonestforless says

      at

      Thank you!!

  2. Jodie says

    at

    I need a circuit machine! (SOMEDAY LIST).

    Would love to have you join my weekly party: http://www.jodiefitz.com/2017/11/07/reader-tip-tuesday-weeks-craft-recipe-party-11/
    Hope you join us xo

  3. Jordan @ Jordan's Easy Entertaining says

    at

    I love this! I’m obsessed with my Cricut too, and now I think I need to run out for a new cutting board 🙂

    • howtonestforless says

      at

      GOod luck in making yours!!

  4. Emily says

    at

    I absolutely love this sign! The cutting board is the perfect surface for it, too. Thanks for linking up with Merry Monday!

    • howtonestforless says

      at

      Thank you, Emily!

  • Facebook
  • Instagram
  • Pinterest
  • Twitter

We love to conquer DIY, home improvement projects, and room makeovers. We're not experts; we just try to design on a dime.

Follow us as we try to update our latest house one project at a time. Check out our archives for over 1,000 DIY and home-related projects. Enjoy! Read More…

ARCHIVES

Copyright Policy

All text and images on this site are copyright of How to Nest for Less, LLC. Unless otherwise noted, you may not use this content without written permission.

This blog accepts forms of cash advertising, sponsorship, paid insertions or other forms of compensation. The compensation received may influence the advertising content, topics or posts made in this blog. That content, advertising space or post may not always be identified as paid or sponsored content.

The owner(s) of this blog is compensated to provide opinion on products, services, websites and various other topics. Even though the owner(s) of this blog receives compensation for our posts or advertisements, we always give our honest opinions, findings, beliefs, or experiences on those topics or products. The views and opinions expressed on this blog are purely the bloggers’ own. Any product claim, statistic, quote or other representation about a product or service should be verified with the manufacturer, provider or party in question.

How to Nest for Less is a participant in the Amazon Services LLC Associates Program, an affiliate advertising program designed to provide a means for sites to earn advertising fees by advertising and linking to amazon.com.

Privacy

Copyright © 2025 · glam theme by Restored 316

Copyright © 2025 · Glam Theme on Genesis Framework · WordPress · Log in

332 shares