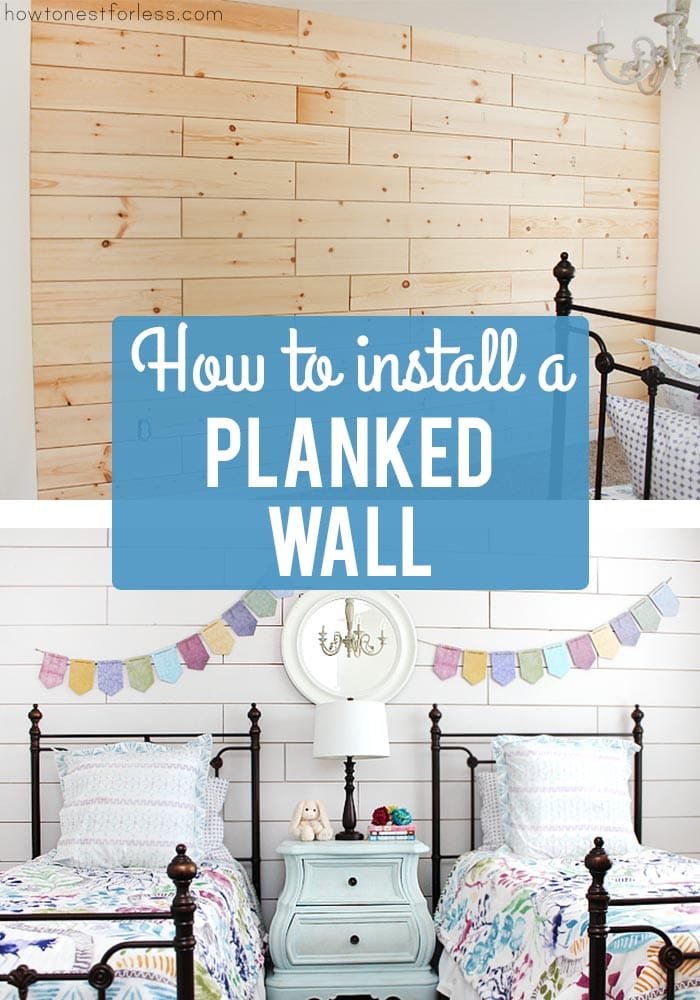
Are you looking to add a unique touch to the walls of your home? You could make a bold statement by installing a plank wall. Keep reading to learn how you can create a plank wall in your home!
Wood Plank Wall
Wood plank walls have become increasingly popular in recent years due to their ability to instantly transform any room and add a rustic charm. Not only are they an affordable DIY project, but they’re also stylish and can be customized to fit any home décor.
Supplies Needed for Plank Wall
1×4 or 1×6 boards (but you could use reclaimed wood or barn wood)
saw (we used a table saw & jig saw)
nail gun
stud finder
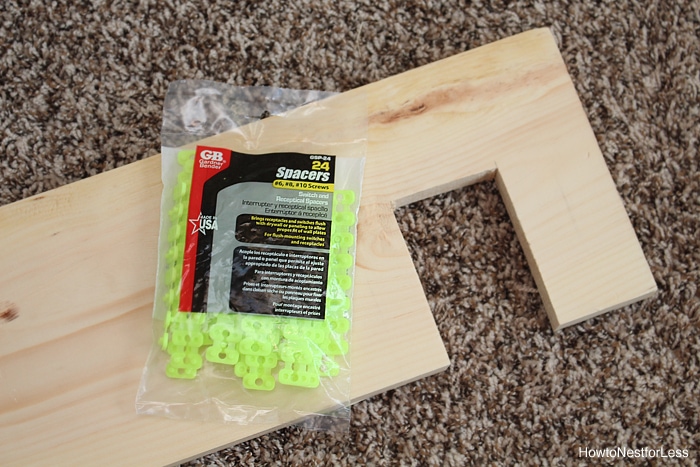
electrical spacers
level
white paint
caulk
How to Create A Wood Plank Wall
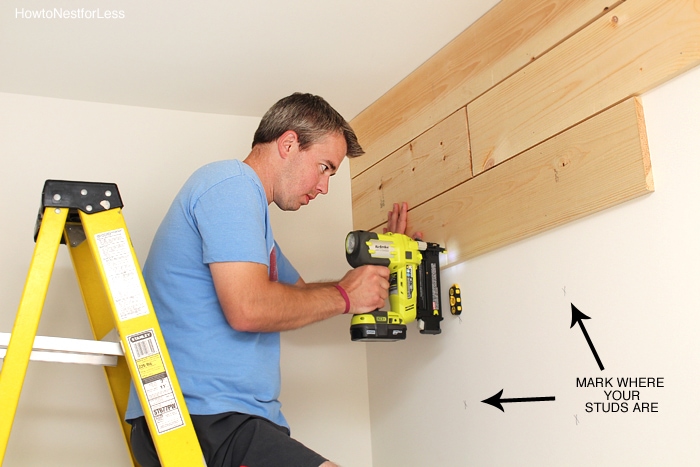
1. Mark the Studs
Using a permanent marker, make 4-5 markings from the floor to the ceiling for each stud.
2. Create A Diagram
On a piece of paper, diagram your plank wall project. Write everything on the paper– wall measurements, stud locations, etc.
3. Choose the Layout
Take a look at where your studs are placed, and map out the location of your boards. We wanted to make sure every board hit at least two studs so it would be tightly secured to the wall.
We actually ended up with doing a pattern of 4 rows (seen below) with 1×6 boards.
Begin with the top left corner of the room and work your way across row by row.
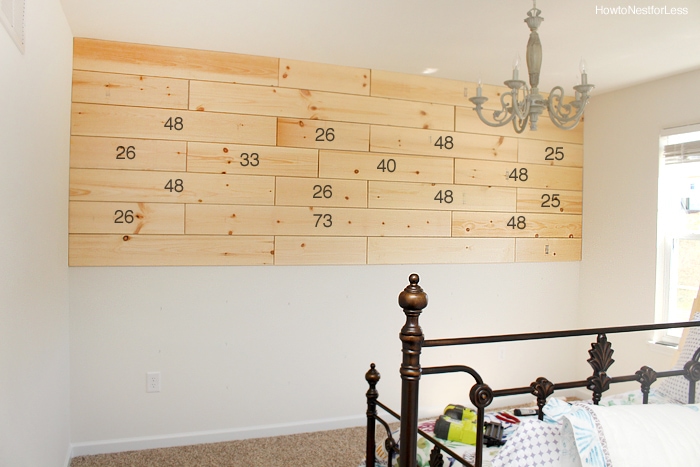
Use your level every so often to stay in a straight line as not all walls are even and level.
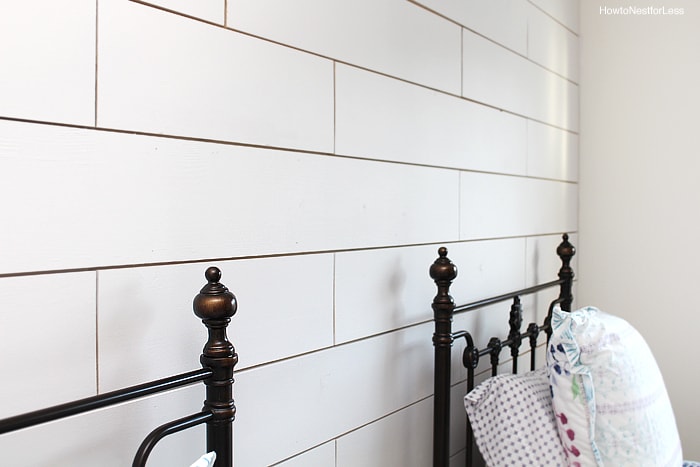
3. Spacing
For spacing in between boards, you can use a coin like a penny or nickel.
We just eyed it. But I actually did a bigger space on all sides of each board, probably about 1/2 inch. This was mainly to hide the imperfections of the board edges and helped keep my rows level.
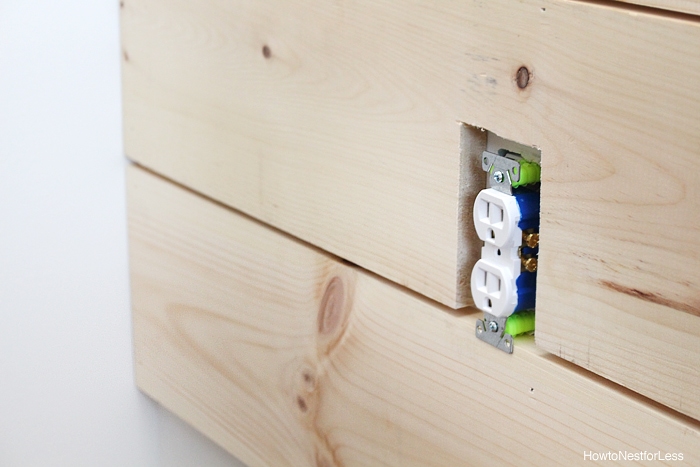
4. Outlets
Use a jigsaw to make a cut out in the board for the outlet. Attach the board to the wall.
Then, use electrical spacers to bring out the outlets. Make sure you buy longer screws if you’re doing this step!
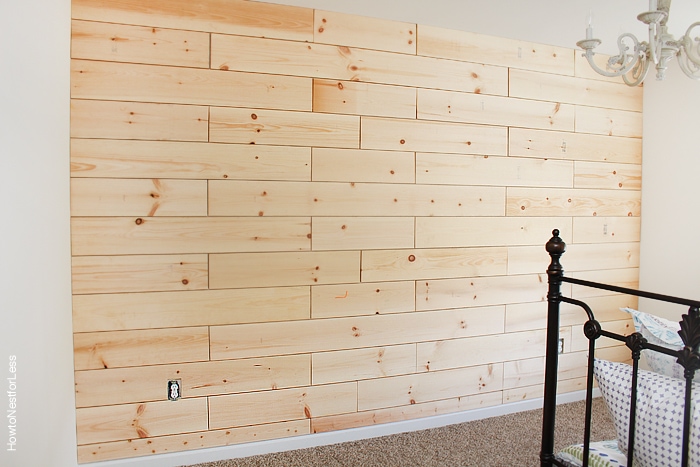
5. Make Adjustments
Then, continue to the bottom of the wall with your wide planks. We opted not to take the baseboards off the wall, instead we carried the plank wall to the baseboard. Also, we ended up using 1×4 boards at the very bottom row so we didn’t have to rip a 1×6.
Painting A Wood Plank Wall
Prep the Plank Wall
First, fill the nail holes.
Prime the Plank Wall
After you’ve waited the recommended time after filling the nail holes, prime the wall. This will keep the wood from seeping through the paint.
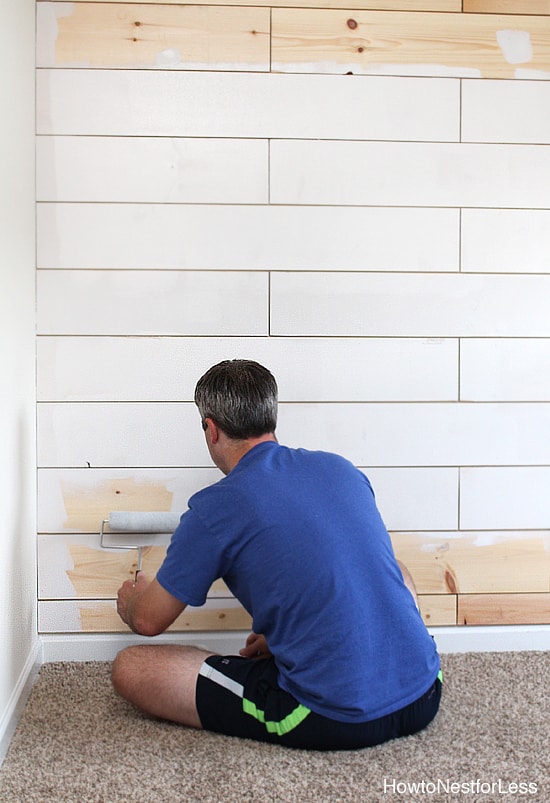
Paint
Once the primer has fully dried, paint the plank wall with interior paint. Because we primed the walls, we only needed one coat of paint.
Caulking the Edges
If you want you can caulk the edges, wait until you’re ready to paint the other three walls.
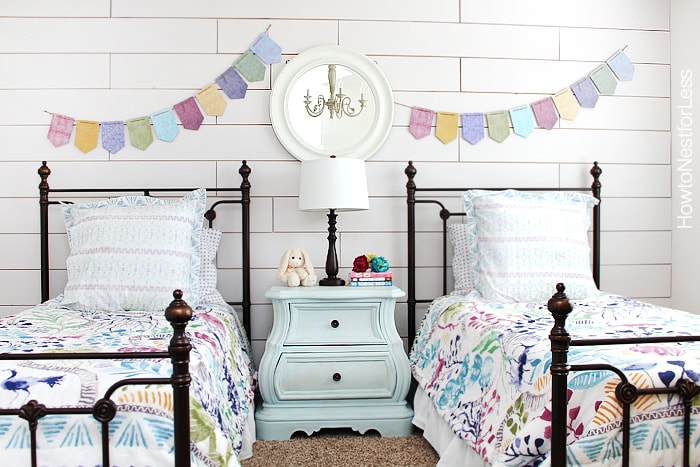
Completed Plank Wall
And after a day’s work Ellie’s bedroom has made a huge transformation. I’m loving the white plank walls against the iron frame beds. And that bedding… swoon!
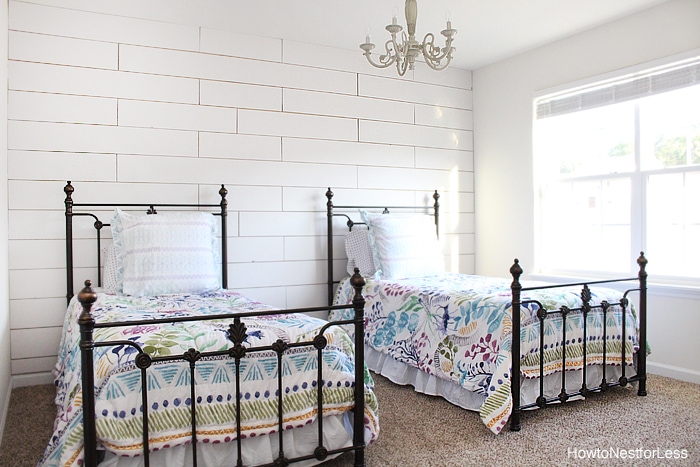
I’m thinking a pale teal for Ellie’s bedroom? And I need some pops of color above the beds. Oh, and I’m looking for a new nightstand and dresser to paint. Yeah, still lots to do.