Installing chair rail molding is a great way of adding a touch of elegance and character to any room. With the right tools and supplies, it’s something that can be completed quickly.
If you’re looking to install chair rail molding in your home or office space but don’t know where to begin, this article is here to help! In this guide, we discuss the steps involved in correctly installing molding. So if you’re ready to enhance the look of your room with stylish trimwork, let’s get started!
Supplies Needed for Chair Rail Molding
- paper and pencil to sketch your plan
- measuring tape
- level
- painter’s tape
- compound miter saw or miter box
- chair rail molding
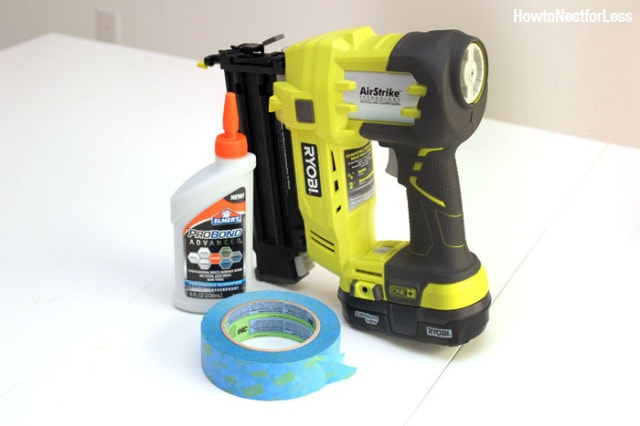
- glue for moldings (we used Elmer’s ProBond Advanced)
- brad nailer
- hammer and nail set
- wood filler
- sandpaper
- paint and primer
How to Install Chair Rail Molding
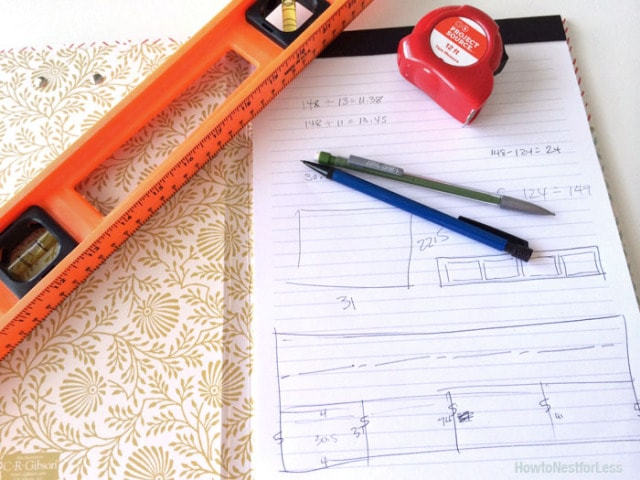
1. Measure and Map
Chair rails are usually placed one-third of the ceiling height. So, if you have a 8-foot ceiling, the molding should be installed about 32 inches from the floor.
2. Cut Chair Rail Molding
Once you’ve figured out the measurements, mark on the molding where to make the cuts.
You can cut chair rail with a coping saw or miter saw.
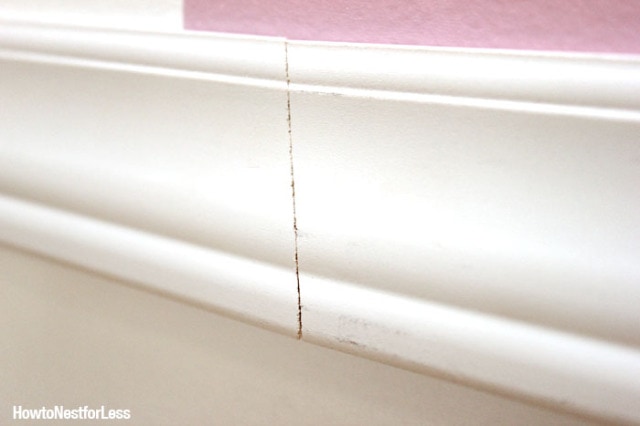
You may have to use more than one piece for a chair rail. If that’s the case, you’ll get the cleanest line if you miter the two pieces rather than using straight cuts. Plus, it’s easy to fill in that gap with wood filler.
3. Map Out Placement
Once all of the pieces are cut, you’re ready for installation. Measure and draw a line on the wall with a pencil where the chair rail needs to go.
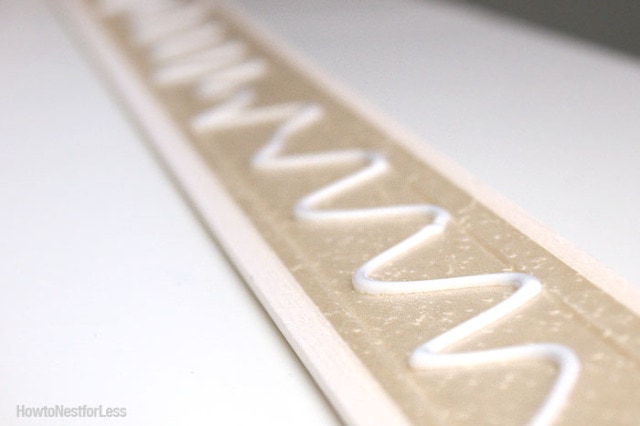
4. Glue
Next, put a little glue (I like Elmer’s ProBond glue) on the back of the molding piece. Place the molding piece just over the penciled line on the wall.
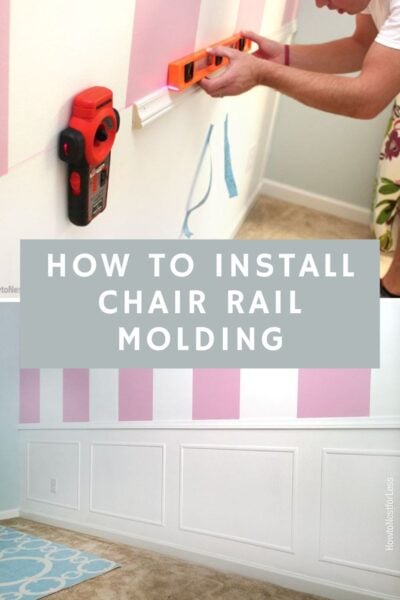
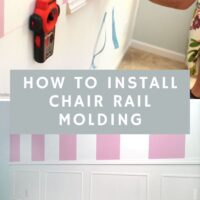
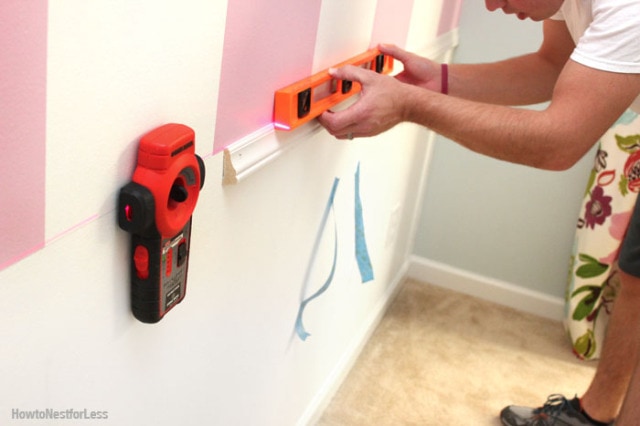
5. Check with a Level
To make sure the moldings are straight and level, use a level.
For an extra precaution, use a little painter’s tape right over the moldings to keep them in place and flush against the wall while the glue dries. In the photo below, you can see I stuck the tape to the wall below so I wasn’t having to rip pieces in a hurry with my hands full.
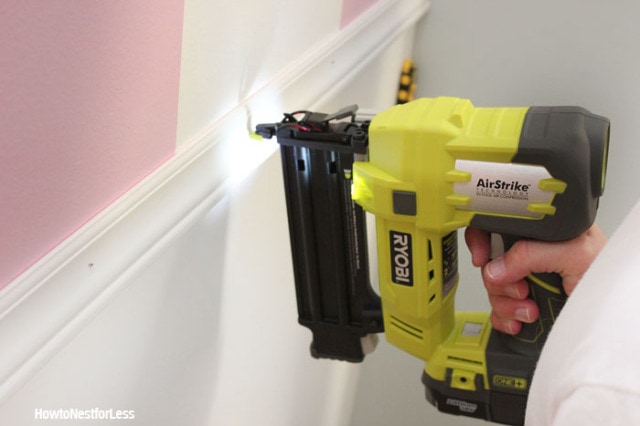
6. Find Studs and Nail
Then, use a stud finder to secure the molding pieces to studs with a nail gun.
7. Tap In Nail Heads
Once all of the moldings are in place, use a nail set to tap the heads into the wood.

8. Fill In Nail Holes and Mitered Cuts
Then, fill in all of the nail holes and mitered cuts so everything looks seamless.
9. Sand and Paint
Once the filler has dried, sand everything smooth.
Finally, paint the molding and wall.
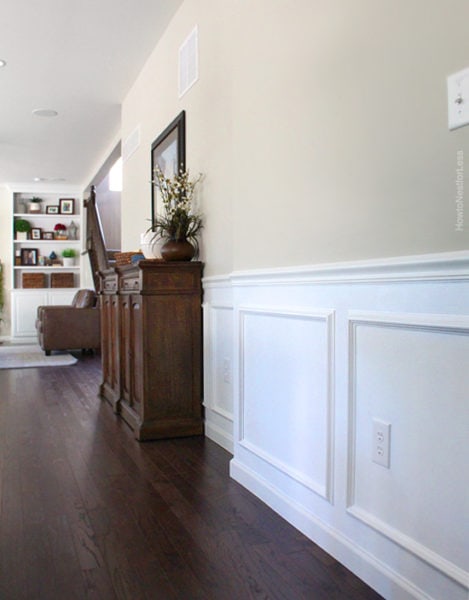
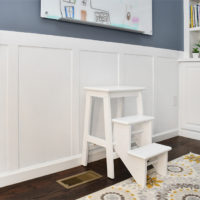
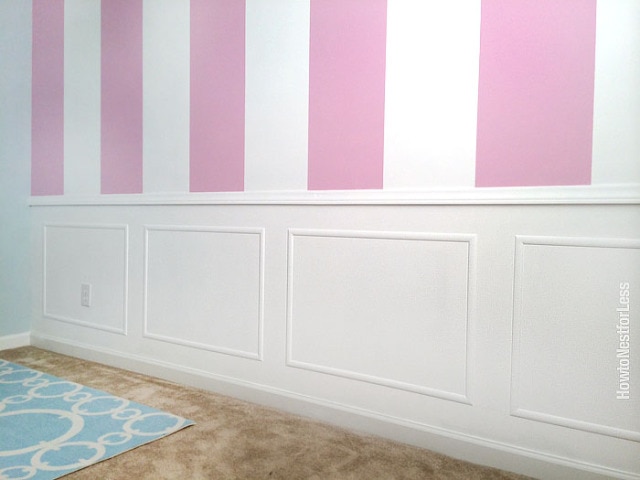
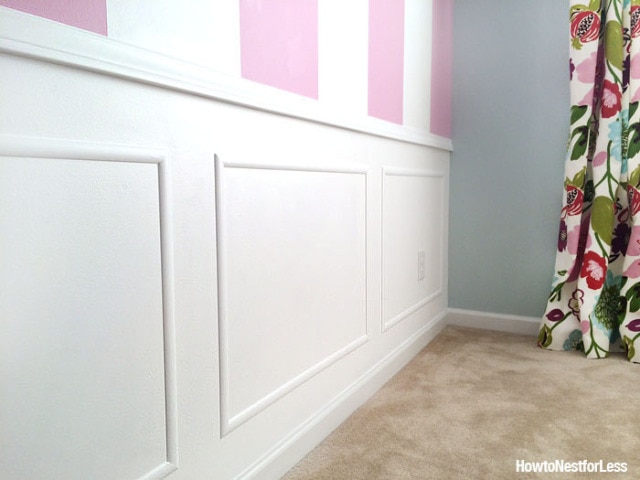
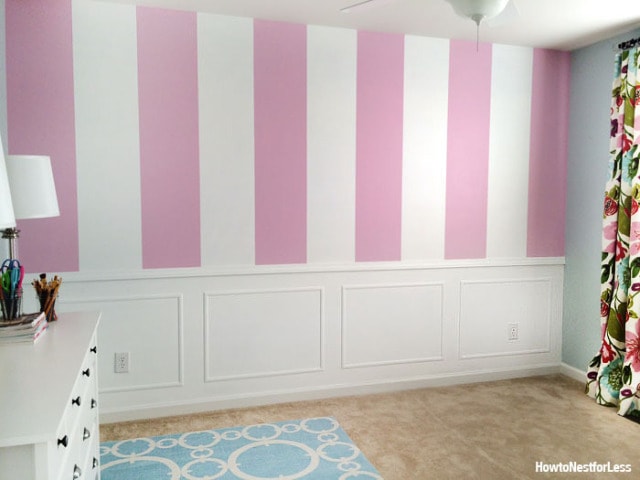
Picture Frame Molding
For this project, we installed picture frame molding to the wall. I published a separate blog post showing how to install picture frame molding.
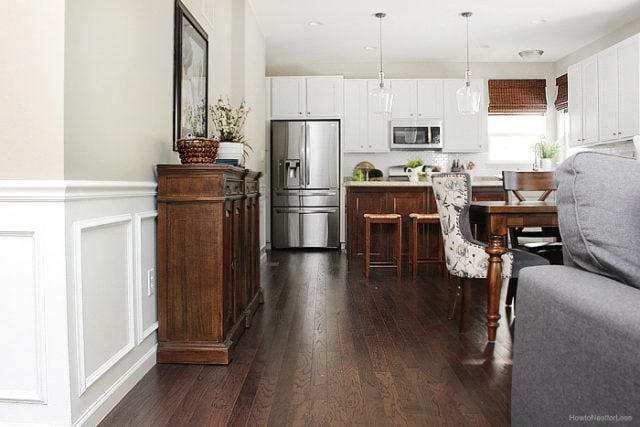
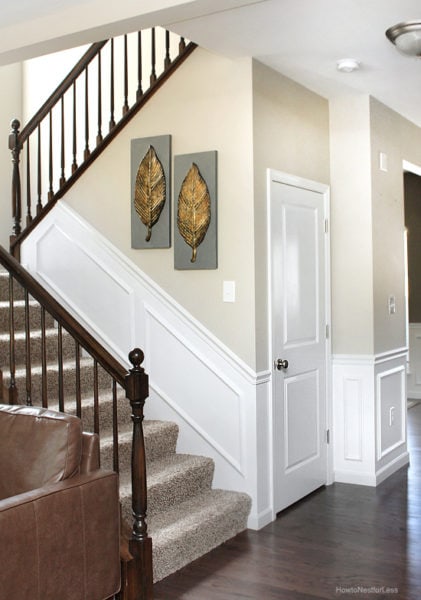
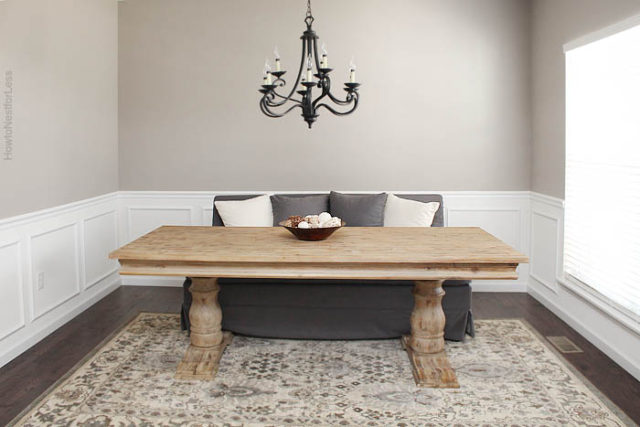
Chair Rail Molding In Other Rooms
Chair rail molding can elevate the look of any room. We’ve added to different rooms throughout our homes. Most recently, we added chair rail and picture frame molding to our entryway, kitchen, living room, dining room, and stairway.